Migrate from Fly to Railway
This guide walks you through the steps needed to seamlessly migrate your app and data from Fly.io to Railway. This process is straightforward and typically takes an average of 5 - 20 minutes, depending on the size of your database and app complexity.
TL;DR: Quick Migration Steps
- Set up new app on Railway
- Export data from Fly.io and Import into Railway DB
- Deploy app (including auto-migration of app config & variables)
We provide everything Fly.io offers and more! Check out the comparison guide to see the differences and make an informed choice.
Why take Railway's word for it? Experience the Railway advantage yourself, give it a spin today!
Migration steps
In this guide, we will migrate a Go (Gin) app with a Postgres database from Fly.io to Railway. While we are using this app as an example, the process applies to any app, making it easy to transition your projects smoothly.
Here’s the link to the app.
1. Set up a Railway project
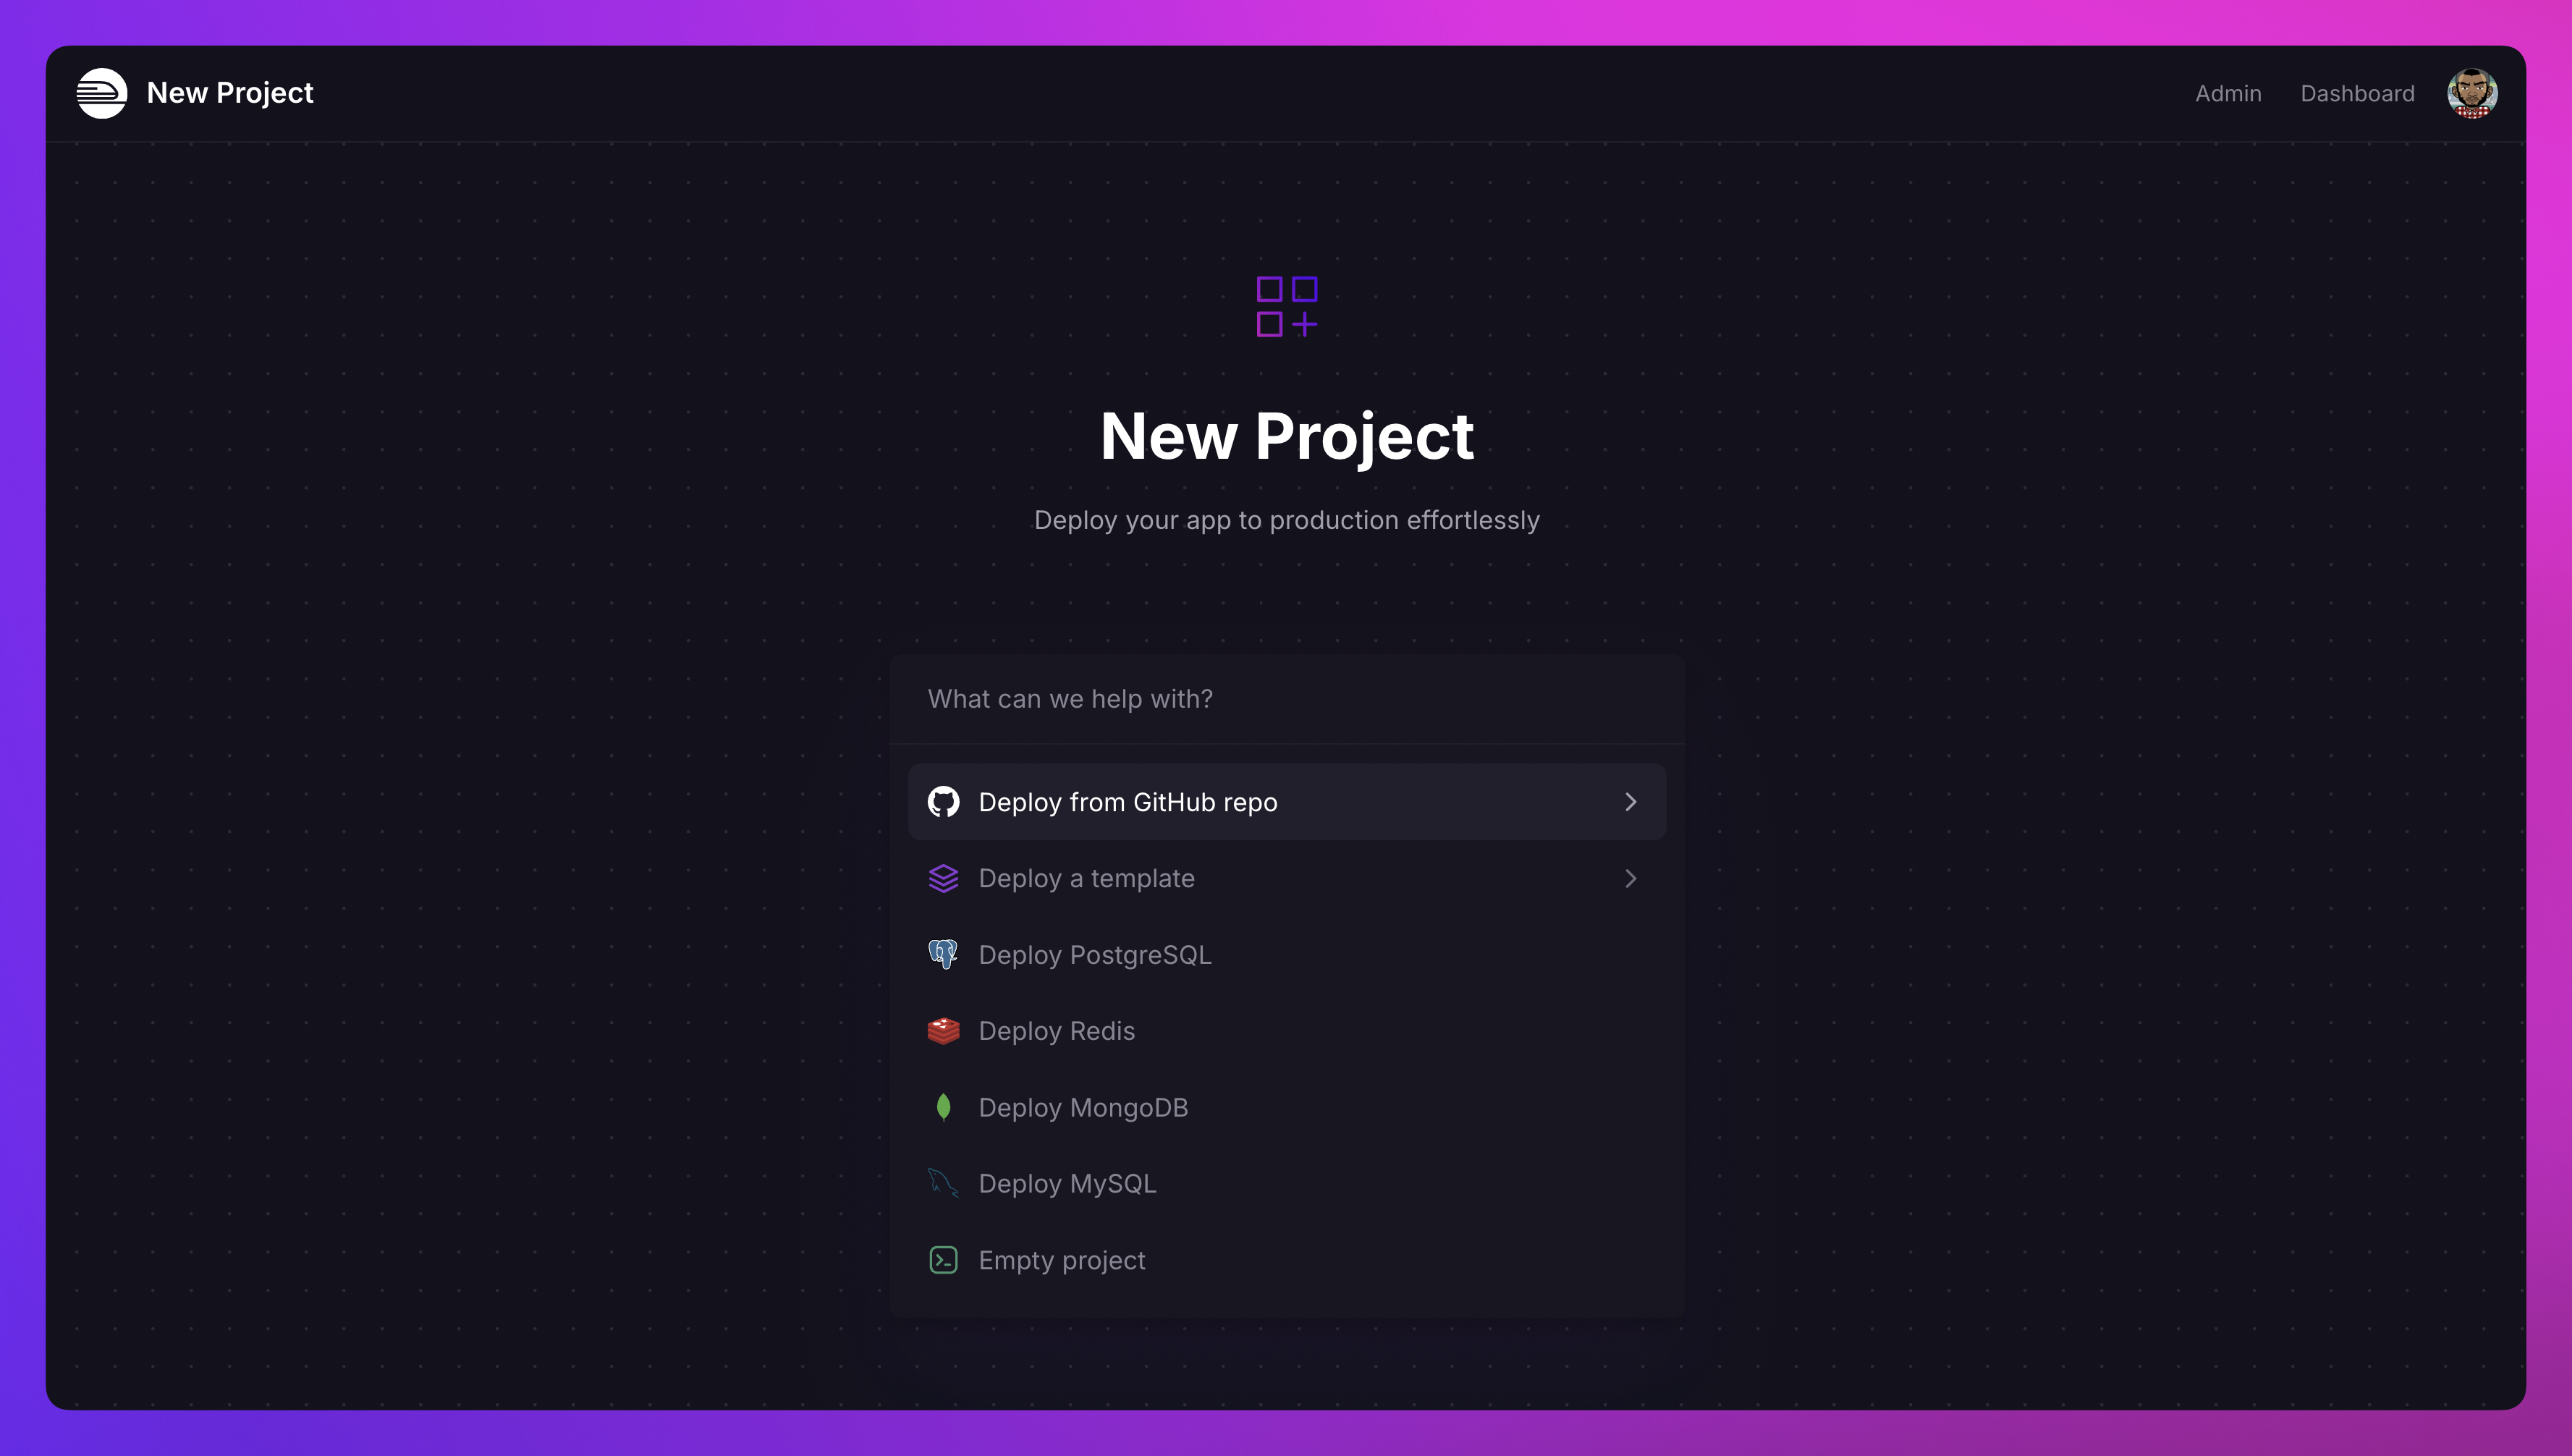
Navigate to Railway's Project Creation Page.
Select the Deploy from GitHub Repo option and connect your repository. If your Railway account isn’t linked to GitHub yet, you’ll be prompted to do so.

2. Deploy the app
Railway auto-imports all the build configurations, deploy commands, environment variables from your Fly.io app repo. No manual setup needed.
If the environment variables are missing, you can easily add them manually by following these steps:
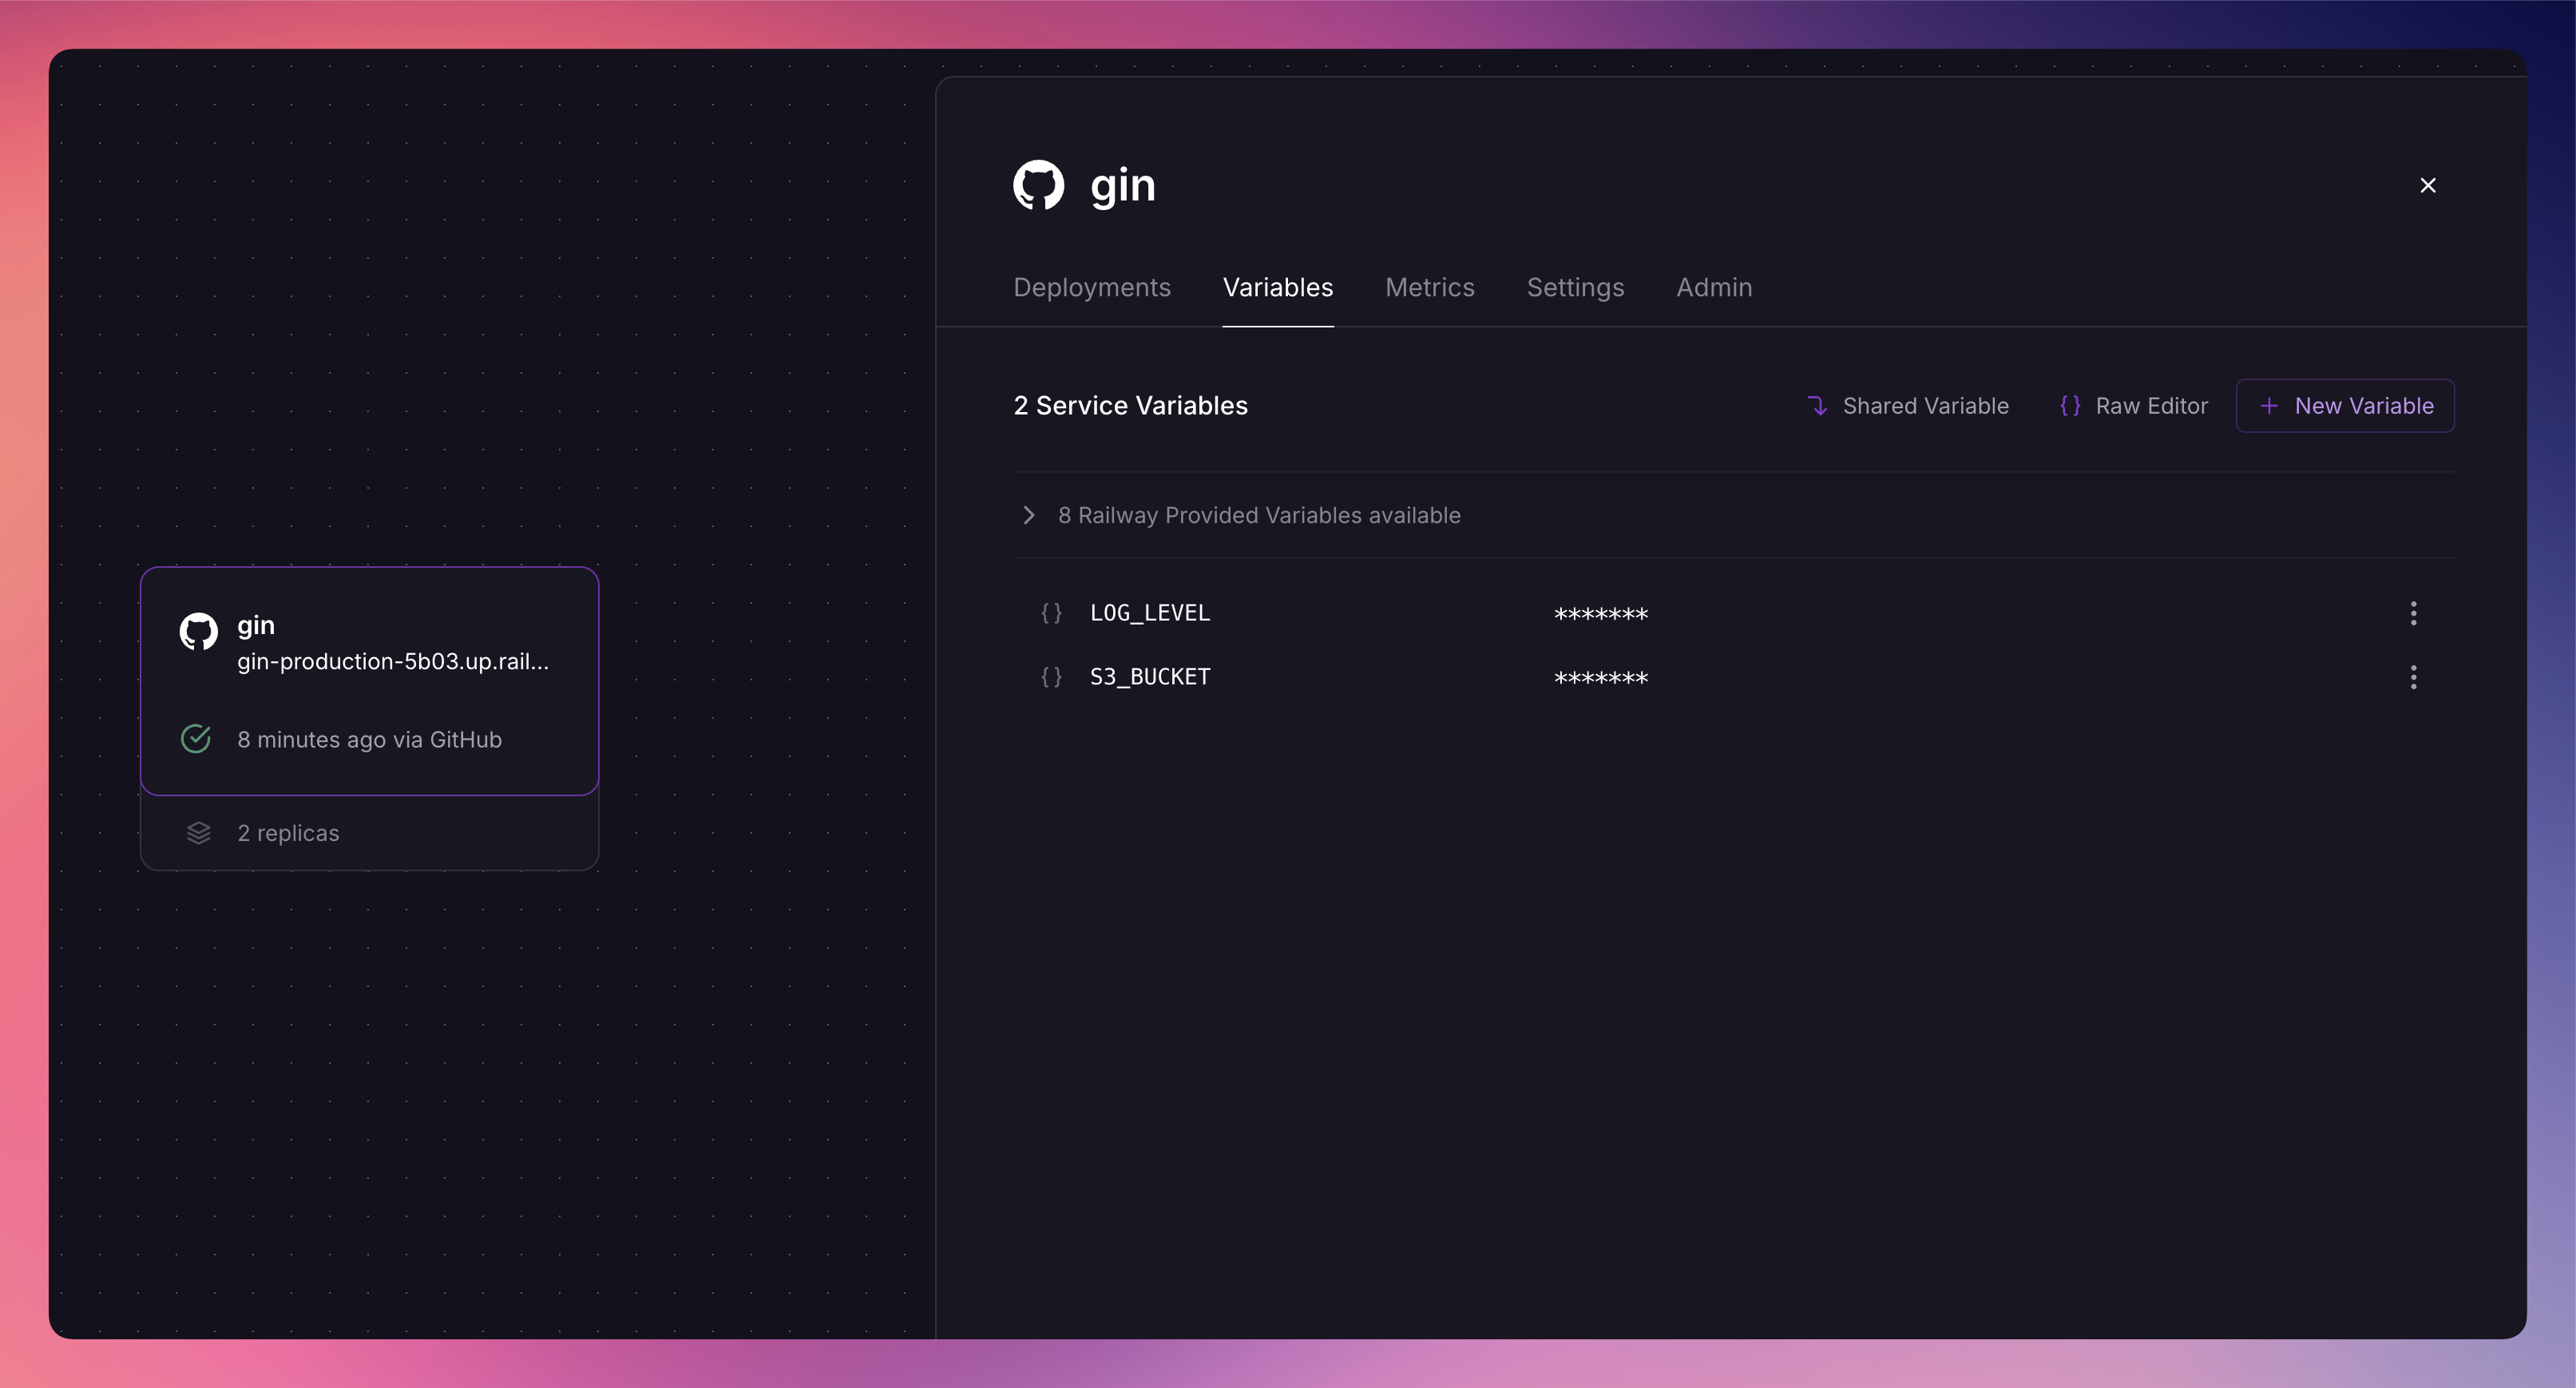
Adding environment variables on Railway:
- Navigate to the Variables section of your service.
- Switch to the Raw Editor and paste the copied environment variables.
- Deploy the changes to apply the configuration.

Railway will deploy the Gin app as a service, as shown in the image above. You can monitor the service building and deploying in the Project Canvas.
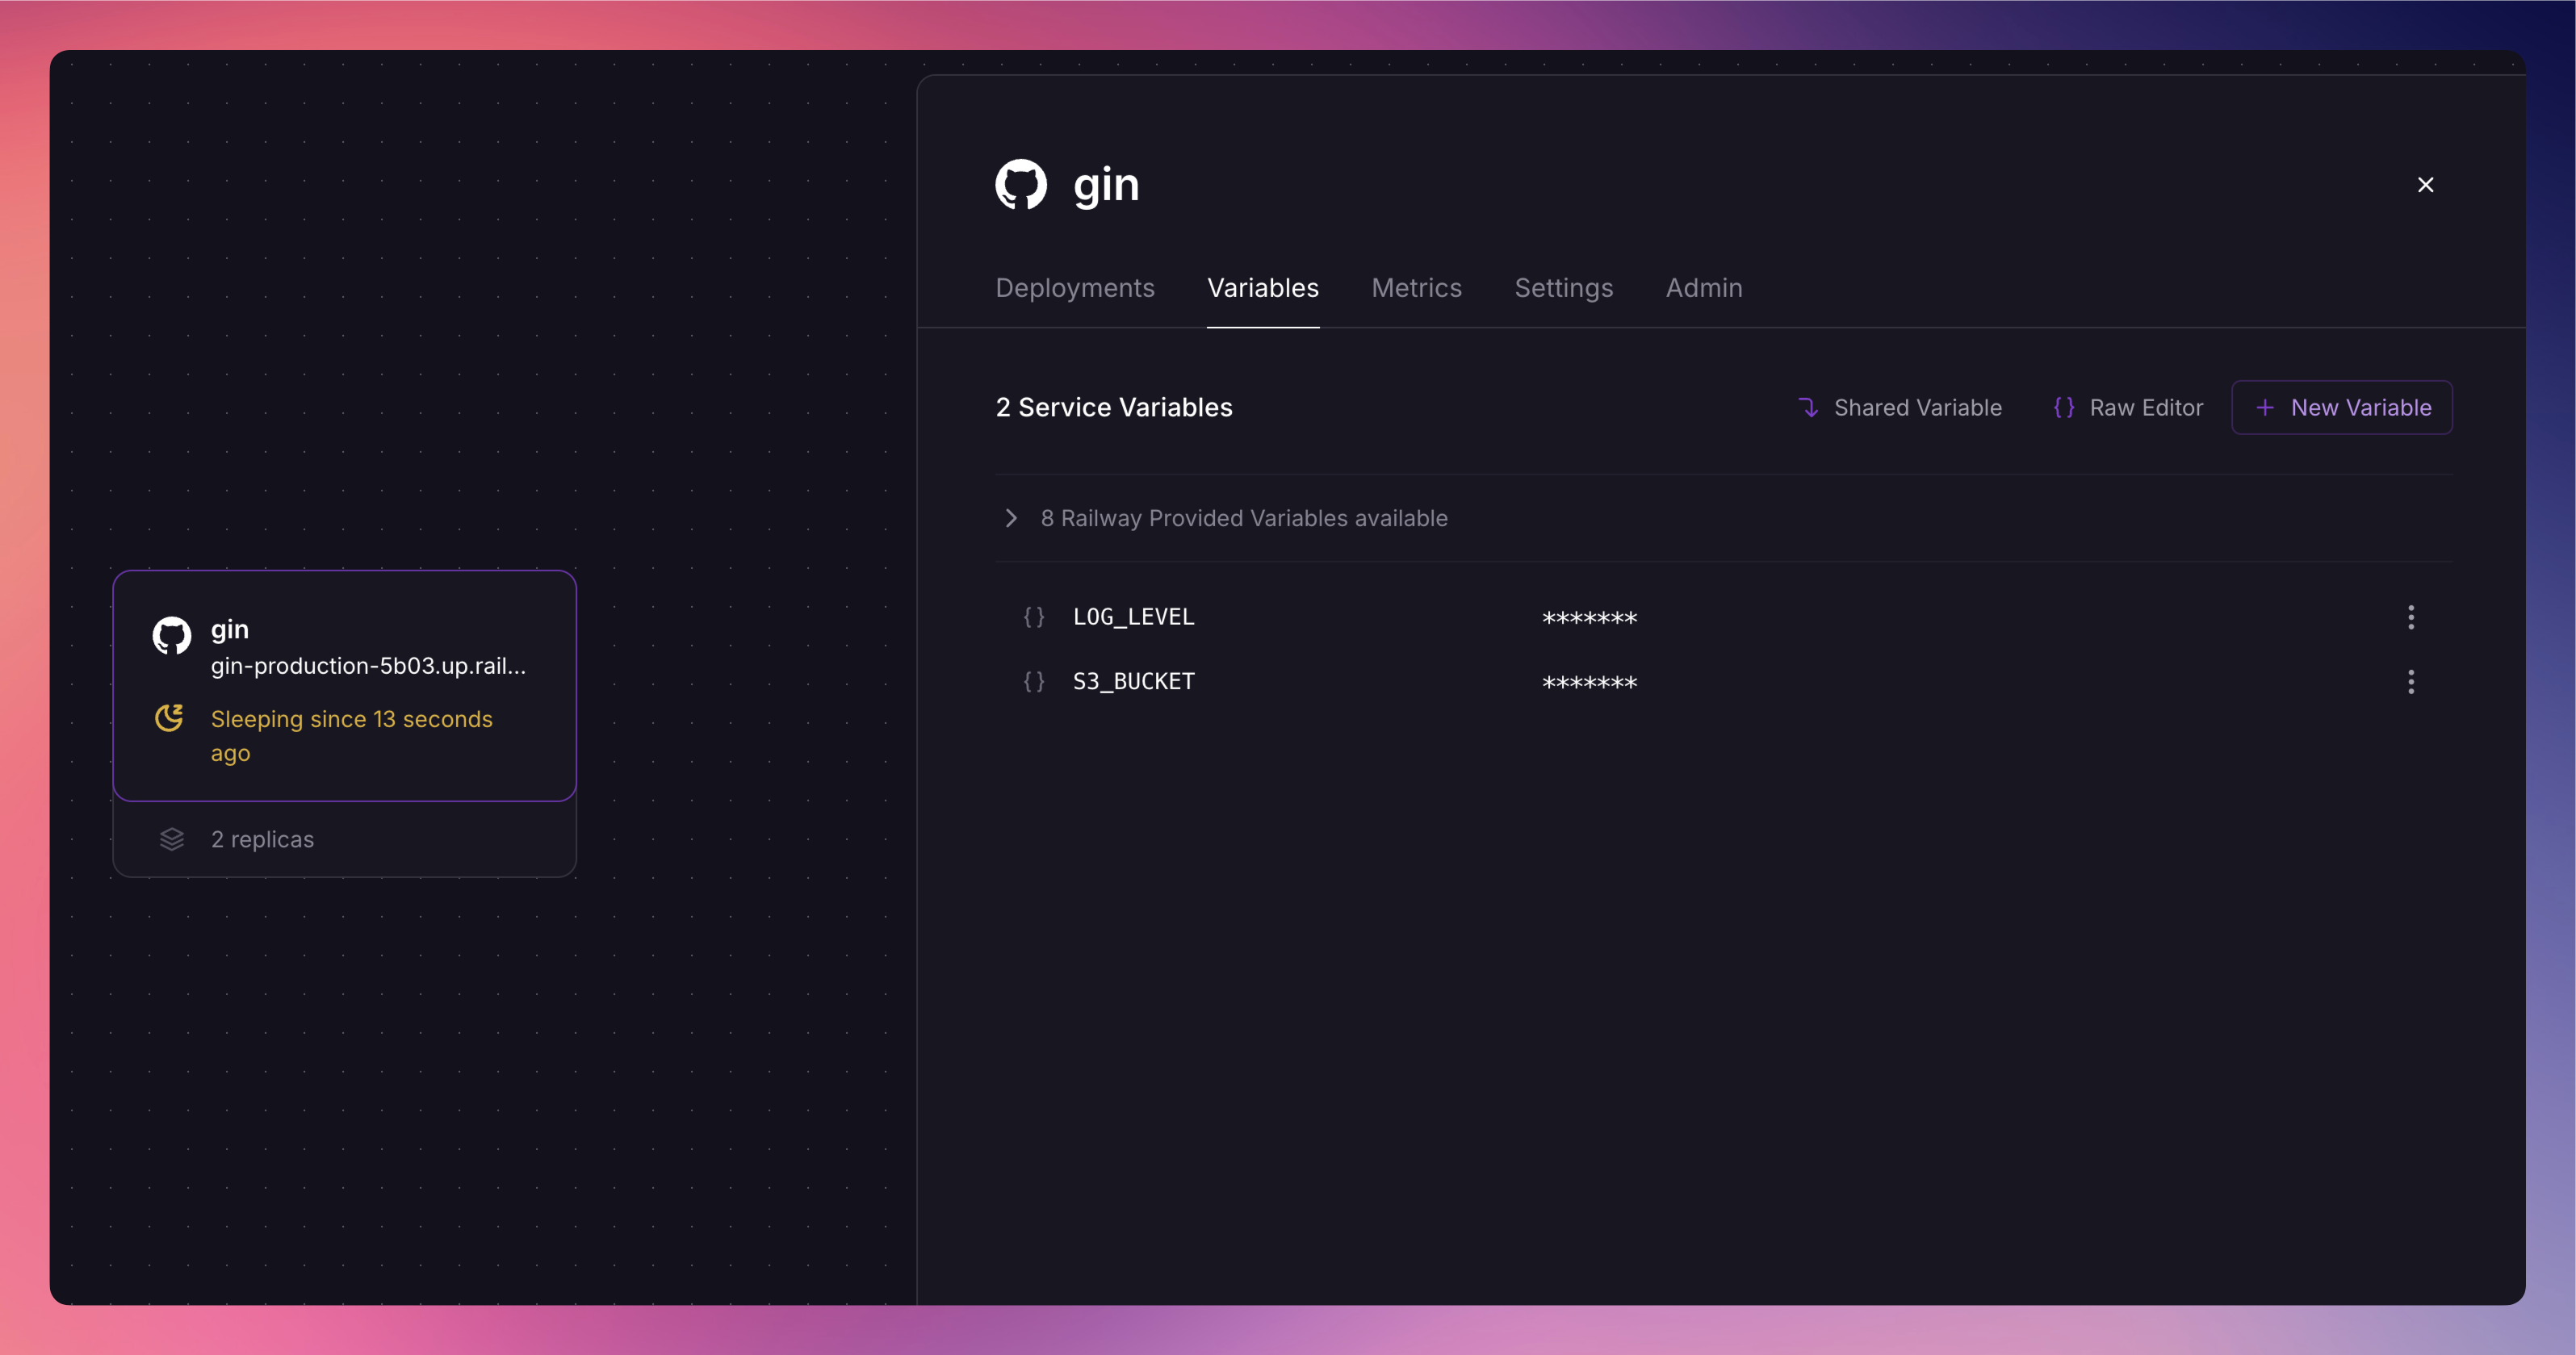
Serverless (App Sleep) activated: In this Fly.io app, the HTTP service is configured with auto_stop_machines='stop' and auto_start_machines=true, enabling automatic stopping and restarting of machines. On Railway import, we automatically enable this setting to effortlessly optimize resource usage.

3. Database migration
Railway supports a variety of databases, including PostgreSQL, MongoDB, MySQL, and Redis, allowing you to deploy the one that best fits your application needs. We also support many more via the templates marketplace.
If you're migrating data to Railway from Fly, you can follow these steps:
- Provision a new database by right clicking on the dashboard canvas and selecting Postgres.
- Export your data from Flyio
- Use
flyctlto connect to your Flyio Postgres instancefly postgres connect -a <postgres-app-name>
- Use
pg_dumpto export your databasepg_dump -Fc --no-acl --no-owner -h localhost -p 5432 -U <your-db-username> -d <your-db-name> -f flyio_db_backup.dump
- Use
pg_restoreto connect to your Railway database and restore the data from the dump.pg_restore -U <username> -h <host> -p <port> -W -F t -d <db_name> <dump_file_name>
- Use
For detailed instructions, check out this comprehensive tutorial on migrating PostgreSQL data between services.
Once the migration is complete, update the DATABASE_URL environment variable in your Railway app to point to the new PostgreSQL database and redeploy.
4. Replicas & multi-region deployments
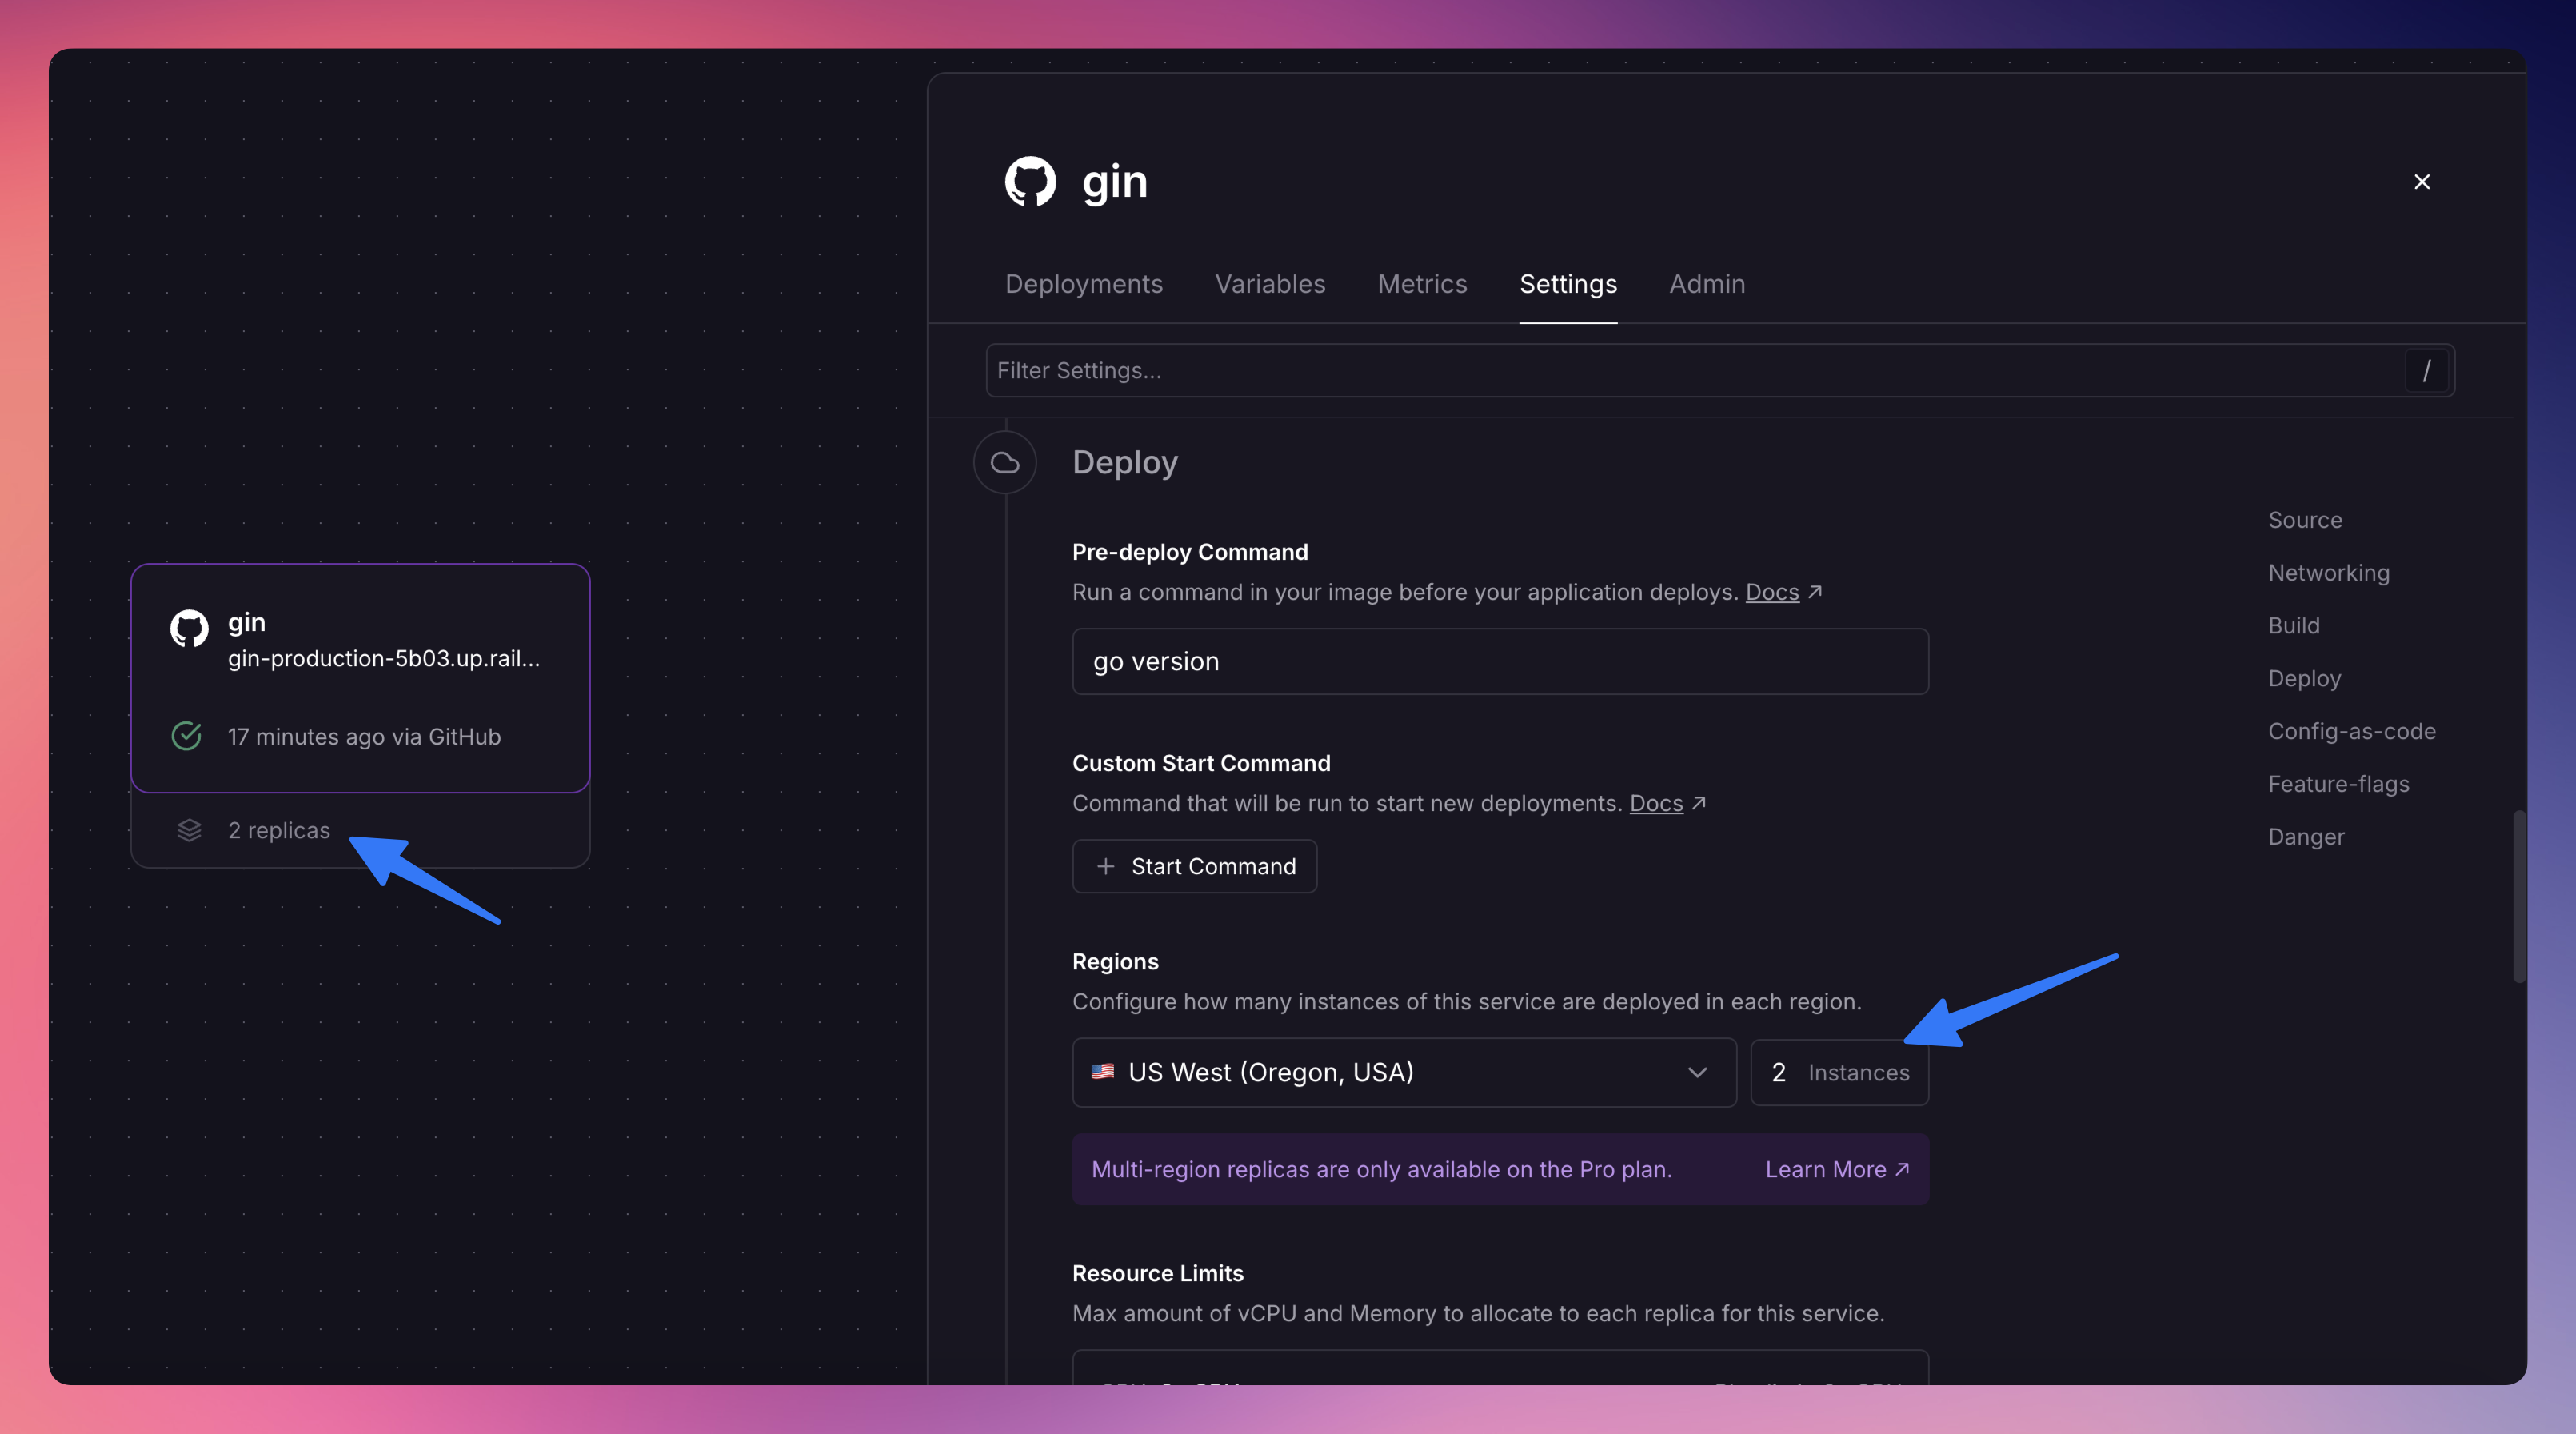
In this Fly.io app, the setting min_machines_running=2 ensures that at least two instances of the service remain active. On Railway import, we automatically translate this configuration to ensure that two service instances are running without any extra setup.

If your app needs to use multi-region deployments, you can leverage Railway’s multi-region replicas.
Enable this in the Settings section of your Railway service to keep your app close to users worldwide.
Note: Multi-region replicas is currently available to Pro users.
And that’s it. That’s all you need to migrate your app from Flyio to Railway.