---
title: Railway vs Render: Technical Comparison and Migration Guide
description: Compare Railway and Render on infrastructure, pricing model and dashboard experience, with a step-by-step migration guide.
---
_Last updated: June 2026_
> Looking for a pricing-focused comparison? See [railway.com/compare/render](https://railway.com/compare/render).
At a high level, both Railway and Render can be used to deploy your app. Both platforms share many similarities:
- You can deploy your app from a Docker image or by importing your app’s source code from GitHub.
- Multi-service architecture where you can deploy different services under one project (e.g. a frontend, APIs, databases, etc.).
- Services are deployed to a long-running server.
- Services can have persistent storage via volumes.
- Public and private networking are included out-of-the-box.
- Healthchecks are available to guarantee zero-downtime deployments.
- Connect your GitHub repository for automatic builds and deployments on code pushes.
- Create isolated preview environments for every pull request.
- Support for instant rollbacks.
- Integrated metrics and logs.
- Define Infrastructure-as-Code (IaC).
- Command-line-interface (CLI) to manage resources.
- Integrated build pipeline with the ability to define pre-deploy command.
- Support for wildcard domains.
- Custom domains with fully managed TLS.
- Schedule tasks with cron jobs.
- Run arbitrary commands against deployed services (SSH).
- Shared environment variables across services.
That said, there are some differences between the platforms that might make Railway a better fit for you.
## Scaling strategies
### Render
Render follows a traditional, instance-based model. Each instance has a set of allocated compute resources (memory and CPU).
In the scenario where your deployed service needs more resources, you can either scale:
- Vertically: you will need to manually upgrade to a large instance size to unlock more compute resources.
- Horizontally: your workload will be distributed across multiple running instances. You can either:
- Manually specify the machine count.
- Autoscale by defining a minimum and maximum instance count. The number of running instances will increase/decrease based on a target CPU and/or memory utilization you specify.
The main drawback of this setup is that it requires manual developer intervention. Either by:
- Manually changing instance sizes/running instance count.
- Manually adjusting thresholds because you can get into situations where your service scales up for spikes but doesn’t scale down quickly enough, leaving you paying for unused resources.
### Railway
Railway automatically manages compute resources for you. Your deployed services can scale up or down based on incoming workload without manual configuration of metrics/thresholds or picking instance sizes. Each plan includes defined CPU and memory limits that apply to your services.
You can scale horizontally by deploying multiple replicas of your service. Railway automatically distributes public traffic randomly across replicas within each region. Each replica runs with the full resource limits of your plan.
For example, if you're on the Pro plan, each replica gets 24 vCPU and 24 GB RAM. So, deploying 3 replicas gives your service a combined capacity of 72 vCPU and 72 GB RAM.
```bash
Total resources = number of replicas × maximum compute allocation per replica
```
Replicas can be placed in different geographical locations for multi-region deployments. The platform automatically routes public traffic to the nearest region, then randomly distributes requests among the available replicas within that region. No need to define compute usage thresholds.
You can also set services to start on a schedule using a crontab expression. This lets you run scripts at specific times and only pay for the time they’re running.
## Pricing
### Render
Render follows a traditional, instance-based pricing. You select the amount of compute resources you need from a list of instance sizes where each one has a fixed monthly price.
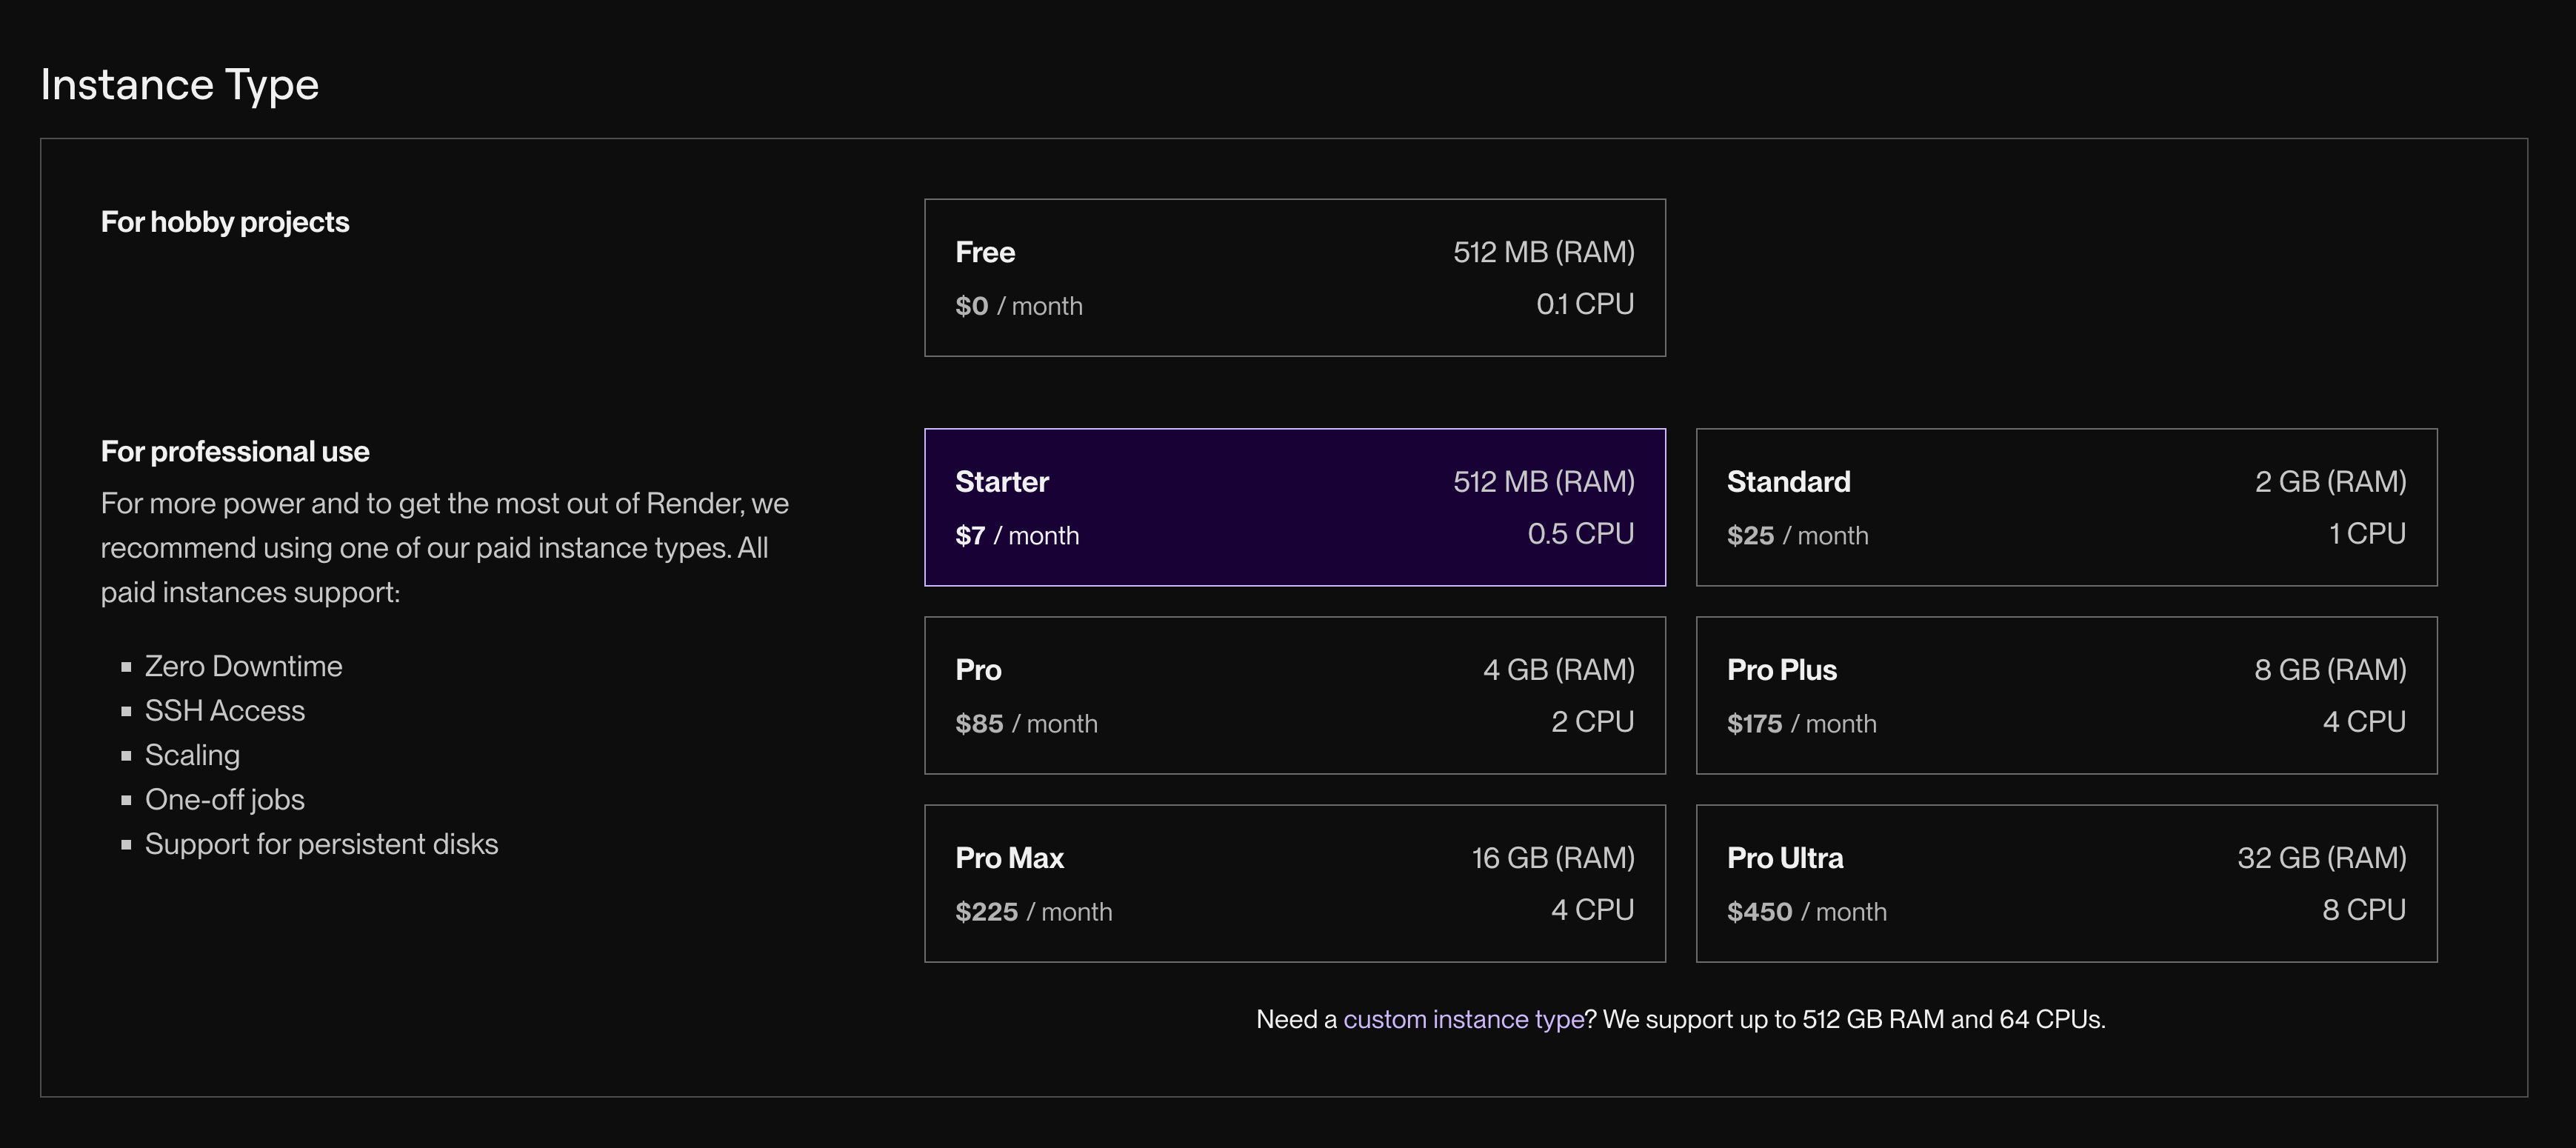
While this model gives you predictable pricing, the main drawback is you end up in one of two situations:
- Under-provisioning: your deployed service doesn’t have enough compute resources which will lead to failed requests.
- Over-provisioning: your deployed service will have extra unused resources that you’re overpaying for every month.
Enabling horizontal autoscaling can help with optimizing costs, but the trade-off will be needing to figure out the right amount of thresholds instead.
Additionally, Render runs on AWS and GCP, so the unit economics of the business need to be high to offset the cost of the underlying infrastructure. Those extra costs are then passed down to you as the user, so you end up paying extra for:
- Unlocking additional features (e.g. horizontal autoscaling and environments are only available on paid plans).
- Pay extra for resources (e.g., bandwidth, memory, CPU and storage).
- Pay for seats where each team member you invite adds a fixed monthly fee regardless of your usage.
### Railway
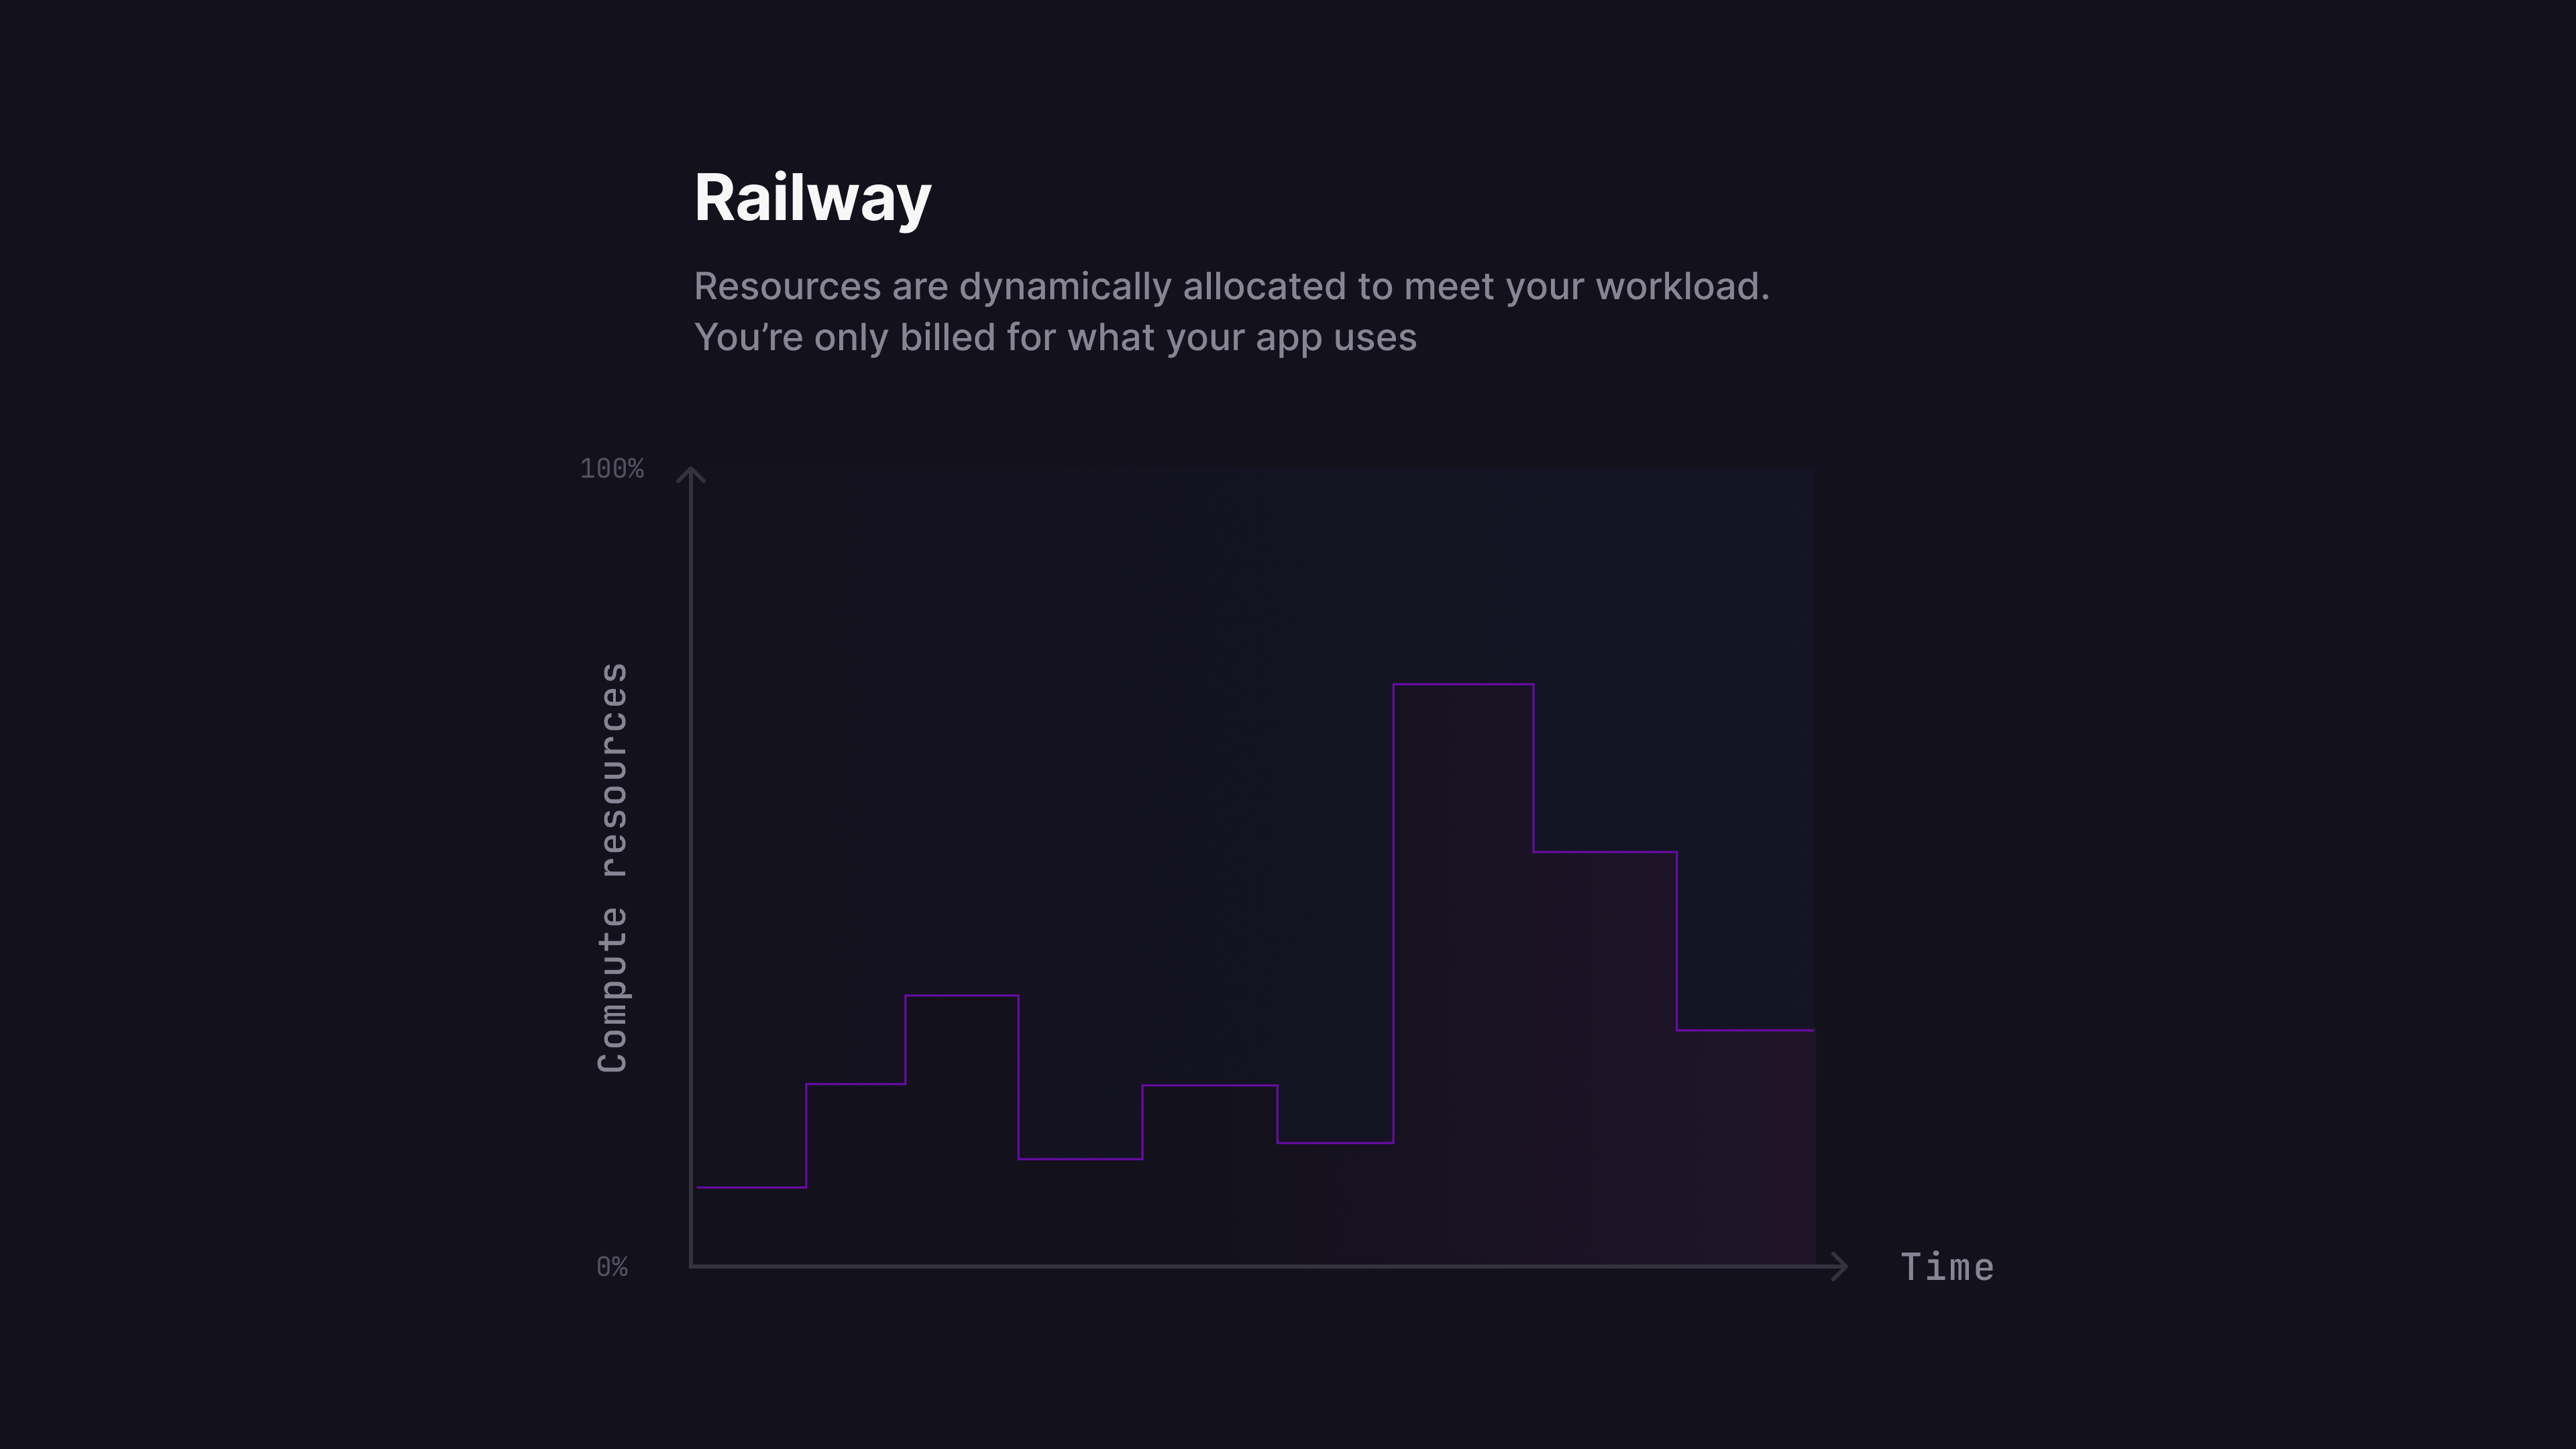
Railway automatically scales your infrastructure up or down based on workload demands, adapting in real time without any manual intervention. This makes it possible to offer a usage-based pricing model that depends on active compute time and the amount of resources it consumes. You only pay for what your deployed services use.
```
Active compute time x compute size (memory and CPU)
```
You don’t need to think about instance sizes or manually configure them. All deployed services scale automatically.
If you spin up multiple replicas for a given service, you’ll only be charged for the active compute time for each replica.
Railway also has a [serverless](/deployments/serverless) feature, which helps further reduce costs when enabled. When a service has no outbound requests for over 10 minutes, it is automatically put to sleep. While asleep, the service incurs no compute charges. It wakes up on the next incoming request, ensuring seamless reactivation without manual effort. This is ideal for workloads with sporadic or bursty traffic, so you only pay when your code is running.
Finally, Railway’s infrastructure runs on hardware that’s owned and operated in data centers across the globe. This means you’re not going to be overcharged for resources.
## Dashboard experience
### Render
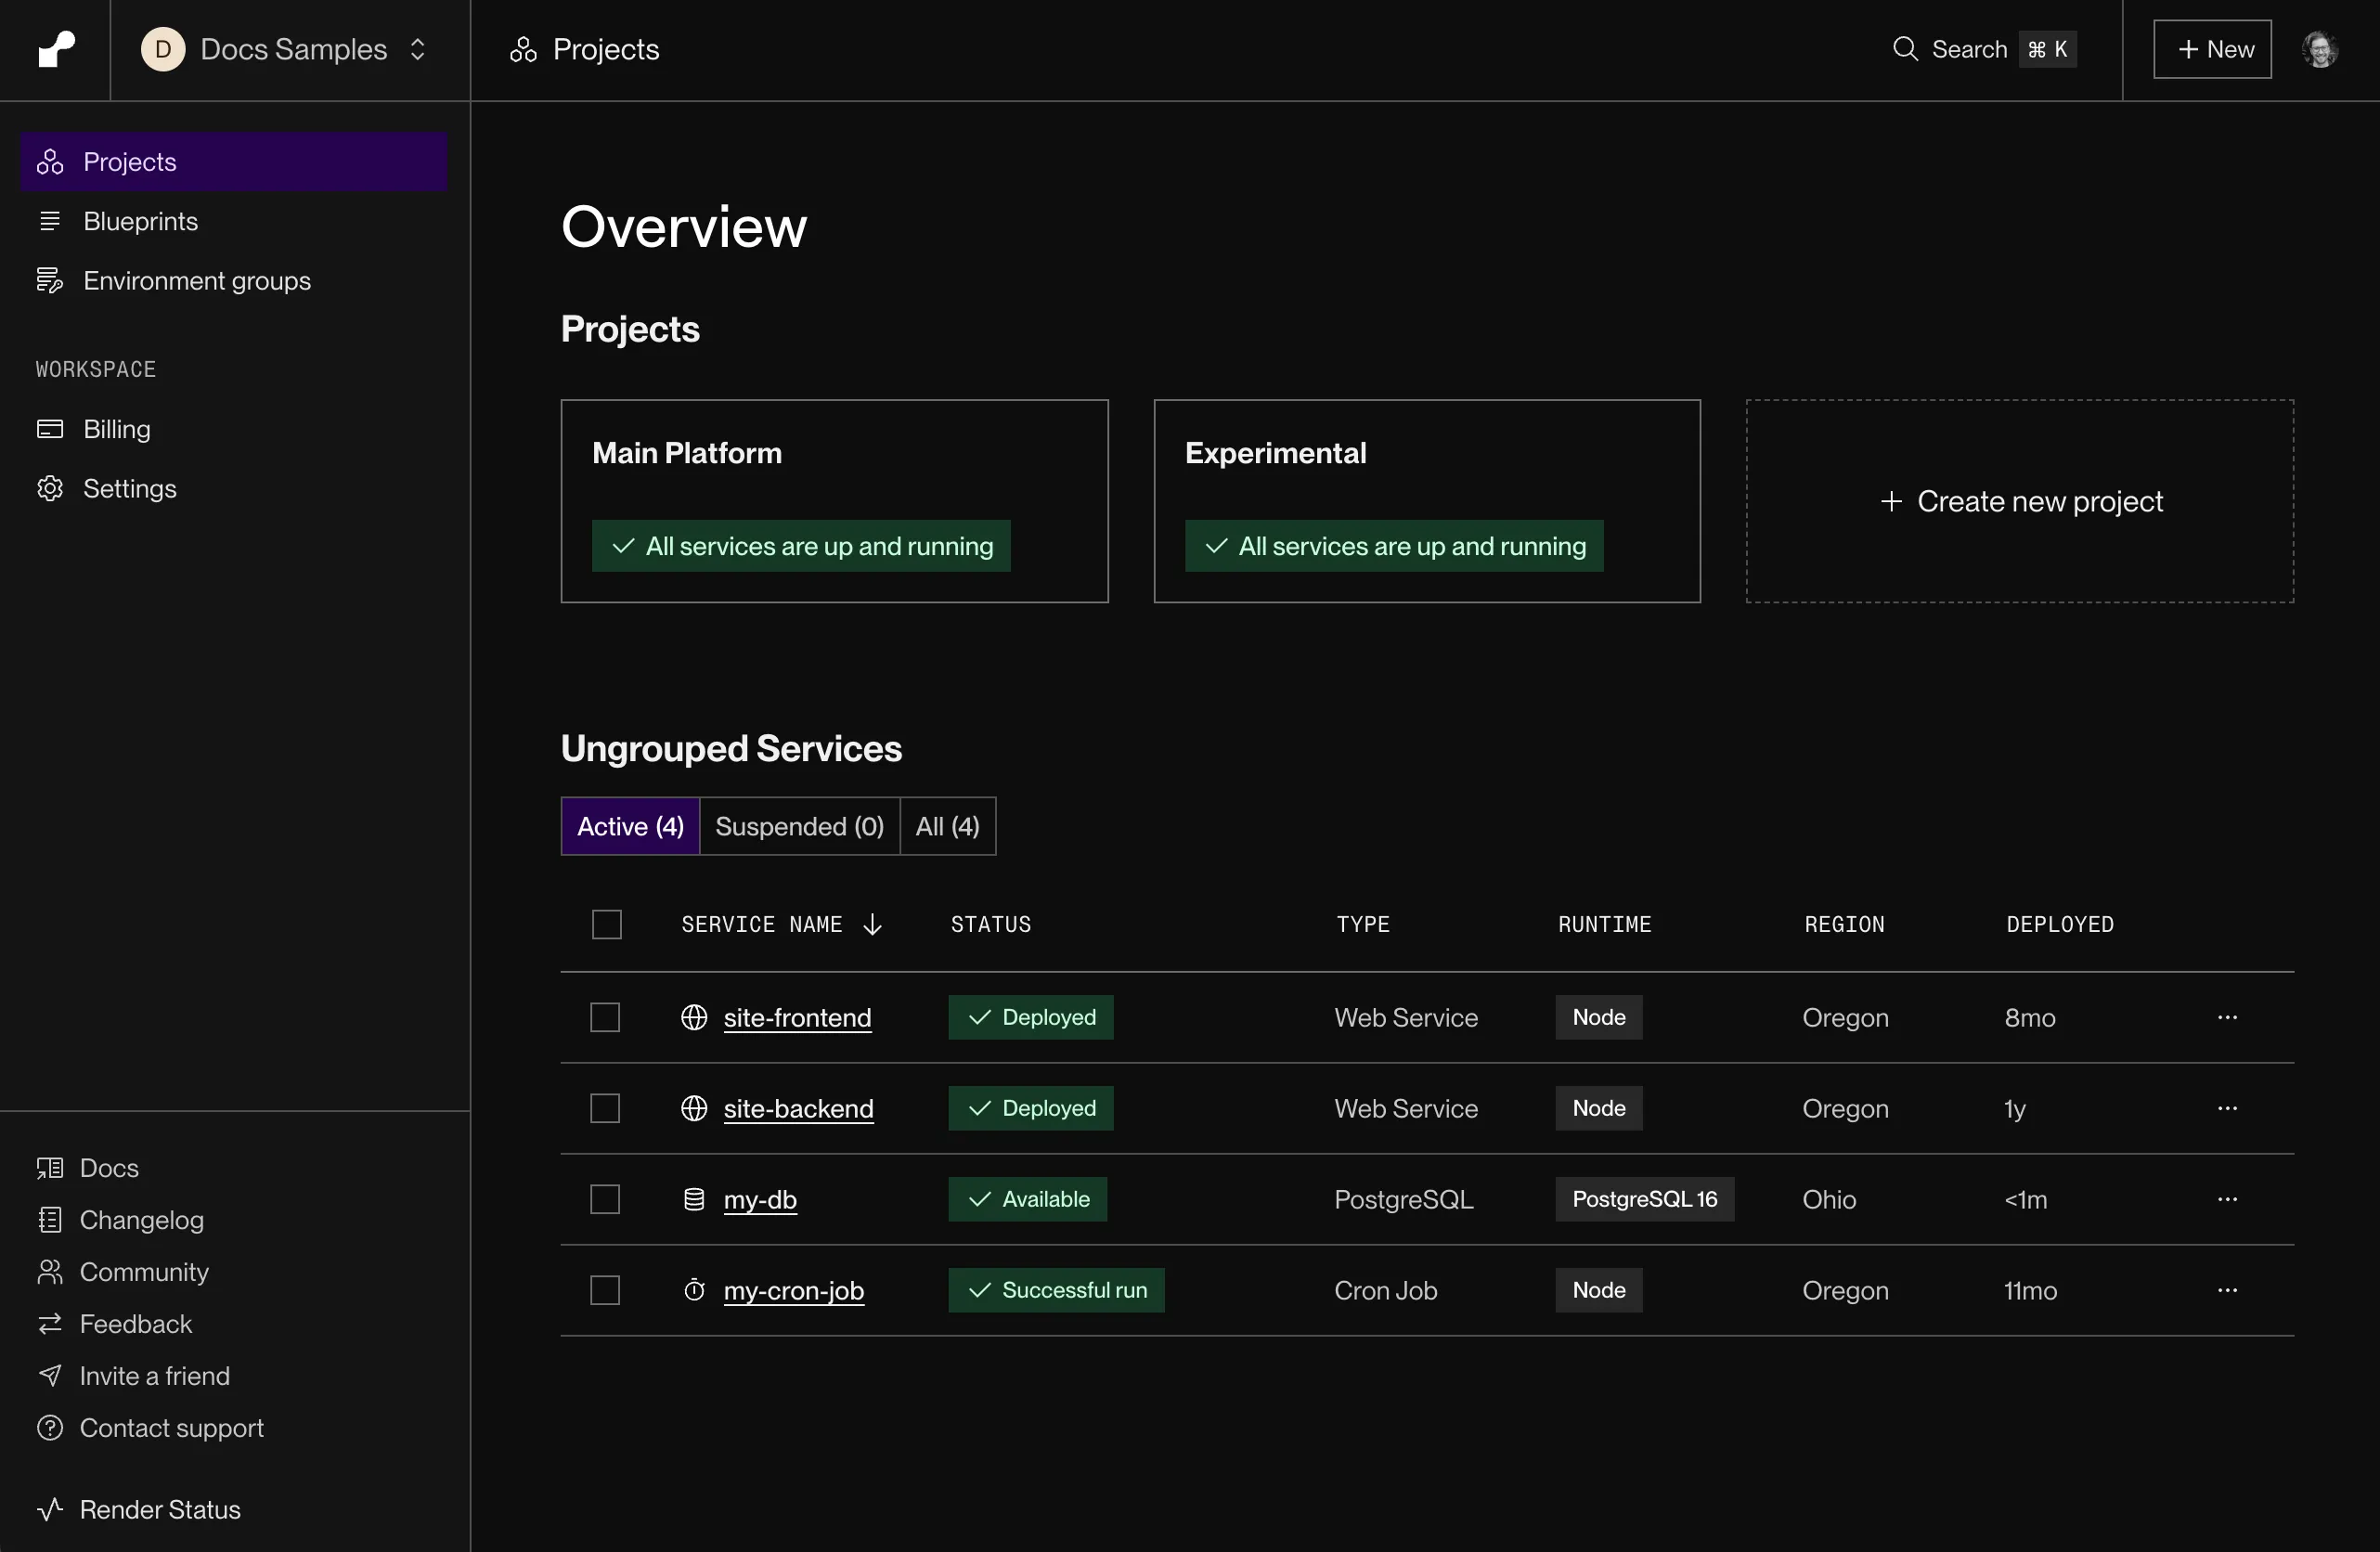
Render’s dashboard offers a traditional dashboard where you can view all of your project’s resources.
### Railway
Railway’s dashboard offers a real-time collaborative canvas where you can view all of your running services and databases at a glance. You can group the different infrastructure components and visualize how they’re related to one another.
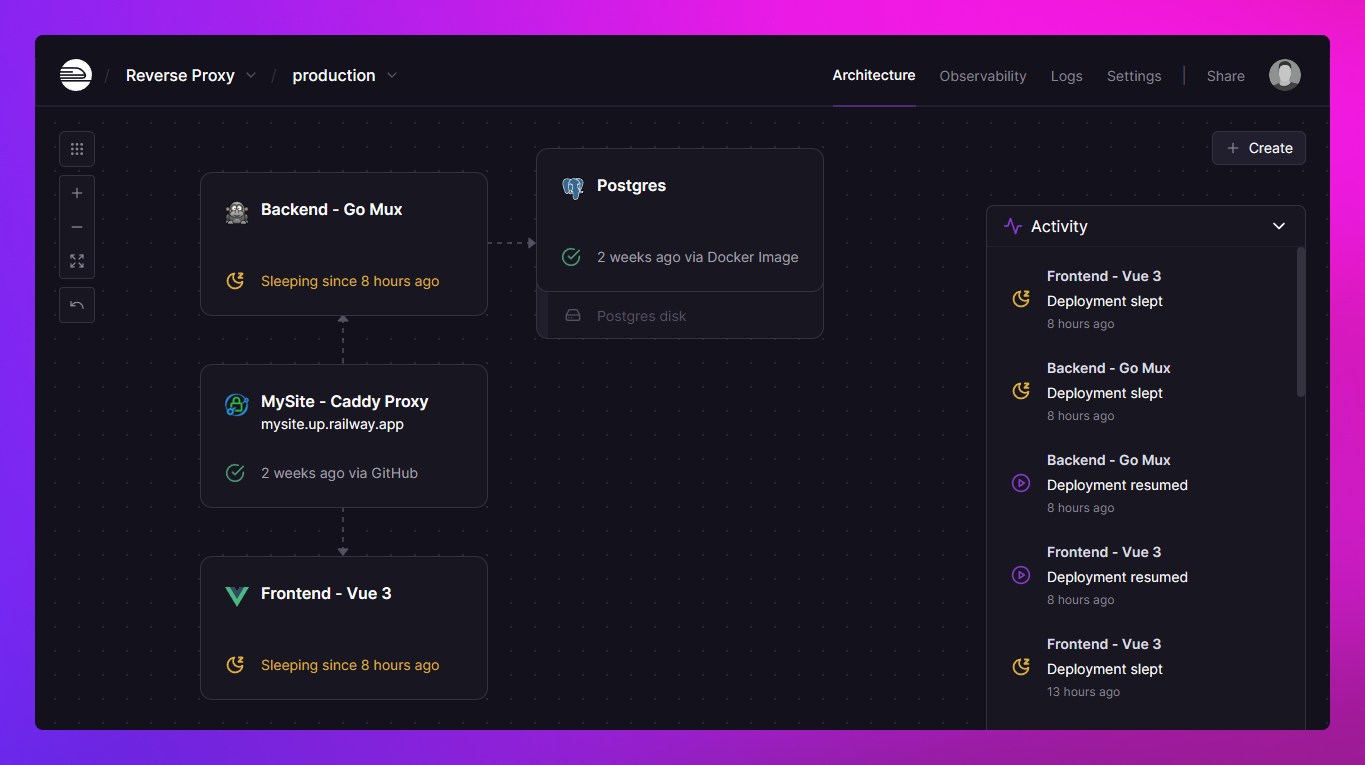
Additionally, Railway offers a template directory that makes it easy to self-host open-source projects with just a few clicks. If you publish a template and others deploy it in their projects, you’ll earn a 25% kickback of their usage costs.
Check out all templates at [railway.com/deploy](http://railway.com/deploy)
## Summary
| **Category** | **Render** | **Railway** |
| ------------------------ | ---------------------------------------------------------------------------------------------- | ------------------------------------------------------------------------------------------------------------------------------------------ |
| **Scaling Model** | Instance-based | Usage-based |
| **Vertical Scaling** | Manual upgrade to larger instance sizes. | Scales to plan limits automatically |
| **Horizontal Scaling** | Manually add/remove instances or autoscaling (based on CPU/memory thresholds); requires tuning | Manually add replicas, traffic is routed automatically across regions and replicas |
| **Multi-region Support** | Not supported | Built-in support; traffic routed to nearest region |
| **Pricing Model** | Instances from $7/mo (0.5 CPU, 512 MB) to $450/mo, plus workspace fee ($0-$499/mo). Seat-based pricing | $20/vCPU-month, $10/GB-month RAM, billed per second of actual usage; unlimited workspace seats included on Pro |
| **Cost Optimization** | Requires tuning to avoid over/under-provisioning | Inherently optimized. Pay only for used compute |
| **Infrastructure** | Runs on AWS and GCP; feature access and resources cost more | Railway-owned global infrastructure, lower unit costs and features aren't gated |
| **Dashboard UX** | Traditional dashboard to view project resources | Real-time collaborative canvas with visual infra relationships. Template directory for 1-click deployments |
## Frequently asked questions
### Is Railway cheaper than Render?
For a single always-busy instance, Render's fixed pricing (from $7/mo for 0.5 CPU and 512 MB up to $450/mo, plus a $0-$499/mo workspace fee) can be easier to forecast. As you scale, Railway tends to be more cost-effective: Render charges per instance provisioned, so every service, worker, and environment adds a fixed line item whether it's busy or idle, while Railway bills $20/vCPU-month and $10/GB-month RAM per second of aggregate actual usage with no per-service charge.
### Does Railway charge per seat like Render?
No. Railway Pro is a $20/month usage minimum with unlimited workspace seats included, so adding team members costs nothing. Railway bills compute per second of actual usage at $20/vCPU-month and $10/GB-month RAM, so you only pay for what your services consume.
### Does Railway support multi-region deployments?
Yes, multi-region support is built in. You can place replicas of a service in different regions and Railway routes public traffic to the nearest region automatically. Render does not support multi-region deployments.
### How do I migrate from Render to Railway?
Since both platforms deploy from a GitHub repo or Docker image, migration is mostly connecting your repo, copying environment variables, and configuring a domain; the steps below walk through it. You can sign up for free and receive $5 in credits to try the platform first.
## Migrate from Render to Railway
To get started, [create an account on Railway](https://railway.com/new). You can sign up for free and receive $5 in credits to try out the platform.
### Deploying your app
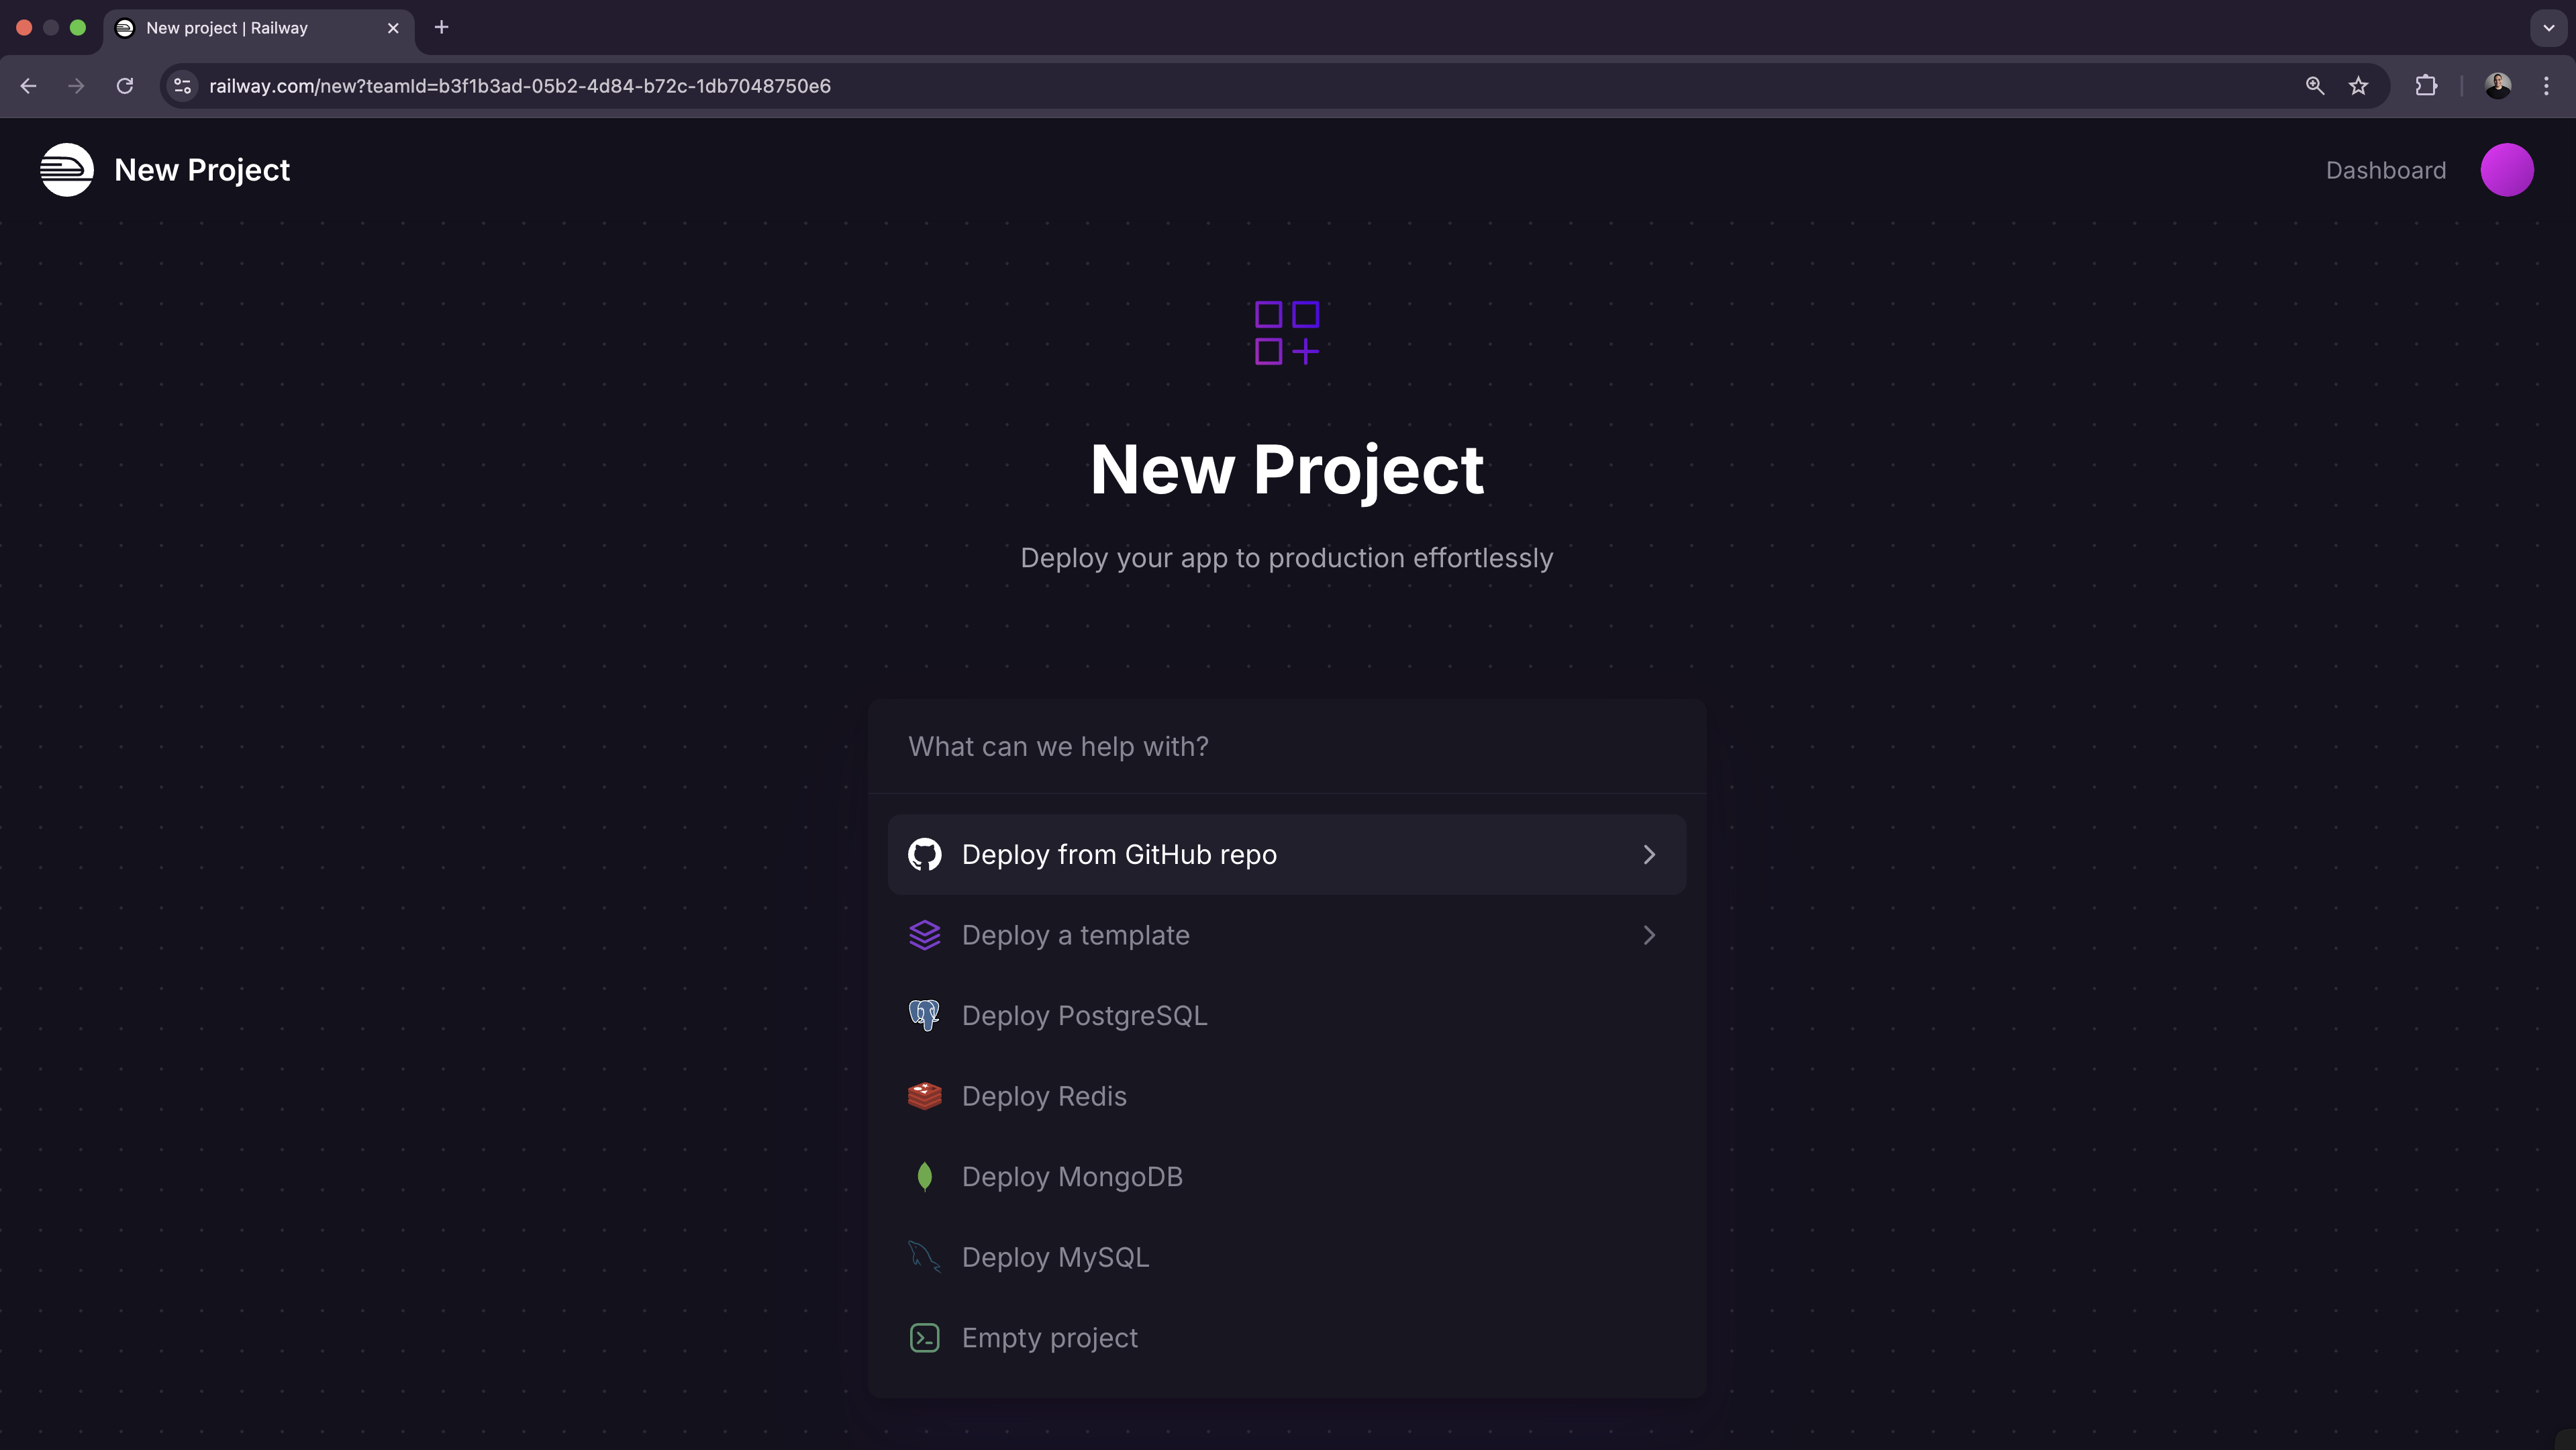
1. “Choose Deploy from GitHub repo”, connect your GitHub account, and select the repo you would like to deploy.
2. If your project is using any environment variables or secrets:
1. Click on the deployed service.
2. Navigate to the “Variables” tab.
3. Add a new variable by clicking the “New Variable” button. Alternatively, you can import a `.env` file by clicking “Raw Editor” and adding all variables at once.

3. To make your project accessible over the internet, you will need to configure a domain:
1. From the project’s canvas, click on the service you would like to configure.
2. Navigate to the “Settings” tab.
3. Go to the “Networking” section.
4. You can either:
1. Generate a Railway service domain: this will make your app available under a `.up.railway.app` domain.
2. Add a custom domain: follow the DNS configuration steps.
## Need help or have questions?
If you need help along the way, the [Help Station](https://station.railway.com/) is a great resource to get support from the team and community.
Working with a larger workload or have specific requirements? [Book a call with the Railway team](https://cal.com/team/railway/work-with-railway) to explore how we can best support your project.