Migrate from Vercel to Railway
This guide demonstrates how to transition your application from Vercel to Railway's developer-centric platform. Whether you're running a simple static site or a complex full-stack application, Railway streamlines your deployment workflow.
With features like instant rollbacks, integrated observability, and seamless environment management, Railway empowers developers to focus on building great applications rather than managing infrastructure.
Railway offers -
-
Next.js Optimization: Built-in support for all Next.js features including ISR, SSR, and API routes
-
Zero Config Deployments: Automatic framework detection and build optimization
-
Enhanced Development Flow: Local development with production parity
-
Collaborative Features: Team management, deployment protection, and role-based access
-
Priority Support: Dedicated support for Railway users
Migration steps
Let's walk through migrating a Next.js application to Railway. For this guide, you'll use a sample e-commerce app that showcases common Next.js features and configurations.
Deploying your application
To get started deploying your NextJS app, first create a new project.
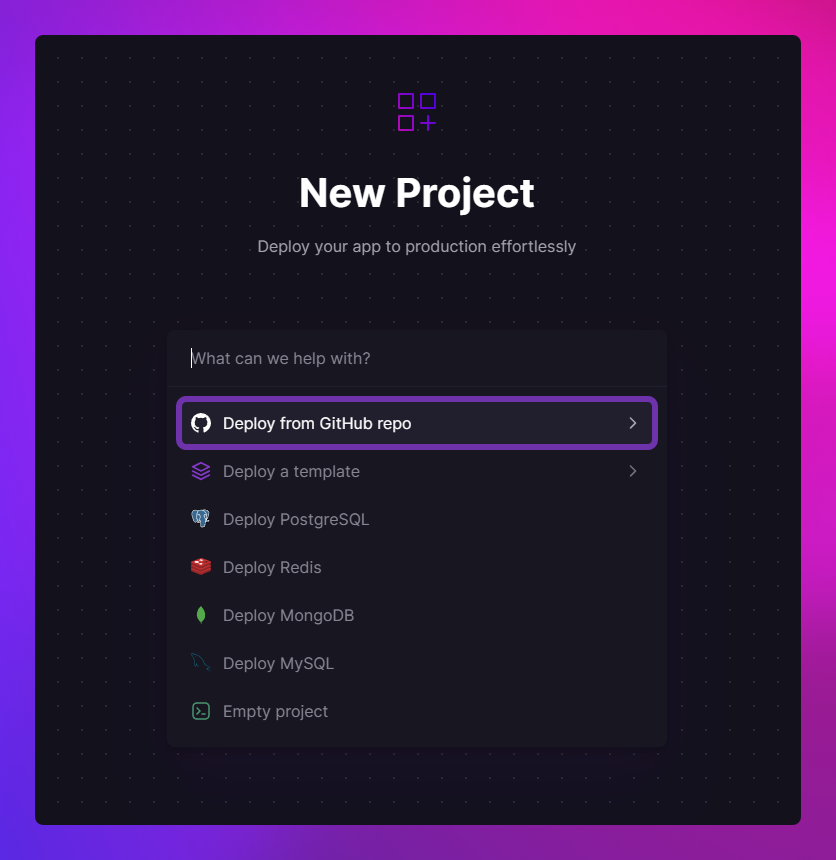
- Open up the dashboard → Click New Project.
- Choose the GitHub repo option.

Railway requires a valid GitHub account to be linked. If your Railway account isn't associated with one, you will be prompted to link it.
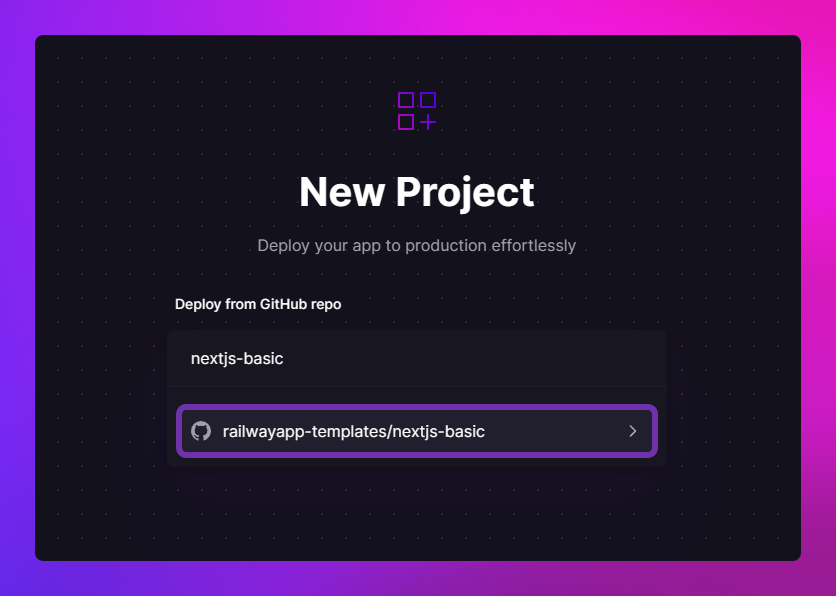
- Search for your GitHub project and click on it.

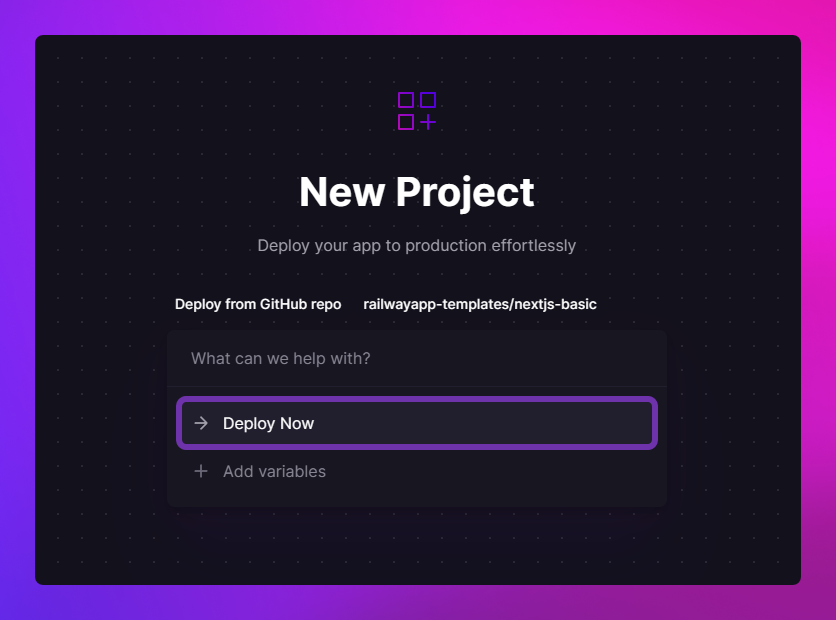
- Choose either Deploy Now or Add variables. Deploy Now will immediately start to build and deploy your selected repo. Add Variables will bring you to your service and ask you to add variables, when done you will need to click the Deploy button at the top of your canvas to initiate the first deployment. For brevity, choose Deploy Now.

When you click Deploy Now, Railway will create a new project for you and kick off an initial deploy after the project is created.
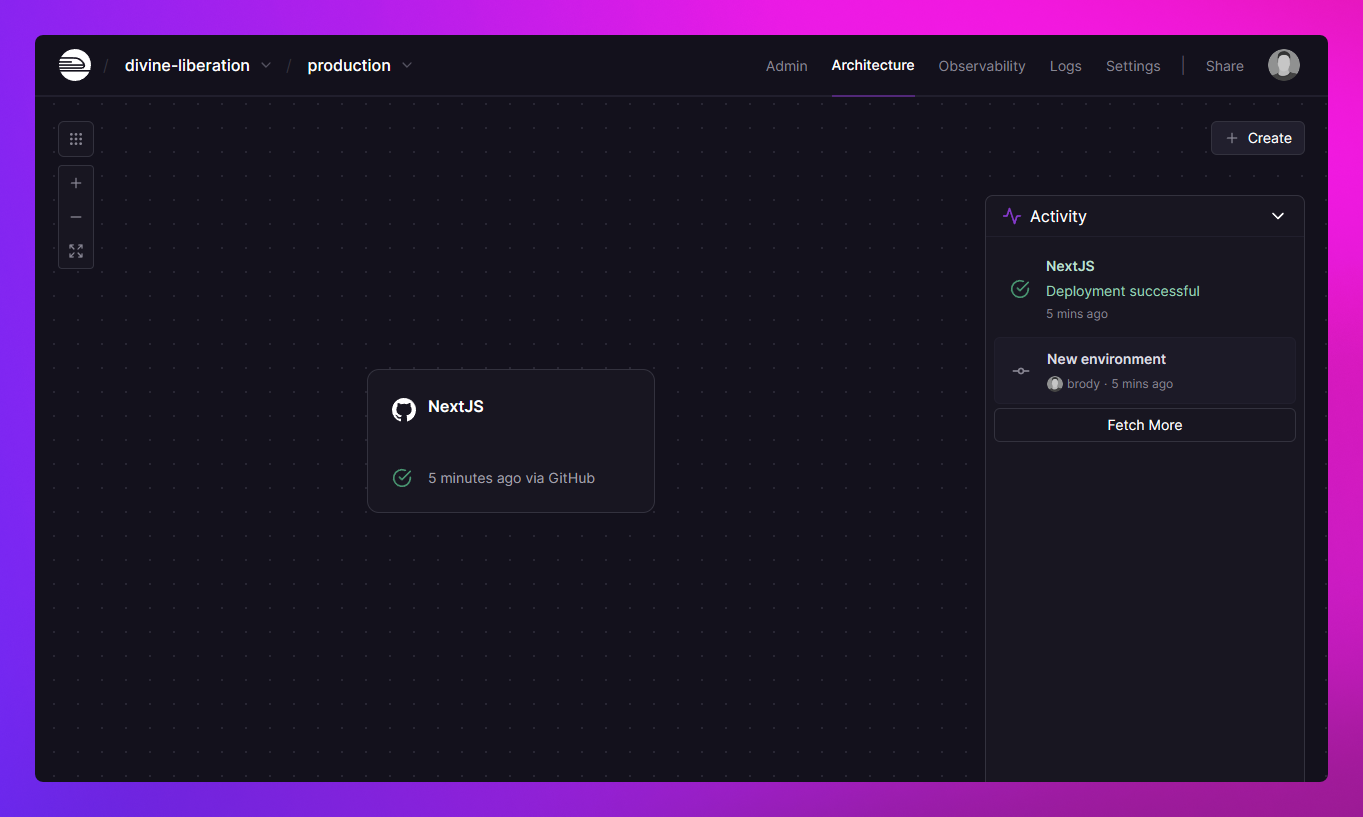
Once the project is created you will land on your Project Canvas.

From here Railway will automatically -
-
Detect your Next.js configuration
-
Configure the appropriate Node.js version
-
Build your application
-
Run your application
Environment configuration
Next.js applications often rely on environment variables for API keys, database connections, and feature flags. Here's how to transfer them -
From Vercel -
-
Visit your Vercel project settings
-
Navigate to the Environment Variables tab
-
Export your variables (you can copy them directly)
To Railway -
-
Select your service in the Project Canvas
-
Open the Variables tab
-
Use the Raw Editor for bulk variable import
-
Click Deploy to apply changes
Domain configuration
Railway makes it simple to set up custom domains or use Railway-provided domains -
-
Open your service's Settings
-
Navigate to the Public Networking section
-
Choose between:
-
Generating a Railway service domain
-
Adding your custom domain
-
-
Follow the DNS configuration steps if using a custom domain
Deployment verification
Before finalizing your migration:
-
Check your application's core functionality
-
Verify environment variables are properly set
-
Test dynamic routes and API endpoints
-
Confirm image optimization is working
-
Monitor build and runtime logs
Railway's integrated observability helps you catch any issues early in the migration process.
Local development
Railway makes local development seamless with your production environment:
-
Install the Railway CLI:
npm i -g @railway/cli -
Run
railway linkto connect to your project -
Use
railway runto start your app locally with production variables
This ensures development/production parity and helps catch issues before they reach production.
That's all it takes to move your Next.js application to Railway! Need help? The team and community are always ready to assist.
Need more information on how we compare to Vercel? Check out the comparison page.