Deploy a Symfony App
Symfony is a PHP web framework composed of a set of decoupled and reusable components all working together in harmony to create websites and web applications.
This guide covers how to deploy a Symfony app to Railway in three ways:
Now, let's create a Symfony app!
Create a Symfony app
Note: If you already have a Symfony app locally or on GitHub, you can skip this step and go straight to the Deploy Symfony App to Railway.
To create a new Symfony app, ensure that you have Composer, PHP and Symfony installed on your machine.
Run the following command in your terminal to create a new Symfony app:
A new Symfony app will be provisioned for you in the apphelloworld directory.
Run the Symfony app locally
To start your app, run:
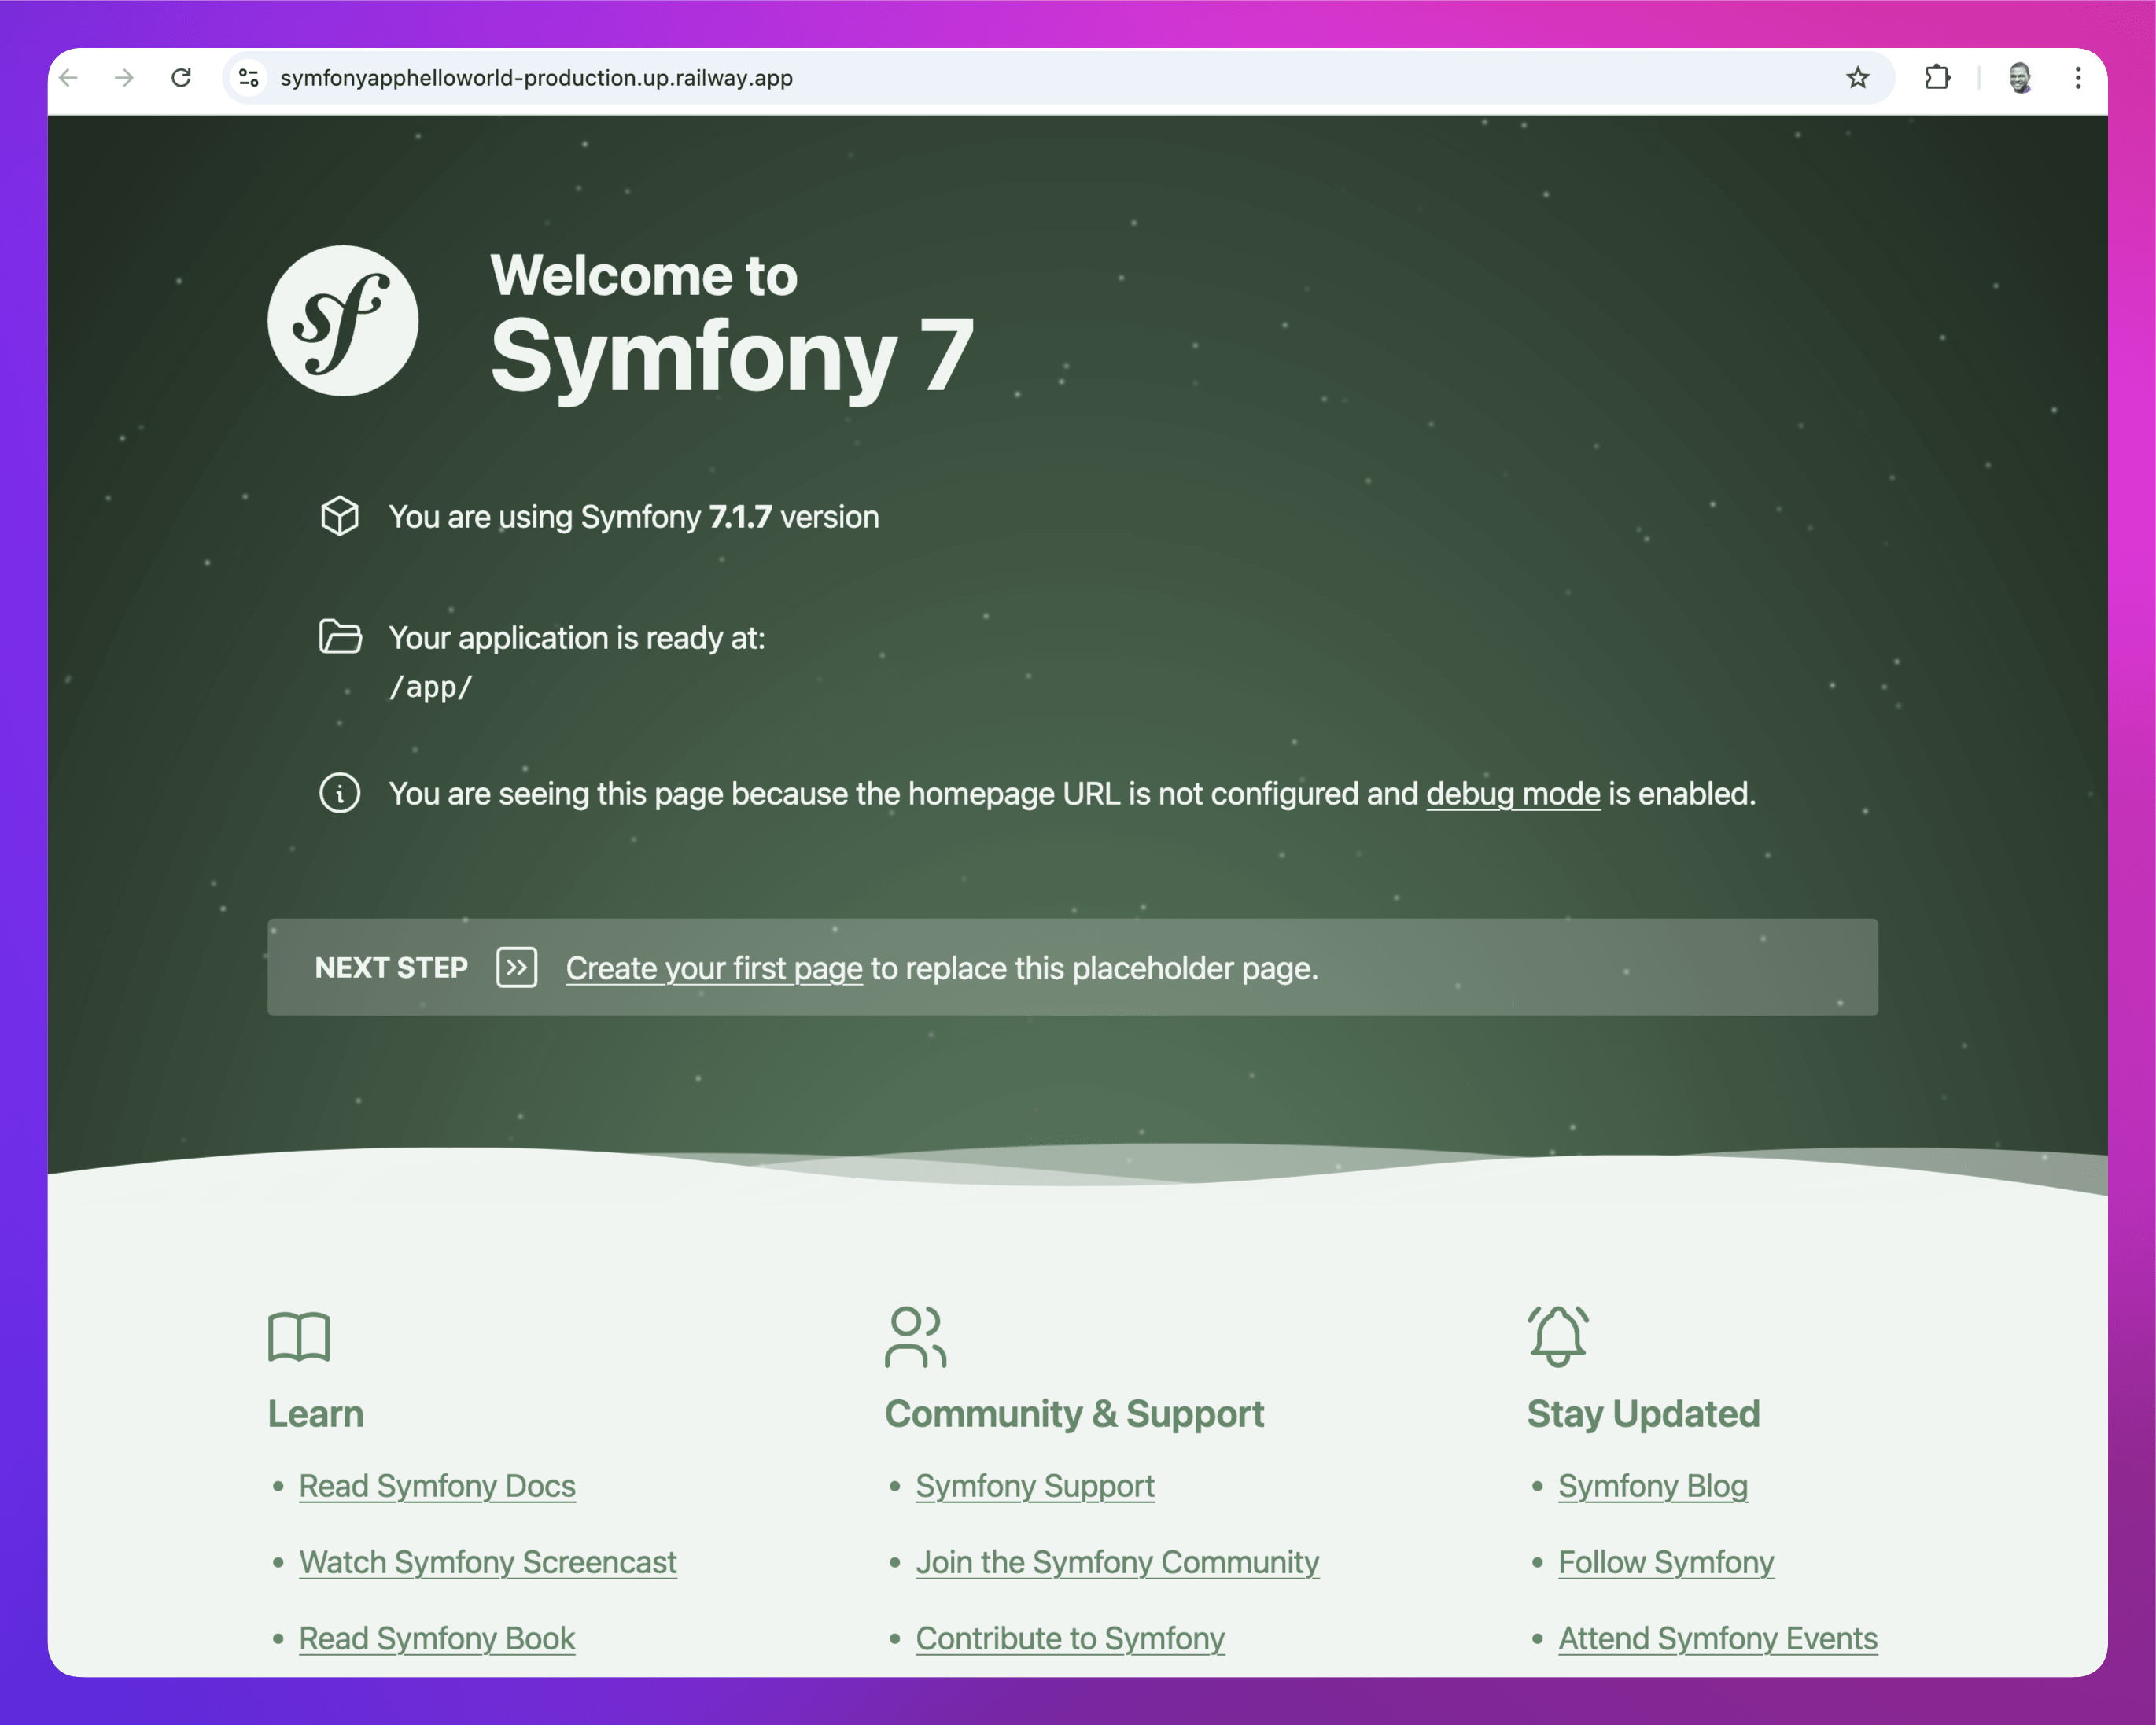
Once the app is running, open your browser and navigate to http://localhost:8000 to view it in action.
Deploy the Symfony app to Railway
Railway offers multiple ways to deploy your Symfony app, depending on your setup and preference.
One-click deploy from a template
This template sets up a starter Symfony application along with a Postgres database on Railway. You can also choose from a variety of Symfony app templates created by the community.
It is highly recommended that you eject from the template after deployment to create a copy of the repo on your GitHub account.
Deploy from the CLI
If you have your Symfony app locally, you can follow these steps:
- Install the Railway CLI:
- Install the CLI and authenticate it using your Railway account.
- Initialize a Railway Project:
- Run the command below in your Symfony app directory.
- Follow the prompts to name your project.
- After the project is created, click the provided link to view it in your browser.
- Run the command below in your Symfony app directory.
- Add a Postgres Database Service:
- Run
railway add -d postgres. - Hit Enter to add it to your project.
- A database service will be added to your Railway project.
- Run
- Add a Service and Environment Variable:
- Run
railway add. - Select
Empty Servicefrom the list of options. - In the
Enter a service nameprompt, enterapp-service. - In the
Enter a variableprompt, enterDATABASE_URL=${{Postgres.DATABASE_URL}}.- The value,
${{Postgres.DATABASE_URL}}, references the URL of your new Postgres database. Learn more about referencing service variables.
- The value,
- Set the other environment variables: -
APP_ENV=prod- This setting informs Symfony that the app is running in a production environment, optimizing it for performance. -APP_SECRET=secretwhere secret is your generated app secret. -COMPOSER_ALLOW_SUPERUSER="1"- This is necessary to allow Composer to run as root, enabling the plugins that Symfony requires during installation. -NIXPACKS_PHP_ROOT_DIR="/app/public"- This ensures the Nginx configuration points to the correct root directory path to serve the app. Note: Explore the Railway CLI reference for a variety of options.
- Run
- Deploy the Application:
- Run
railway upto deploy your app.- This command will scan, compress and upload your app's files to Railway. You’ll see real-time deployment logs in your terminal.
- Once the deployment is complete, proceed to generate a domain for the app service.
- Run
- Set Up a Public URL:
- Run
railway domainto generate a public URL for your app. - Visit the new URL to see your app live in action!
- Run

Deploy from a GitHub repo
To deploy a Symfony app to Railway directly from GitHub, follow the steps below:
-
Create a New Project on Railway:
- Go to Railway to create a new project.
-
Deploy from GitHub:
- Select Deploy from GitHub repo and choose your repository.
- If your Railway account isn’t linked to GitHub yet, you’ll be prompted to do so.
- Select Deploy from GitHub repo and choose your repository.
-
Add Environment Variables and Provision a Database Service:
- Click Add Variables, but hold off on adding anything just yet. First, proceed with the next step.
- Right-click on the Railway project canvas or click the Create button, then select Database and choose Add PostgreSQL.
- This will create and deploy a new PostgreSQL database for your project.
- Once the database is deployed, you can return to adding the necessary environment variables:
DATABASE_URL: Set the value to${{Postgres.DATABASE_URL}}(this references the URL of your new Postgres database). Learn more about referencing service variables.APP_ENV=prod- This setting informs Symfony that the app is running in a production environment, optimizing it for performance.APP_SECRET=secretwhere secret is your generated app secret.COMPOSER_ALLOW_SUPERUSER="1"- This is necessary to allow Composer to run as root, enabling the plugins that Symfony requires during installation.NIXPACKS_PHP_ROOT_DIR="/app/public"- This ensures the Nginx configuration points to the correct root directory path to serve the app.
-
Deploy the App Service:
- Click Deploy on the Railway project canvas to apply your changes.
-
Verify the Deployment:
- Once the deployment completes, go to View logs to check if the server is running successfully.
Note: During the deployment process, Railway will automatically detect that it’s a PHP app via Nixpacks.
-
Set Up a Public URL:
- Navigate to the Networking section under the Settings tab of your new service.
- Click Generate Domain to create a public URL for your app.
Note: The next step shows how to run your Symfony app along with a database, migrations, cron jobs, and workers.
Set up database, migrations, crons and workers
This setup deploys your Symfony app on Railway, ensuring that your database, scheduled tasks (crons), and queue workers are all fully operational.
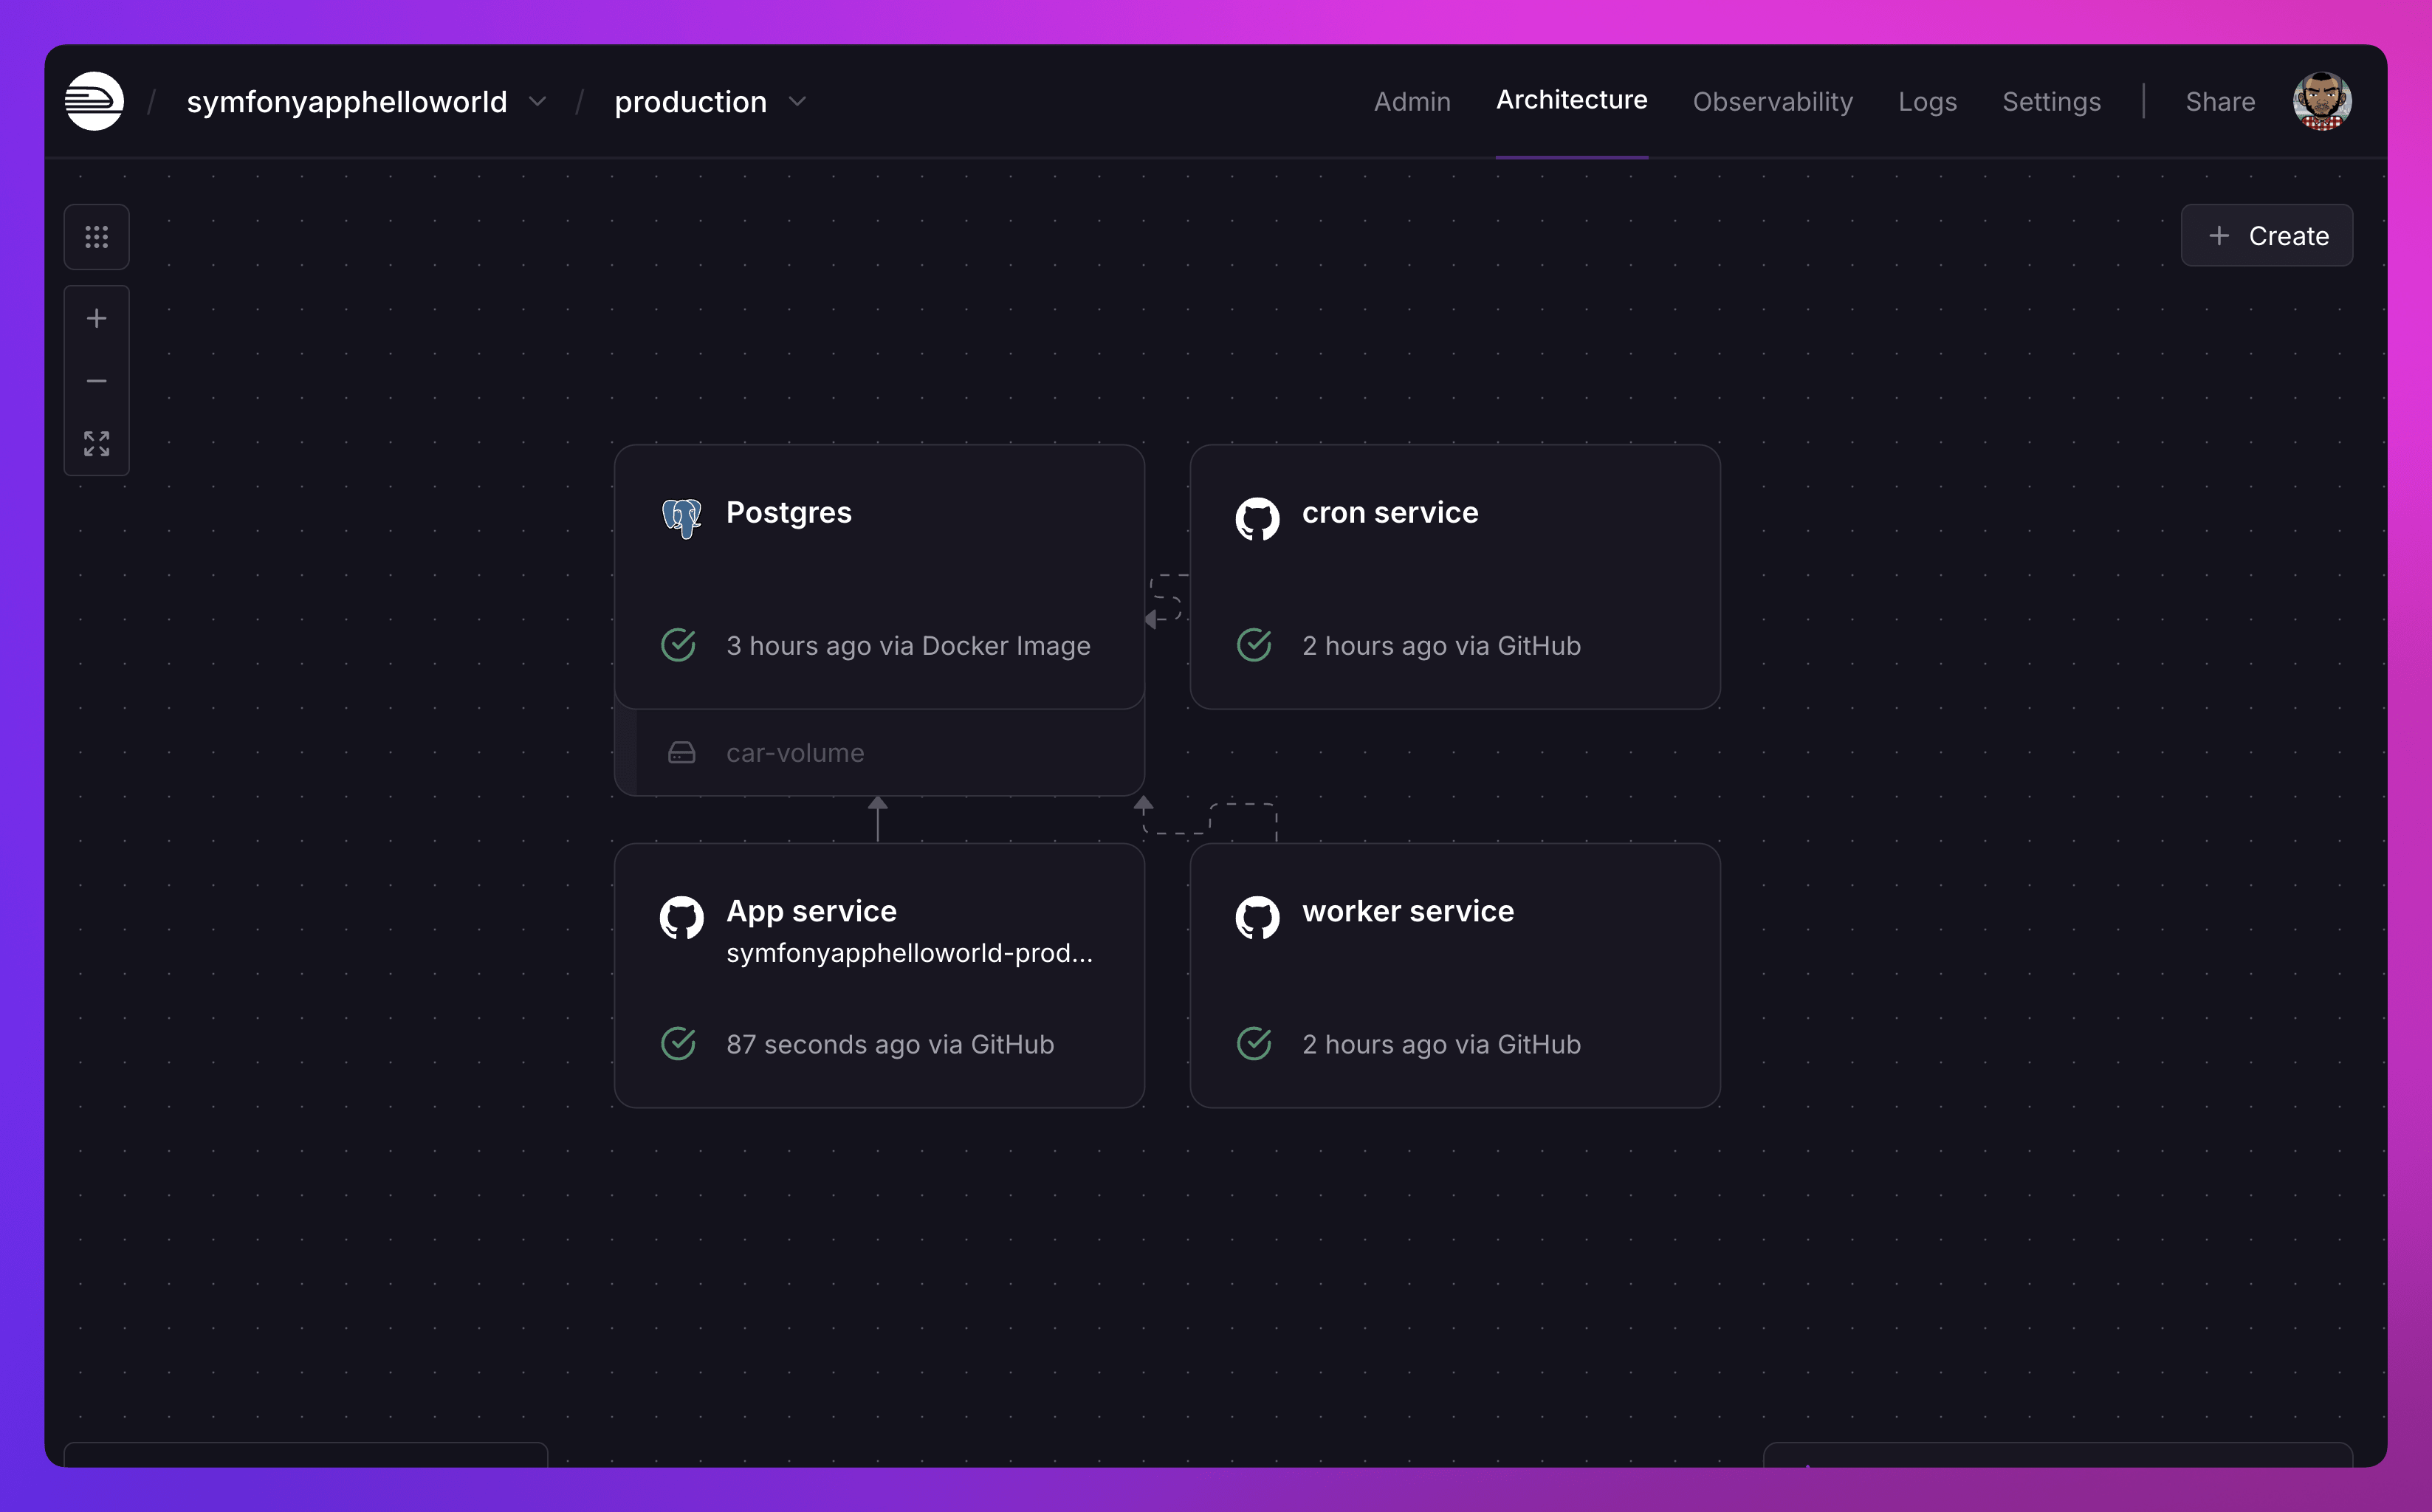
The deployment structure follows a "majestic monolith" architecture, where the entire Symfony app is managed as a single codebase but split into four separate services on Railway:
- App Service: Handles HTTP requests and user interactions.
- Cron Service: Manages scheduled tasks (e.g., sending emails or running reports).
- Worker Service: Processes background jobs from the queue.
- Database Service: Stores and retrieves your application's data.

My Majestic Monolith Symfony app
Please follow these steps to get started:
-
Create three bash scripts in the root directory of your Symfony app:
run-app.sh,run-worker.sh, andrun-cron.sh.These scripts will contain the commands needed to deploy and run the app, worker, and cron services for your Symfony app on Railway.
-
Add the content below to the
run-app.shfile:Note: This is required to start your app service after the build phase is complete. This script will execute the migrations and then start the Nginx server.
-
Add the content below to the
run-worker.shfile. This script will run the queue worker: -
Symfony doesn't natively include a scheduler. So, please install the CronBundle to define and run scheduled tasks. With that set up, add the content below to the
run-cron.shfile:
-
-
Create a Postgres Database service on the Project Canvas.
- Click on Deploy.
-
Create a new service on the Project Canvas.
- Name the service App Service, and click on Settings to configure it.
- Connect your GitHub repo to the Source Repo in the Source section.
- Add
chmod +x ./run-app.sh && sh ./run-app.shto the Custom Start Command in the Deploy section. - Head back to the top of the service and click on Variables.
- Add all the necessary environment variables required for the Symfony app especially the ones listed below.
APP_ENV=prodAPP_SECRET=secretwhere secret is your generated app secret.COMPOSER_ALLOW_SUPERUSER="1"- This is necessary to allow Composer to run as root, enabling the plugins that Symfony requires during installation.NIXPACKS_PHP_ROOT_DIR="/app/public"- This ensures the Nginx configuration points to the correct root directory path to serve the app.DATABASE_URL=${{Postgres.DATABASE_URL}}(this references the URL of your Postgres database).
- Click Deploy.
-
Create a new service on the Project Canvas.
- Name the service Cron Service, and click on Settings.
- Connect your GitHub repo to the Source Repo in the Source section.
- Add
chmod +x ./run-cron.sh && sh ./run-cron.shto the Custom Start Command in the Deploy section. - Head back to the top of the service and click on Variables.
- Add all the necessary environment variables especially those highlighted already in step 3.
- Click Deploy.
-
Create a new service again on the Project Canvas.
- Name the service Worker Service, and click on Settings.
- Connect your GitHub repo to the Source Repo in the Source section.
- Add
chmod +x ./run-worker.sh && sh ./run-worker.shto the Custom Start Command in the Deploy section. - Head back to the top of the service and click on Variables.
- Add all the necessary environment variables especially those highlighted already in step 3.
- Click Deploy.
At this point, you should have all three services deployed and connected to the Postgres Database service:

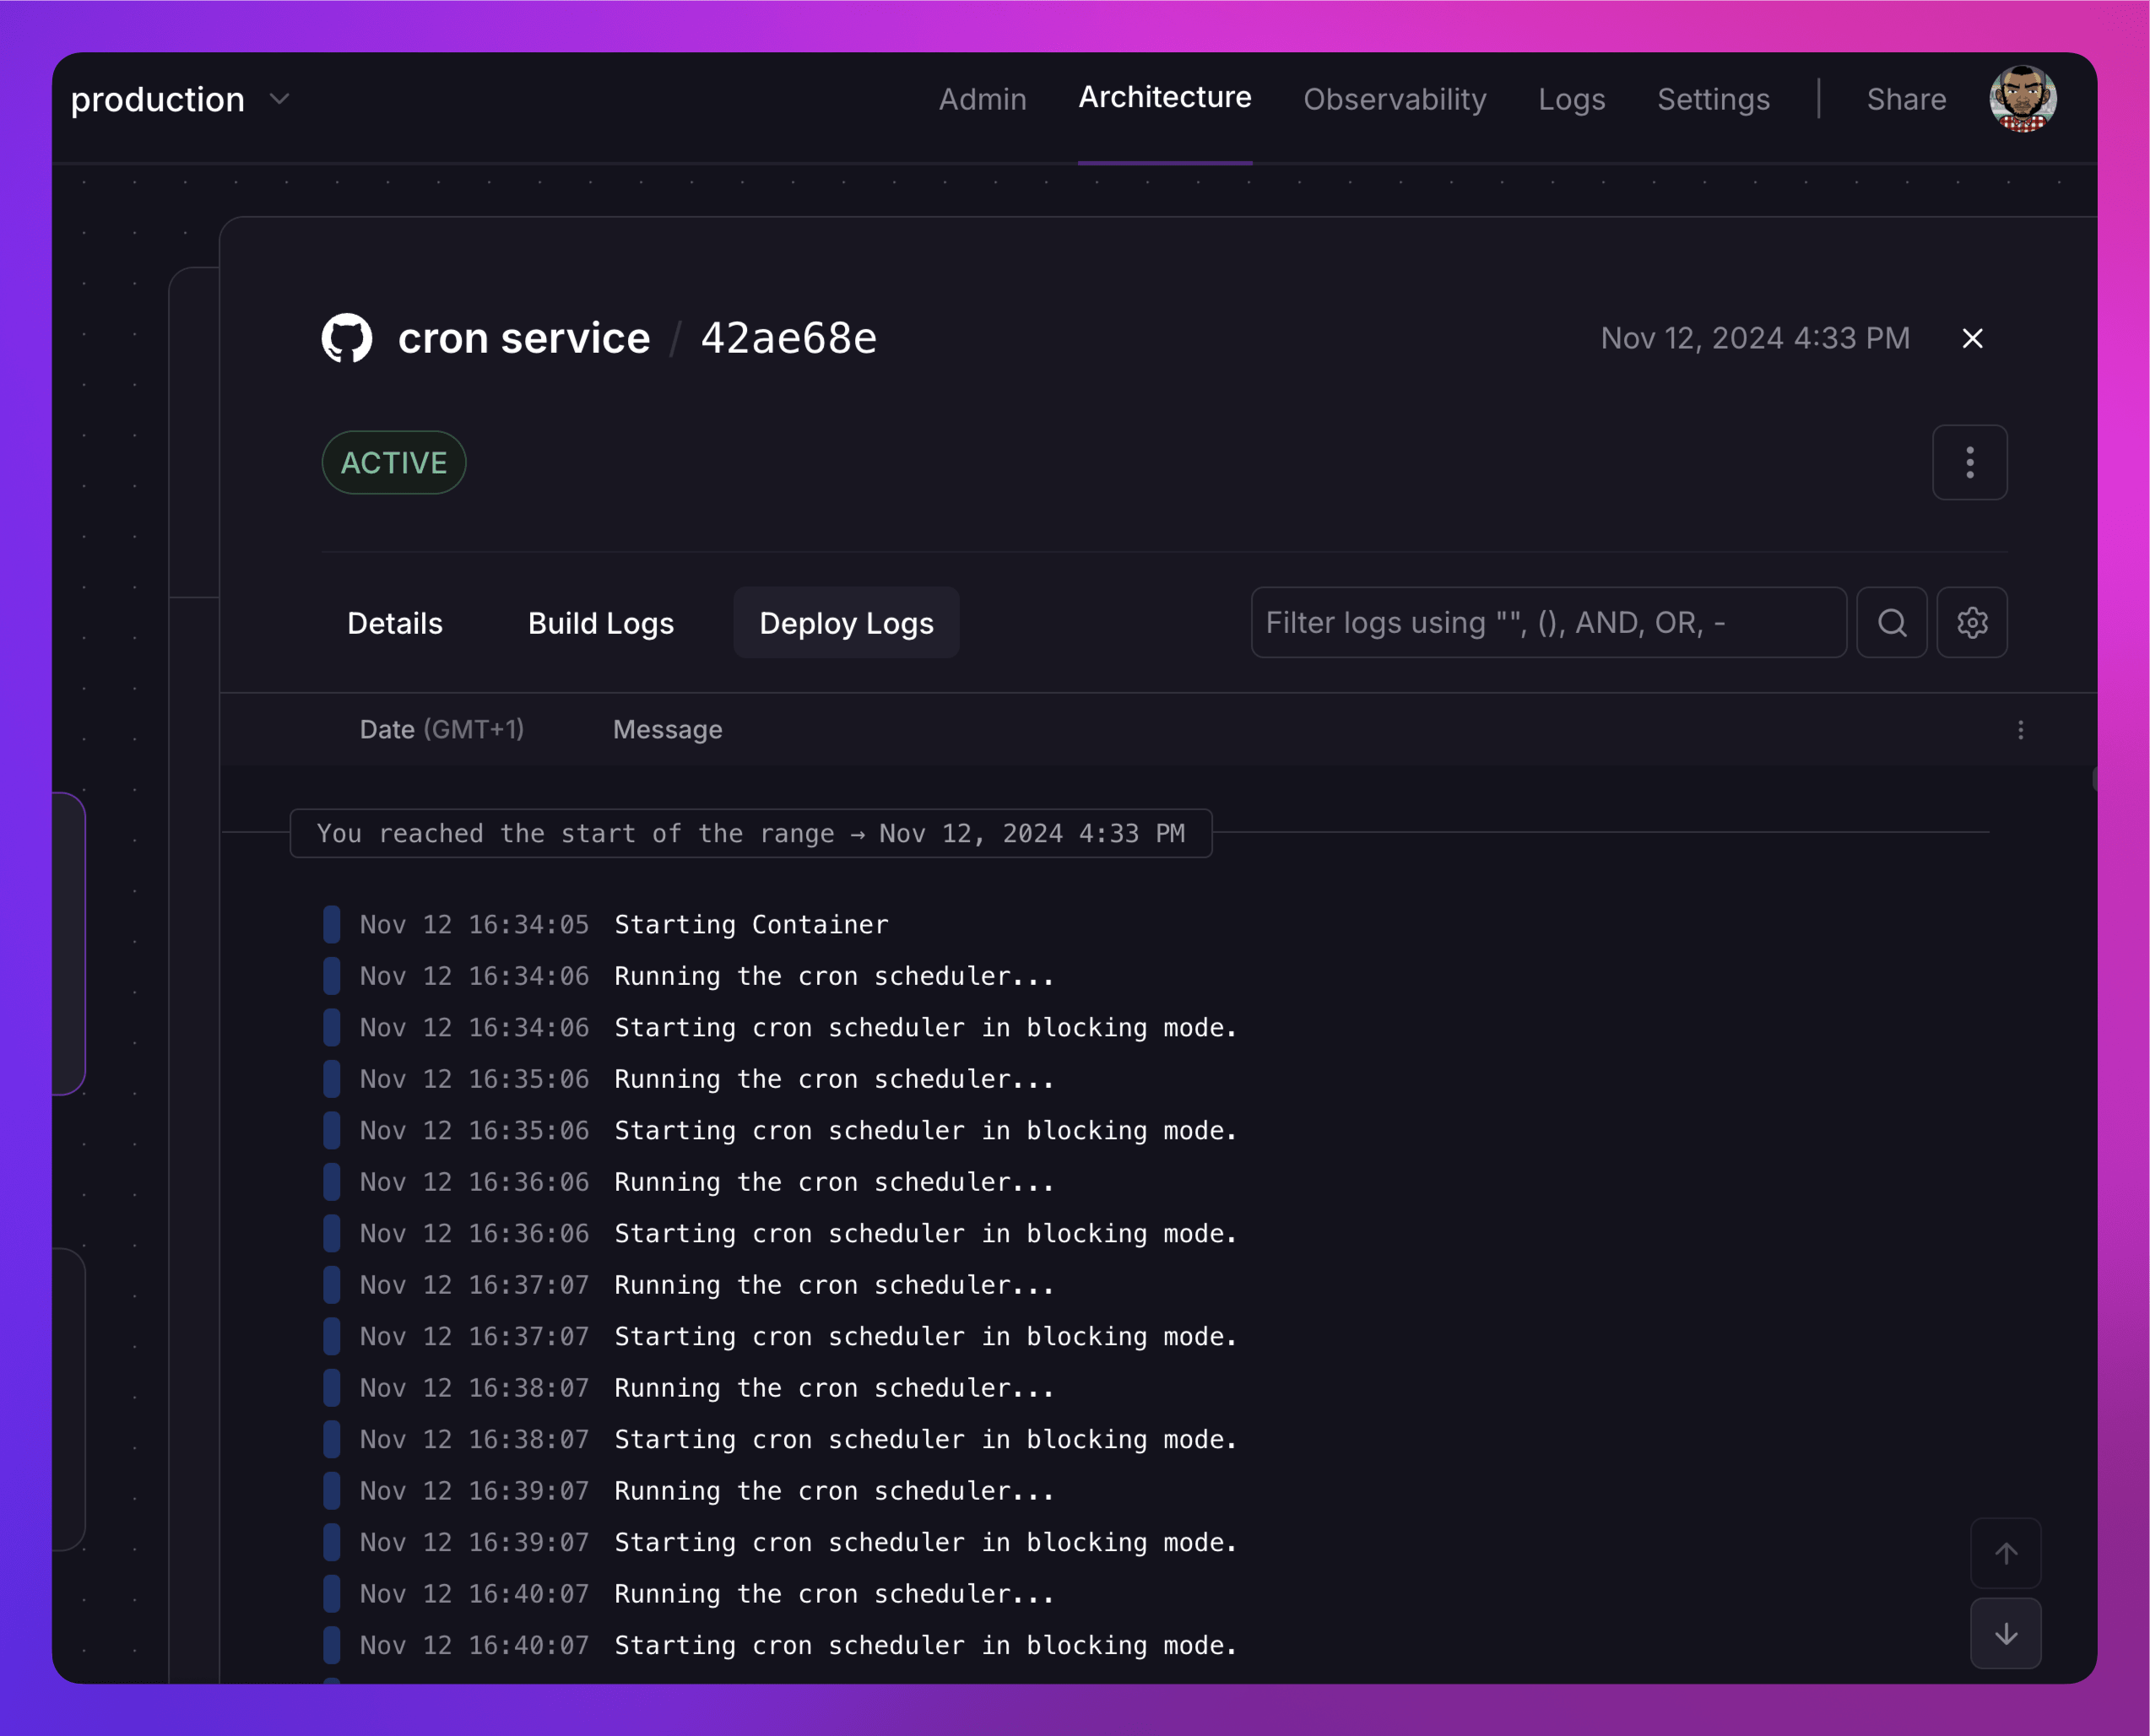
- Cron Service: This service should run the cron bundler Scheduler to manage scheduled tasks.

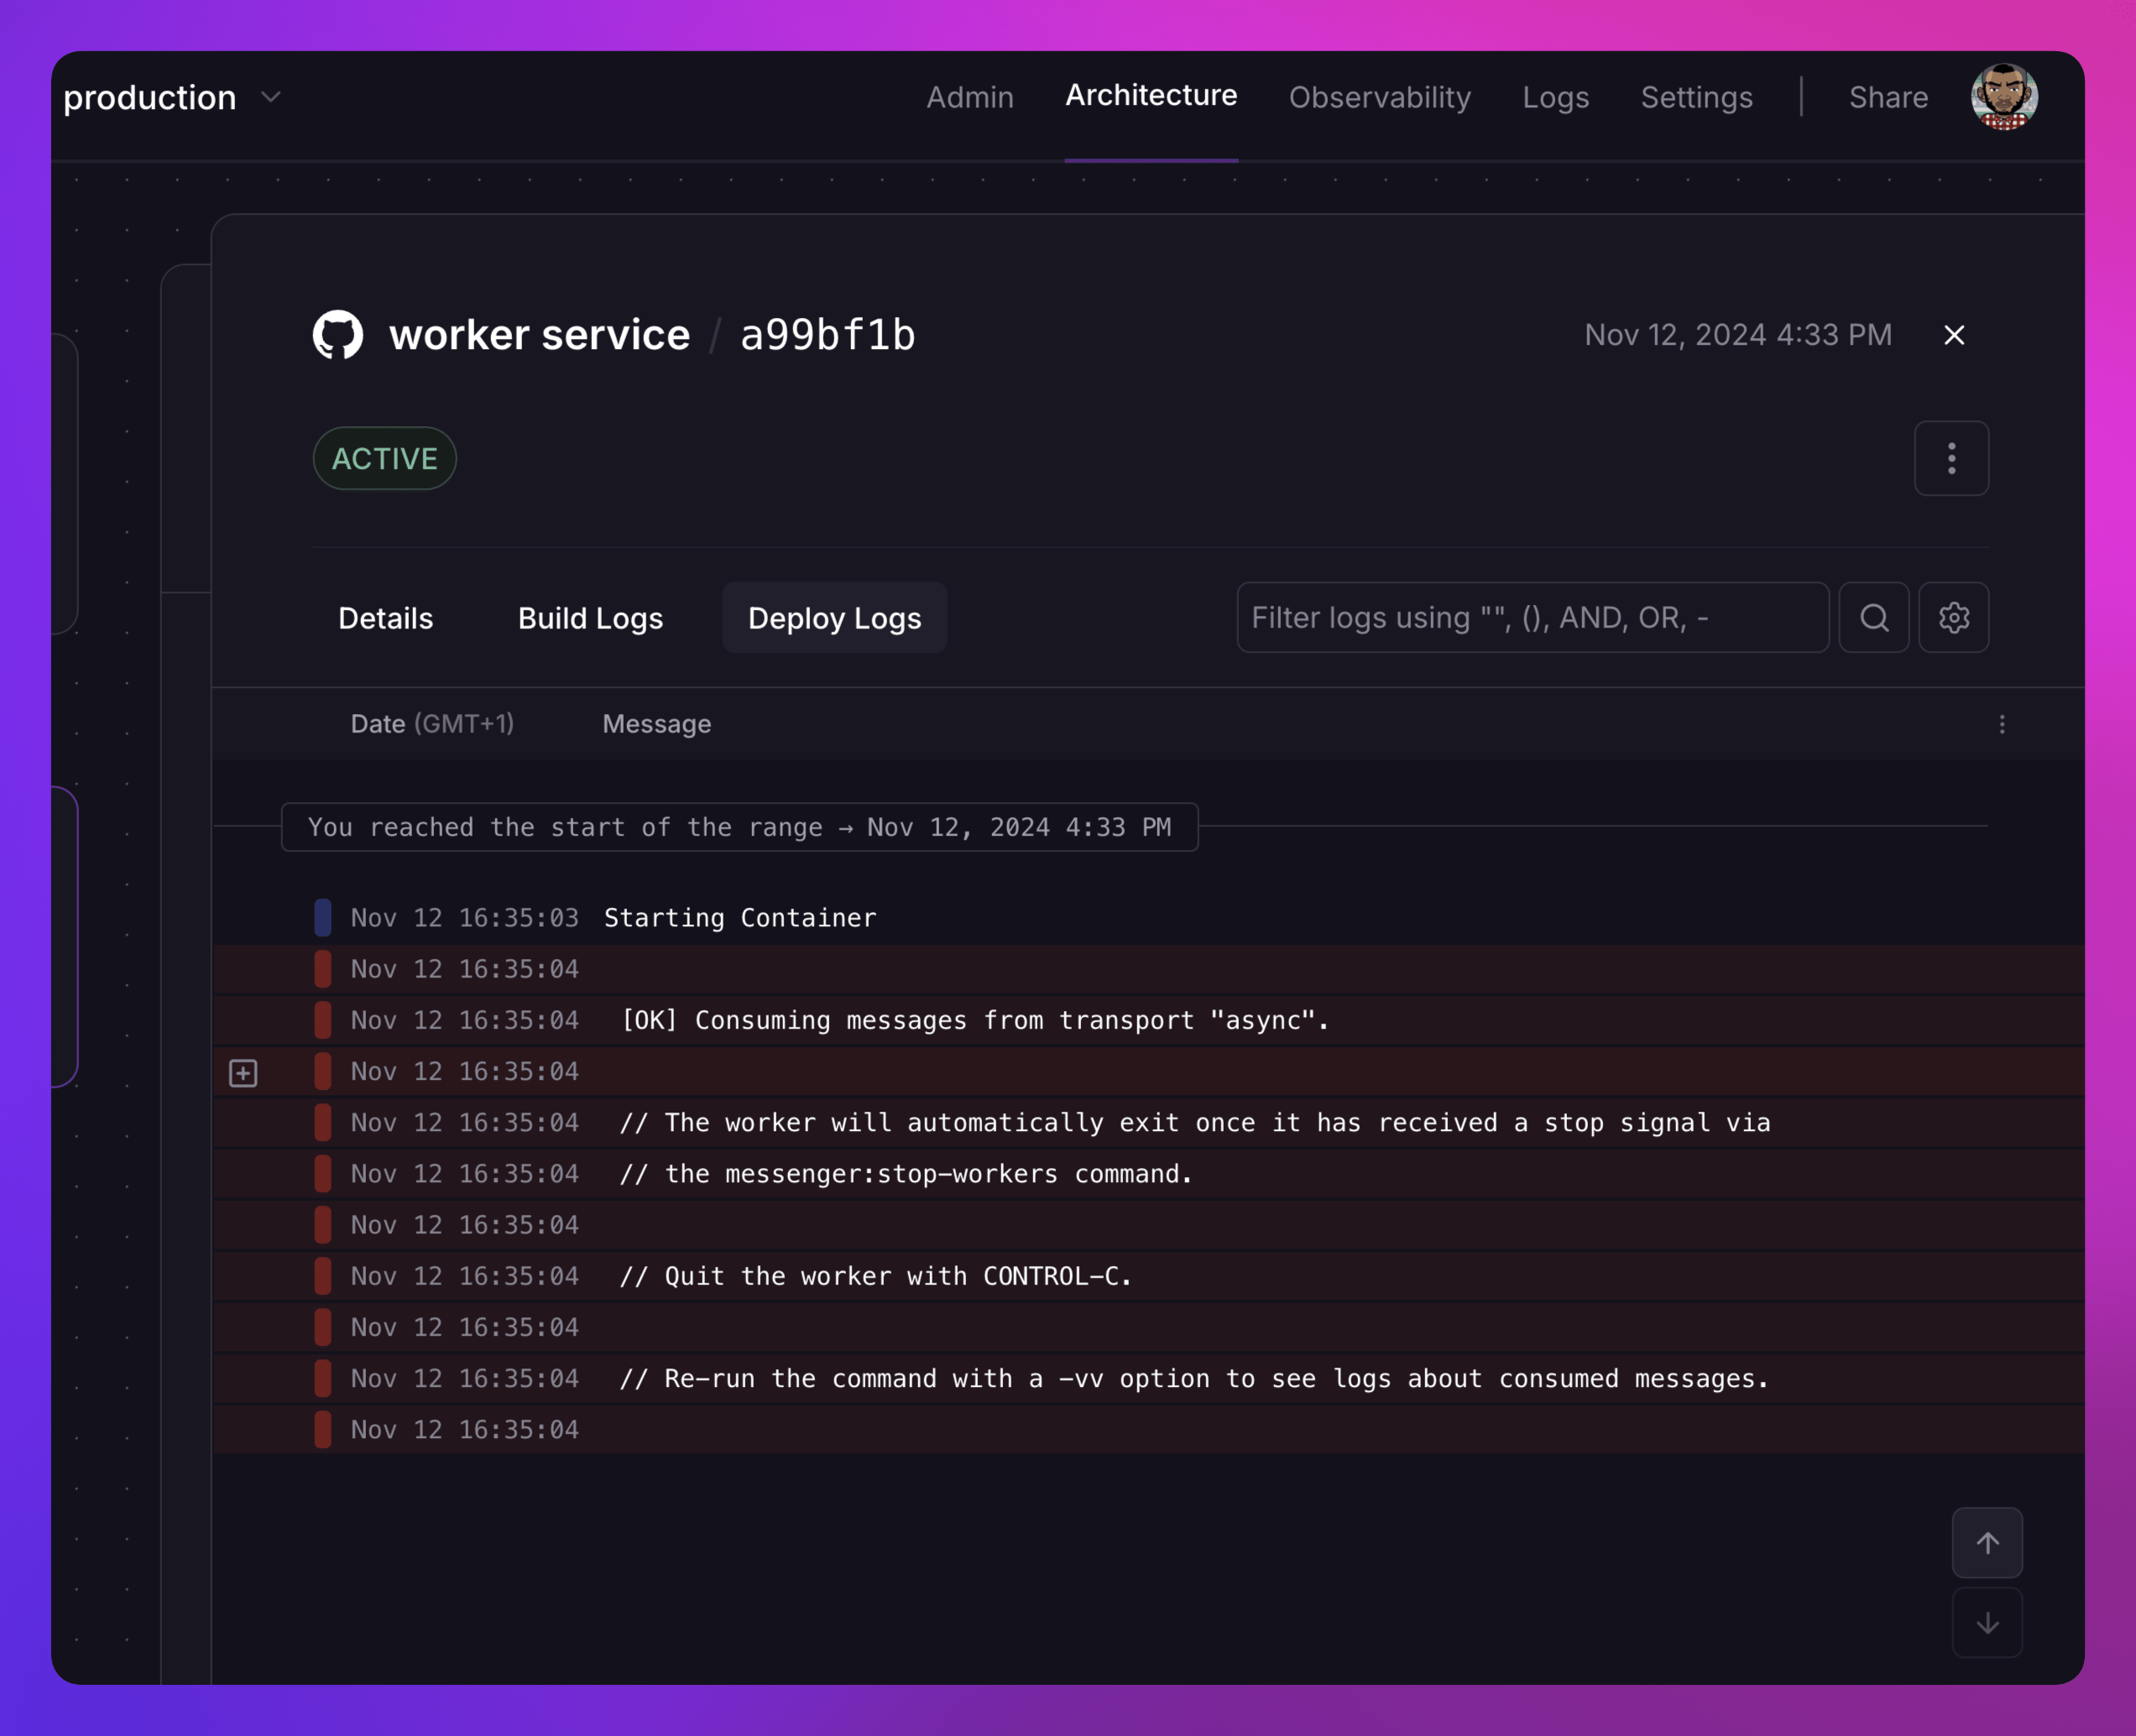
- Worker Service: This service should be running and ready to process jobs from the queue.

- App Service: This service should be running and is the only one that should have a public domain, allowing users to access your application.

App service
Note: There is a community template available that demonstrates this deployment approach. You can easily deploy this template and then connect it to your own GitHub repository for your application.
Next steps
Explore these resources to learn how you can maximize your experience with Railway: