Deploy Node.js & Express API with Autoscaling, Secrets, and Zero Downtime
In this guide, you'll learn how to deploy a Node.js and Express.js API to production using Railway. You'll build and deploy an API with automatic scaling, environment secrets management, and preview environments.
What is Railway?
Railway is a modern deployment platform that enables you to deploy applications without managing servers, configuring load balancers, or learning Kubernetes. It provides automatic scaling, zero-downtime deployments, and built-in CI/CD.
Learn more about Railway's core components and foundations.
Prerequisites
This is a beginner-friendly guide. However, it assumes basic knowledge of JavaScript or TypeScript (preferred). You'll also need to have Node.js installed on your machine.
To successfully complete this guide, you'll need:
- A Railway account
- A GitHub account with git configured
- Node.js installed locally - you can use nvm to manage your Node.js versions
You can find the final code on GitHub.
Project setup
Let's create a new Node.js project from scratch with TypeScript support. First, create a new directory and initialize the project:
Install TypeScript and dependencies
Install TypeScript, Express, and the necessary type definitions:
- Express - Web framework for Node.js
- dotenv - Loads environment variables from
.envfiles - TypeScript - Typed superset of JavaScript
- tsx - TypeScript execution engine
Configure TypeScript
Create a tsconfig.json file in your project root. Learn more about TypeScript configuration options:
Create the project structure
Create a src directory and the main application file:
Create src/app.ts with the following code:
Set up environment variables
Create a .env file in your project root to store environment variables:
Important: Create a .gitignore file in your project root and add the following entries to keep sensitive data and dependencies out of version control:
This ensures that sensitive environment variables, installed dependencies, and build artifacts are not committed to your repository.
Learn more about .gitignore patterns and environment variable security best practices.
Learn more about managing variables in Railway.
Update package.json scripts
Update your package.json to include the necessary scripts. Learn more about npm scripts:
Run the development server
Now you can run your TypeScript application using tsx, which provides seamless TypeScript execution without worrying about configuration:
If you open your browser and navigate to http://localhost:3000, you'll see your Express API running with TypeScript support.
Learn more about customizing builds and build configuration in Railway.
Deploy to Railway from GitHub
Now let's deploy this API to Railway. First, create a Railway account by going to railway.com/new and signing up with your GitHub account.
-
Create a GitHub repository:
- Go to GitHub and click "New repository"
- Name it
my-express-api(or any name you prefer) - Make it public or private
- Don't initialize with README, .gitignore, or license (you already have these)
- Click "Create repository"
-
Push your code to GitHub:
Learn more about Git basics if you're new to version control.
-
Deploy from Railway:
- In Railway, click "Deploy from GitHub repo"
- Select your repository
- Railway automatically detects it's a Node.js app
-
Configure environment variables:
- Click on your deployed service
- Go to the "Variables" tab
- Add the following variables:
NODE_ENV=productionAPP_NAME=My Production API
- Apply the changes and deploy
-
Generate a public URL:
- Go to "Settings" → "Networking"
- Click "Generate Domain"
- Your API is now live at
https://your-app.up.railway.app. When you visit this URL, you should see your Express API running.
Learn more about deploying applications, public networking, and staged changes in Railway.
Scaling and pricing
Railway automatically manages your application's scaling without any configuration needed. Here's how it works:
Vertical scaling (automatic)
Railway automatically scales your service vertically by increasing CPU and memory allocation as traffic grows. This happens seamlessly up to your plan's limits
Check out the Railway pricing page for more details about the different plans and their limits.
Horizontal scaling (one-click)
For high-traffic applications, you can scale horizontally by deploying multiple replicas:
- In your Railway project, click on your service
- Go to the "Settings" tab
- Under "Scaling", increase the instance count
- Railway automatically distributes traffic across all replicas
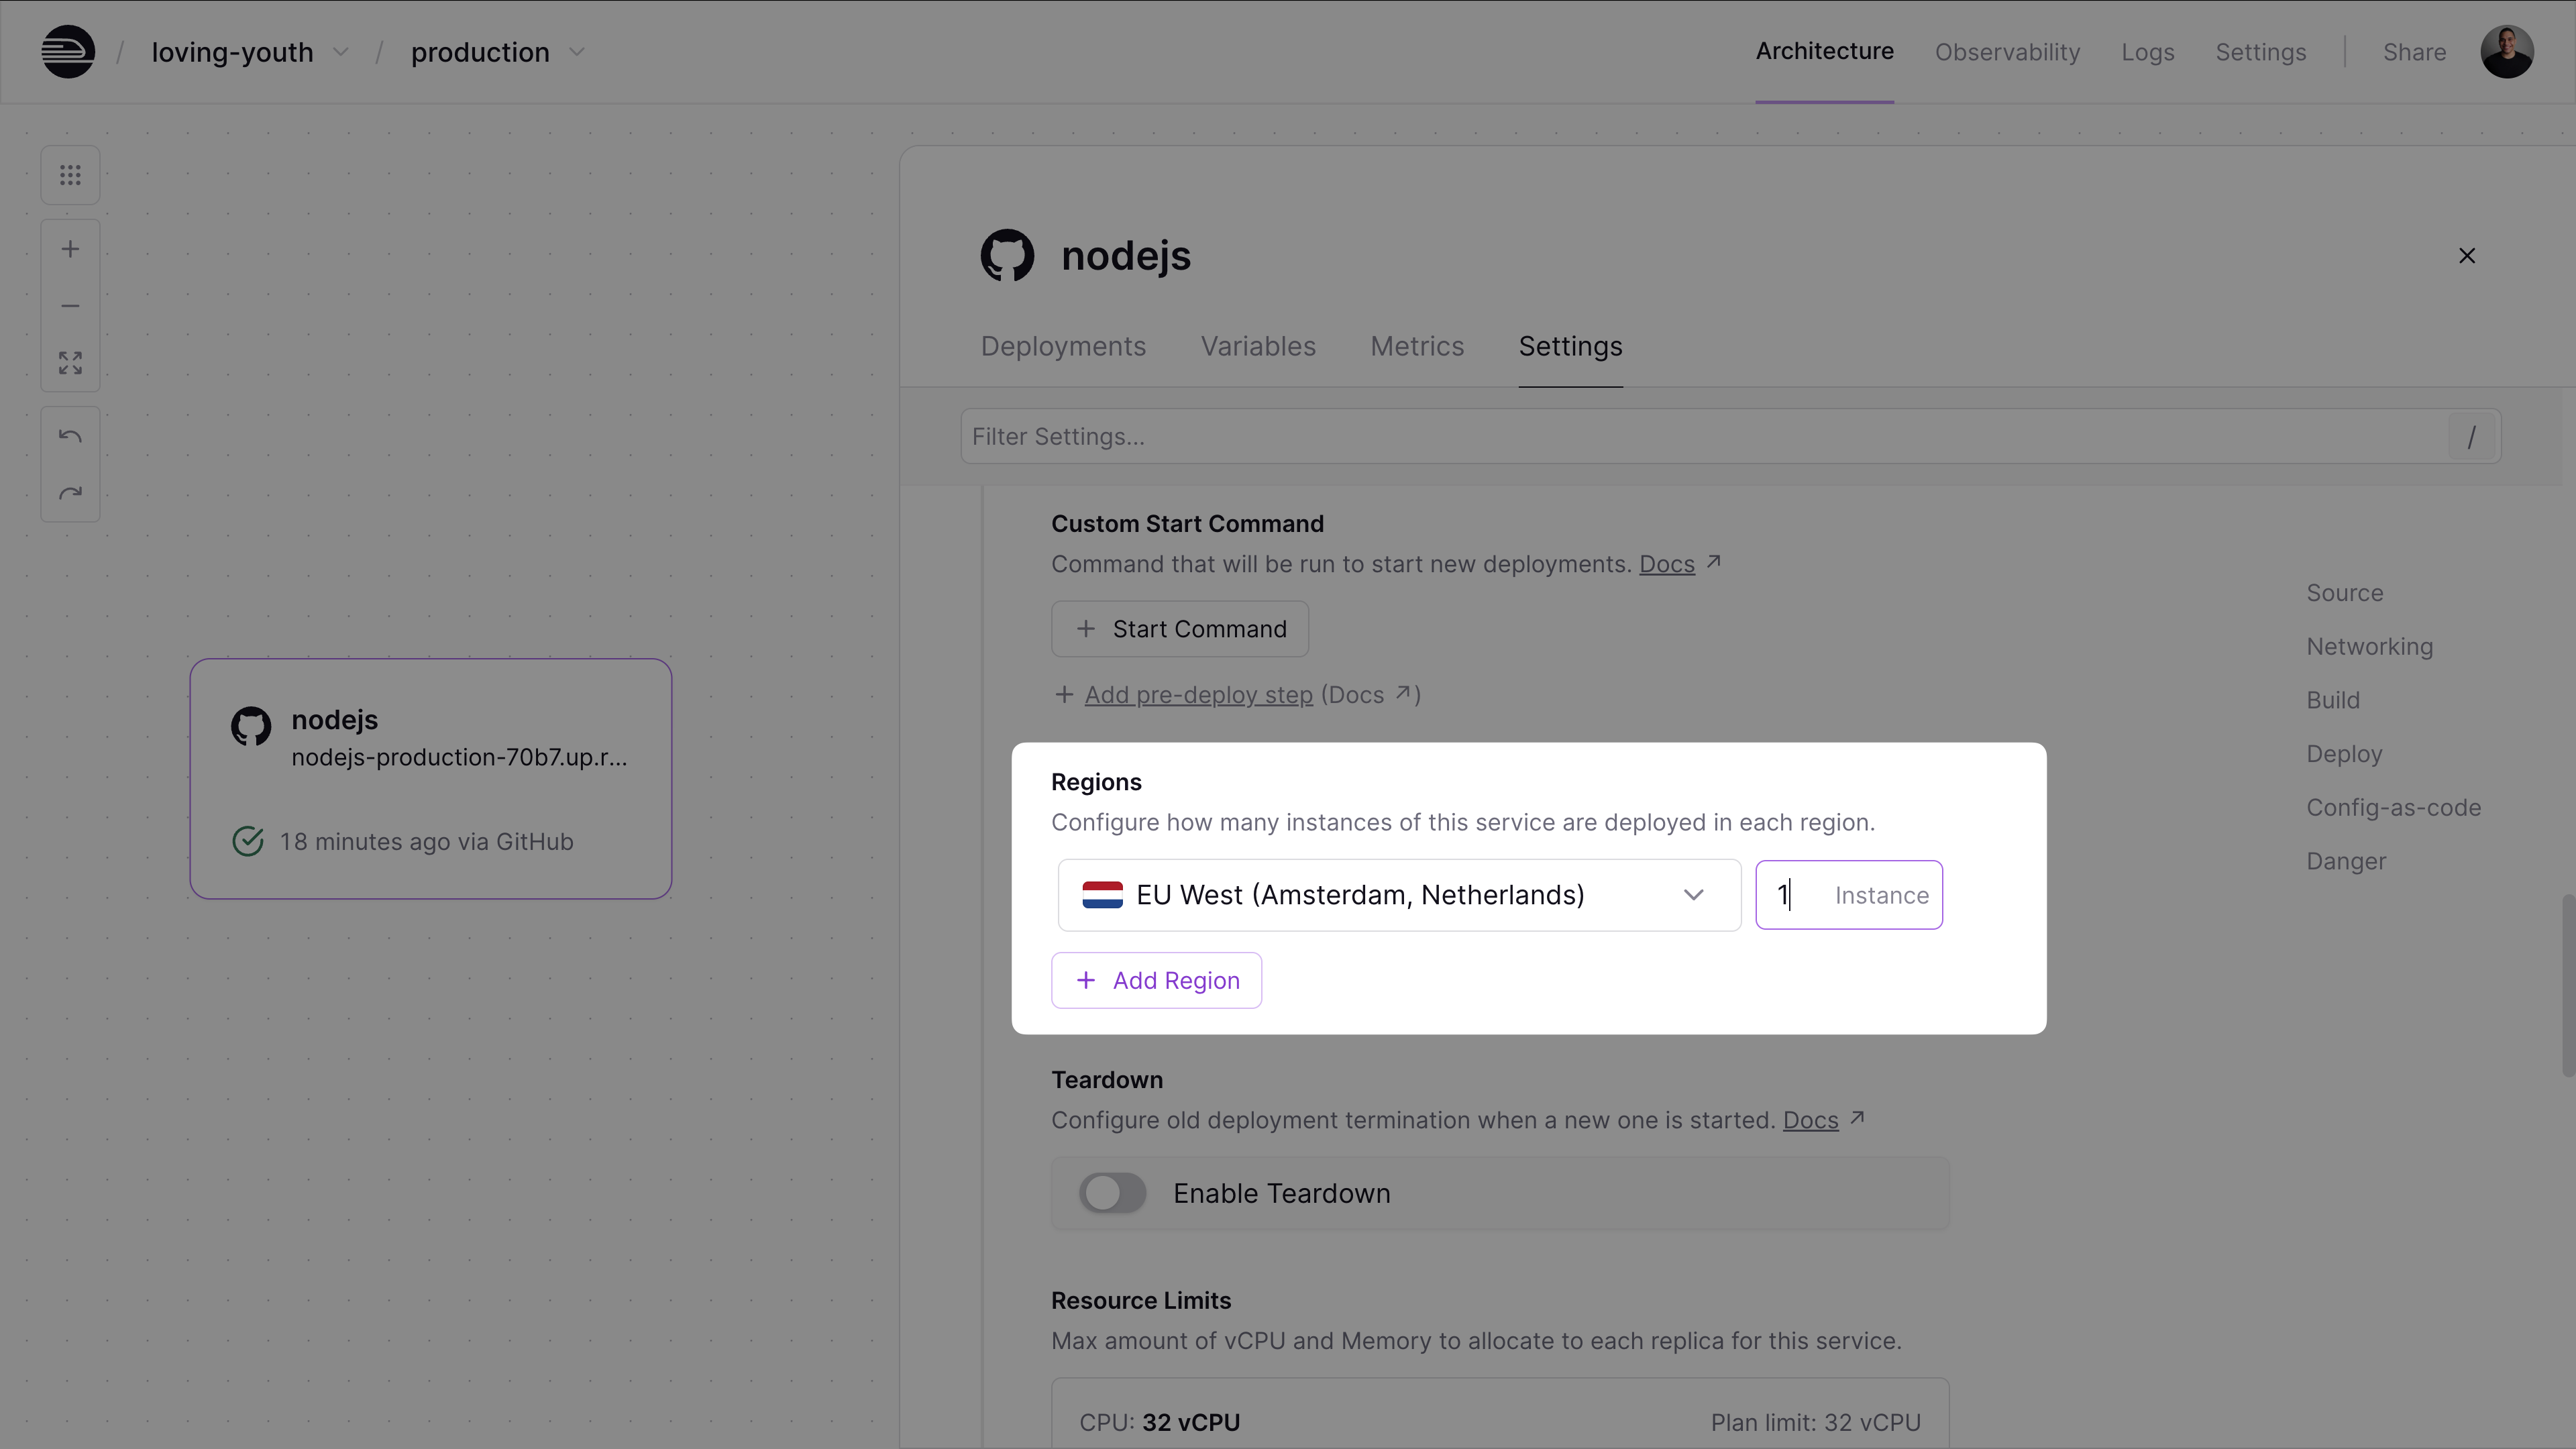
Each replica runs with the full resource limits of your plan. So if you're on the Pro plan and deploy 3 replicas, you get a combined capacity of 72 vCPU and 72 GB RAM.
Multi-region deployment
Railway also supports multi-region deployments for global applications:
- Deploy replicas in different geographical regions
- Railway automatically routes traffic to the nearest region
- Traffic is then distributed randomly across available replicas within that region
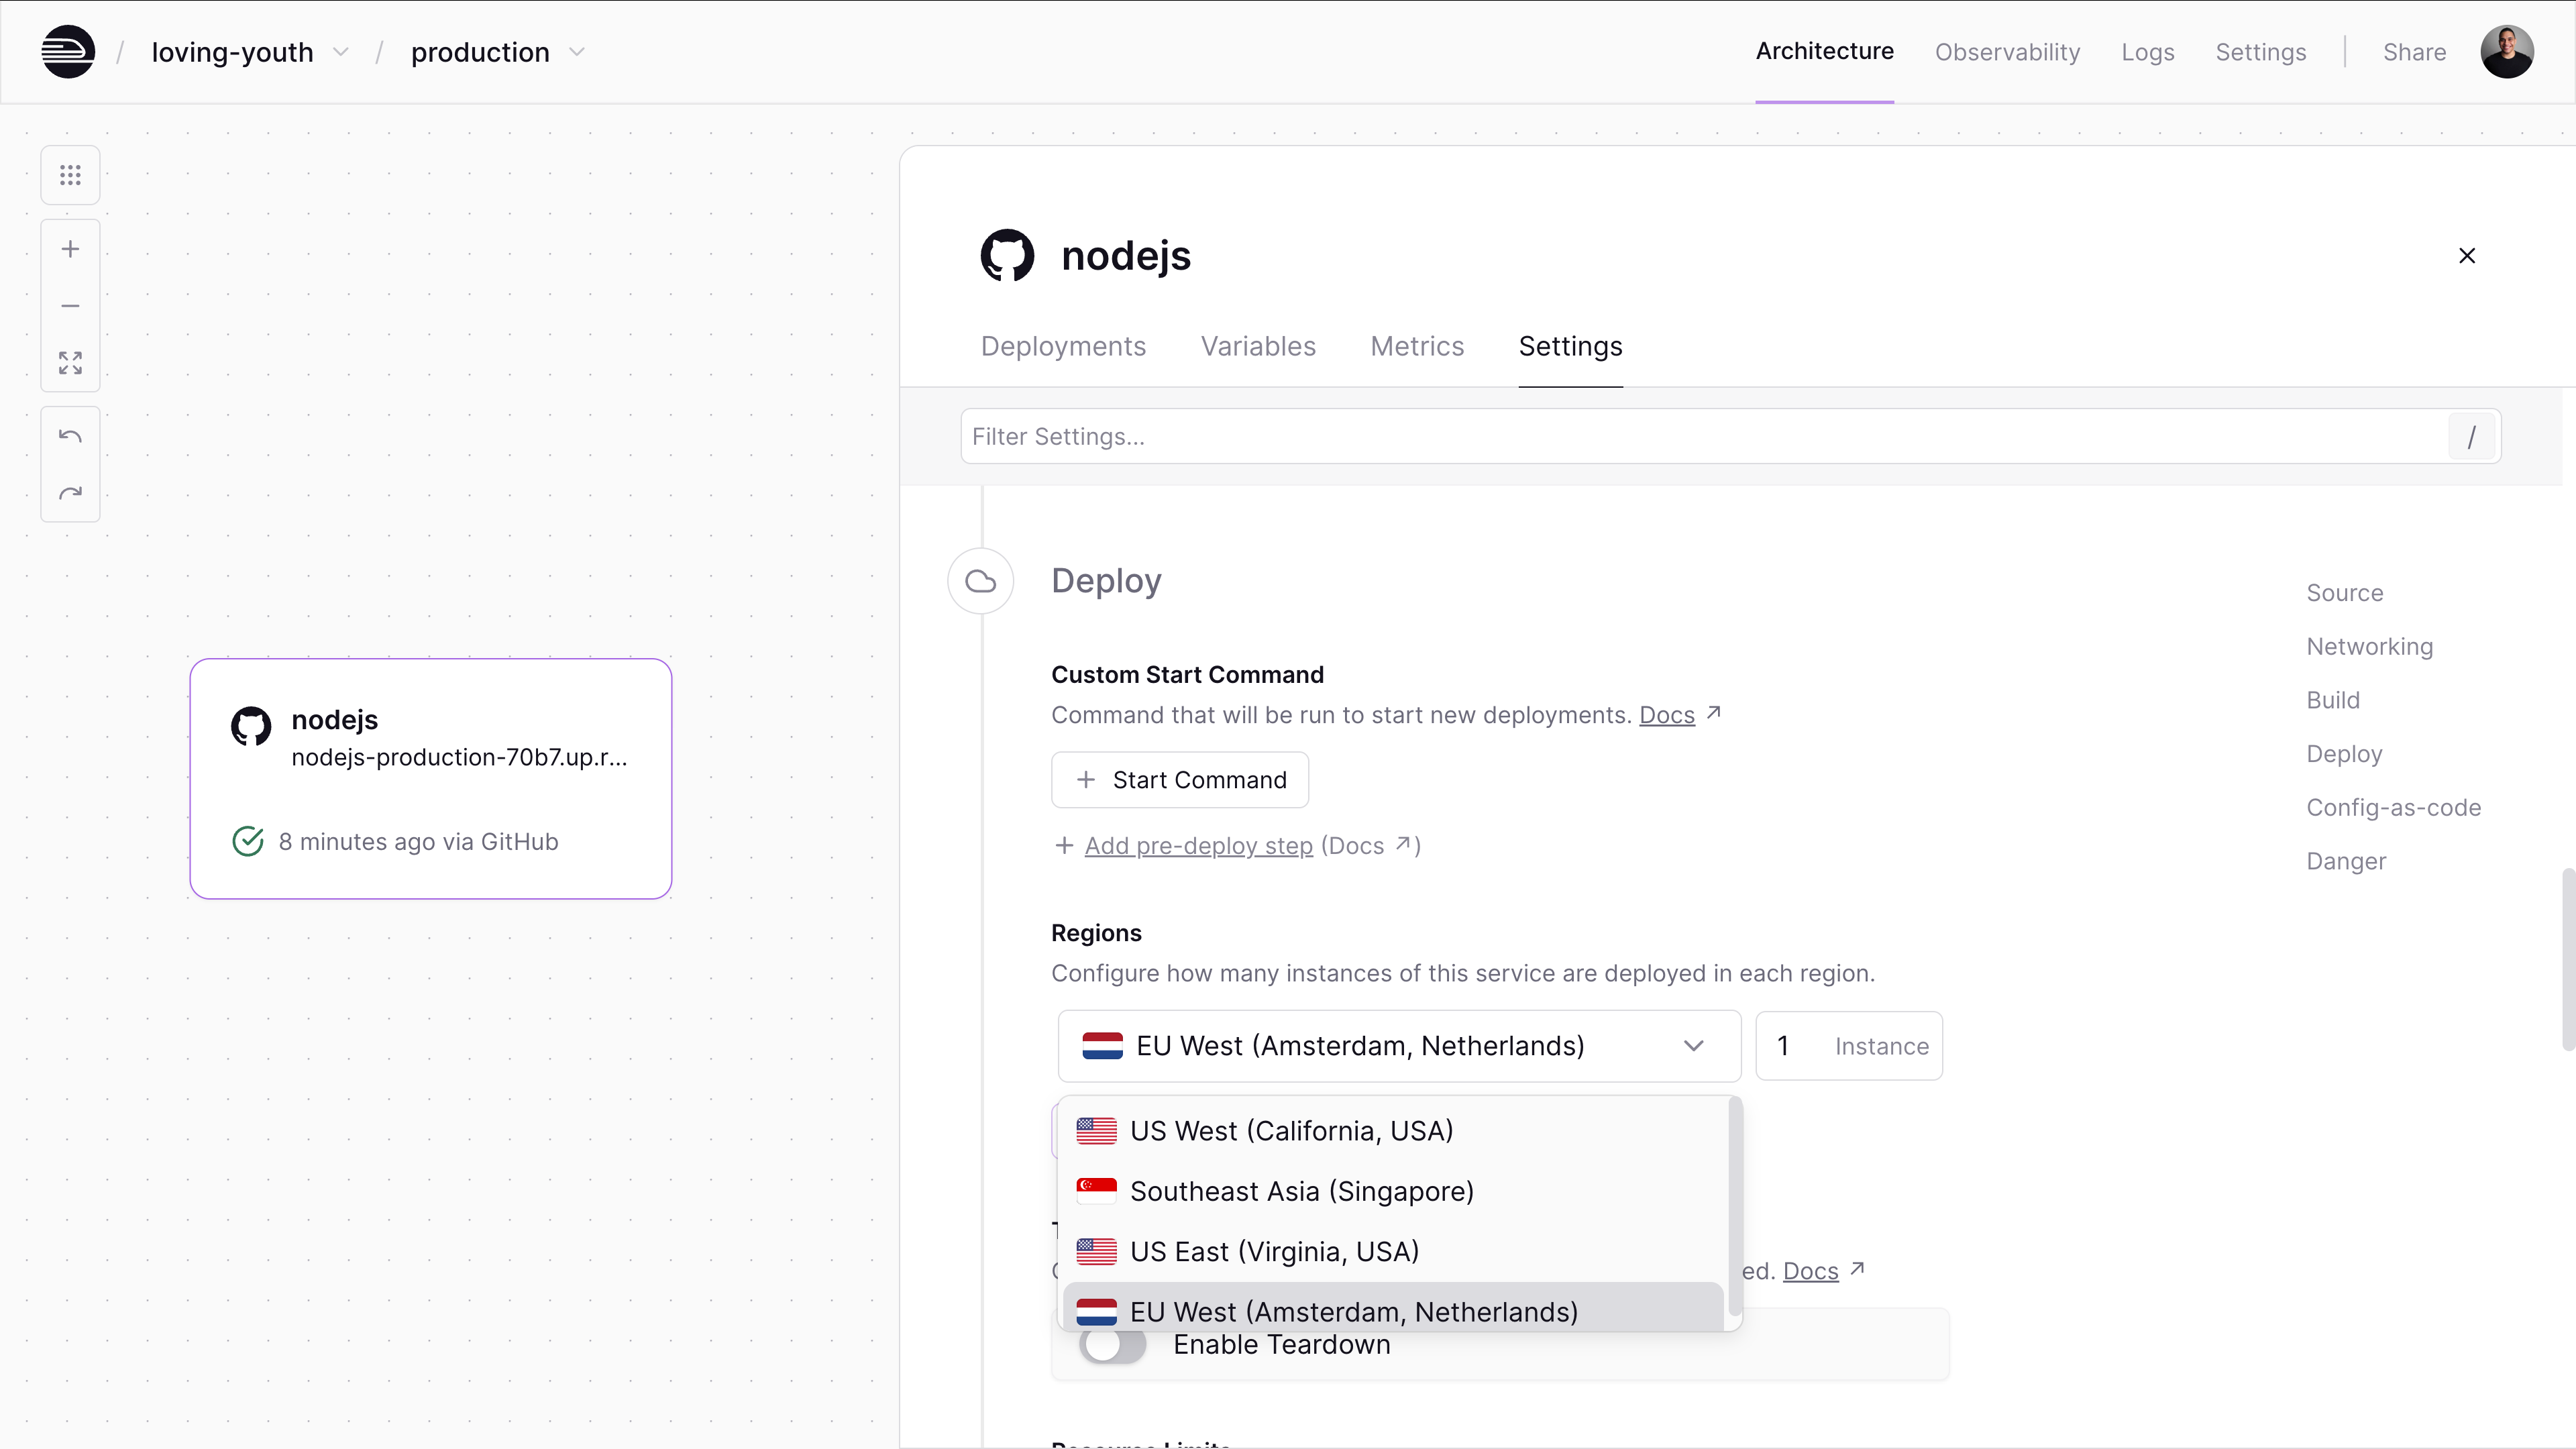
This gives you both high availability and low latency for users worldwide, all with just a few clicks.
Learn more about scaling applications and optimizing performance in Railway.
Usage-based pricing
Railway follows a usage-based pricing model that depends on how long your service runs and the amount of resources it consumes. You only pay for activce CPU and memory, not for idle time.
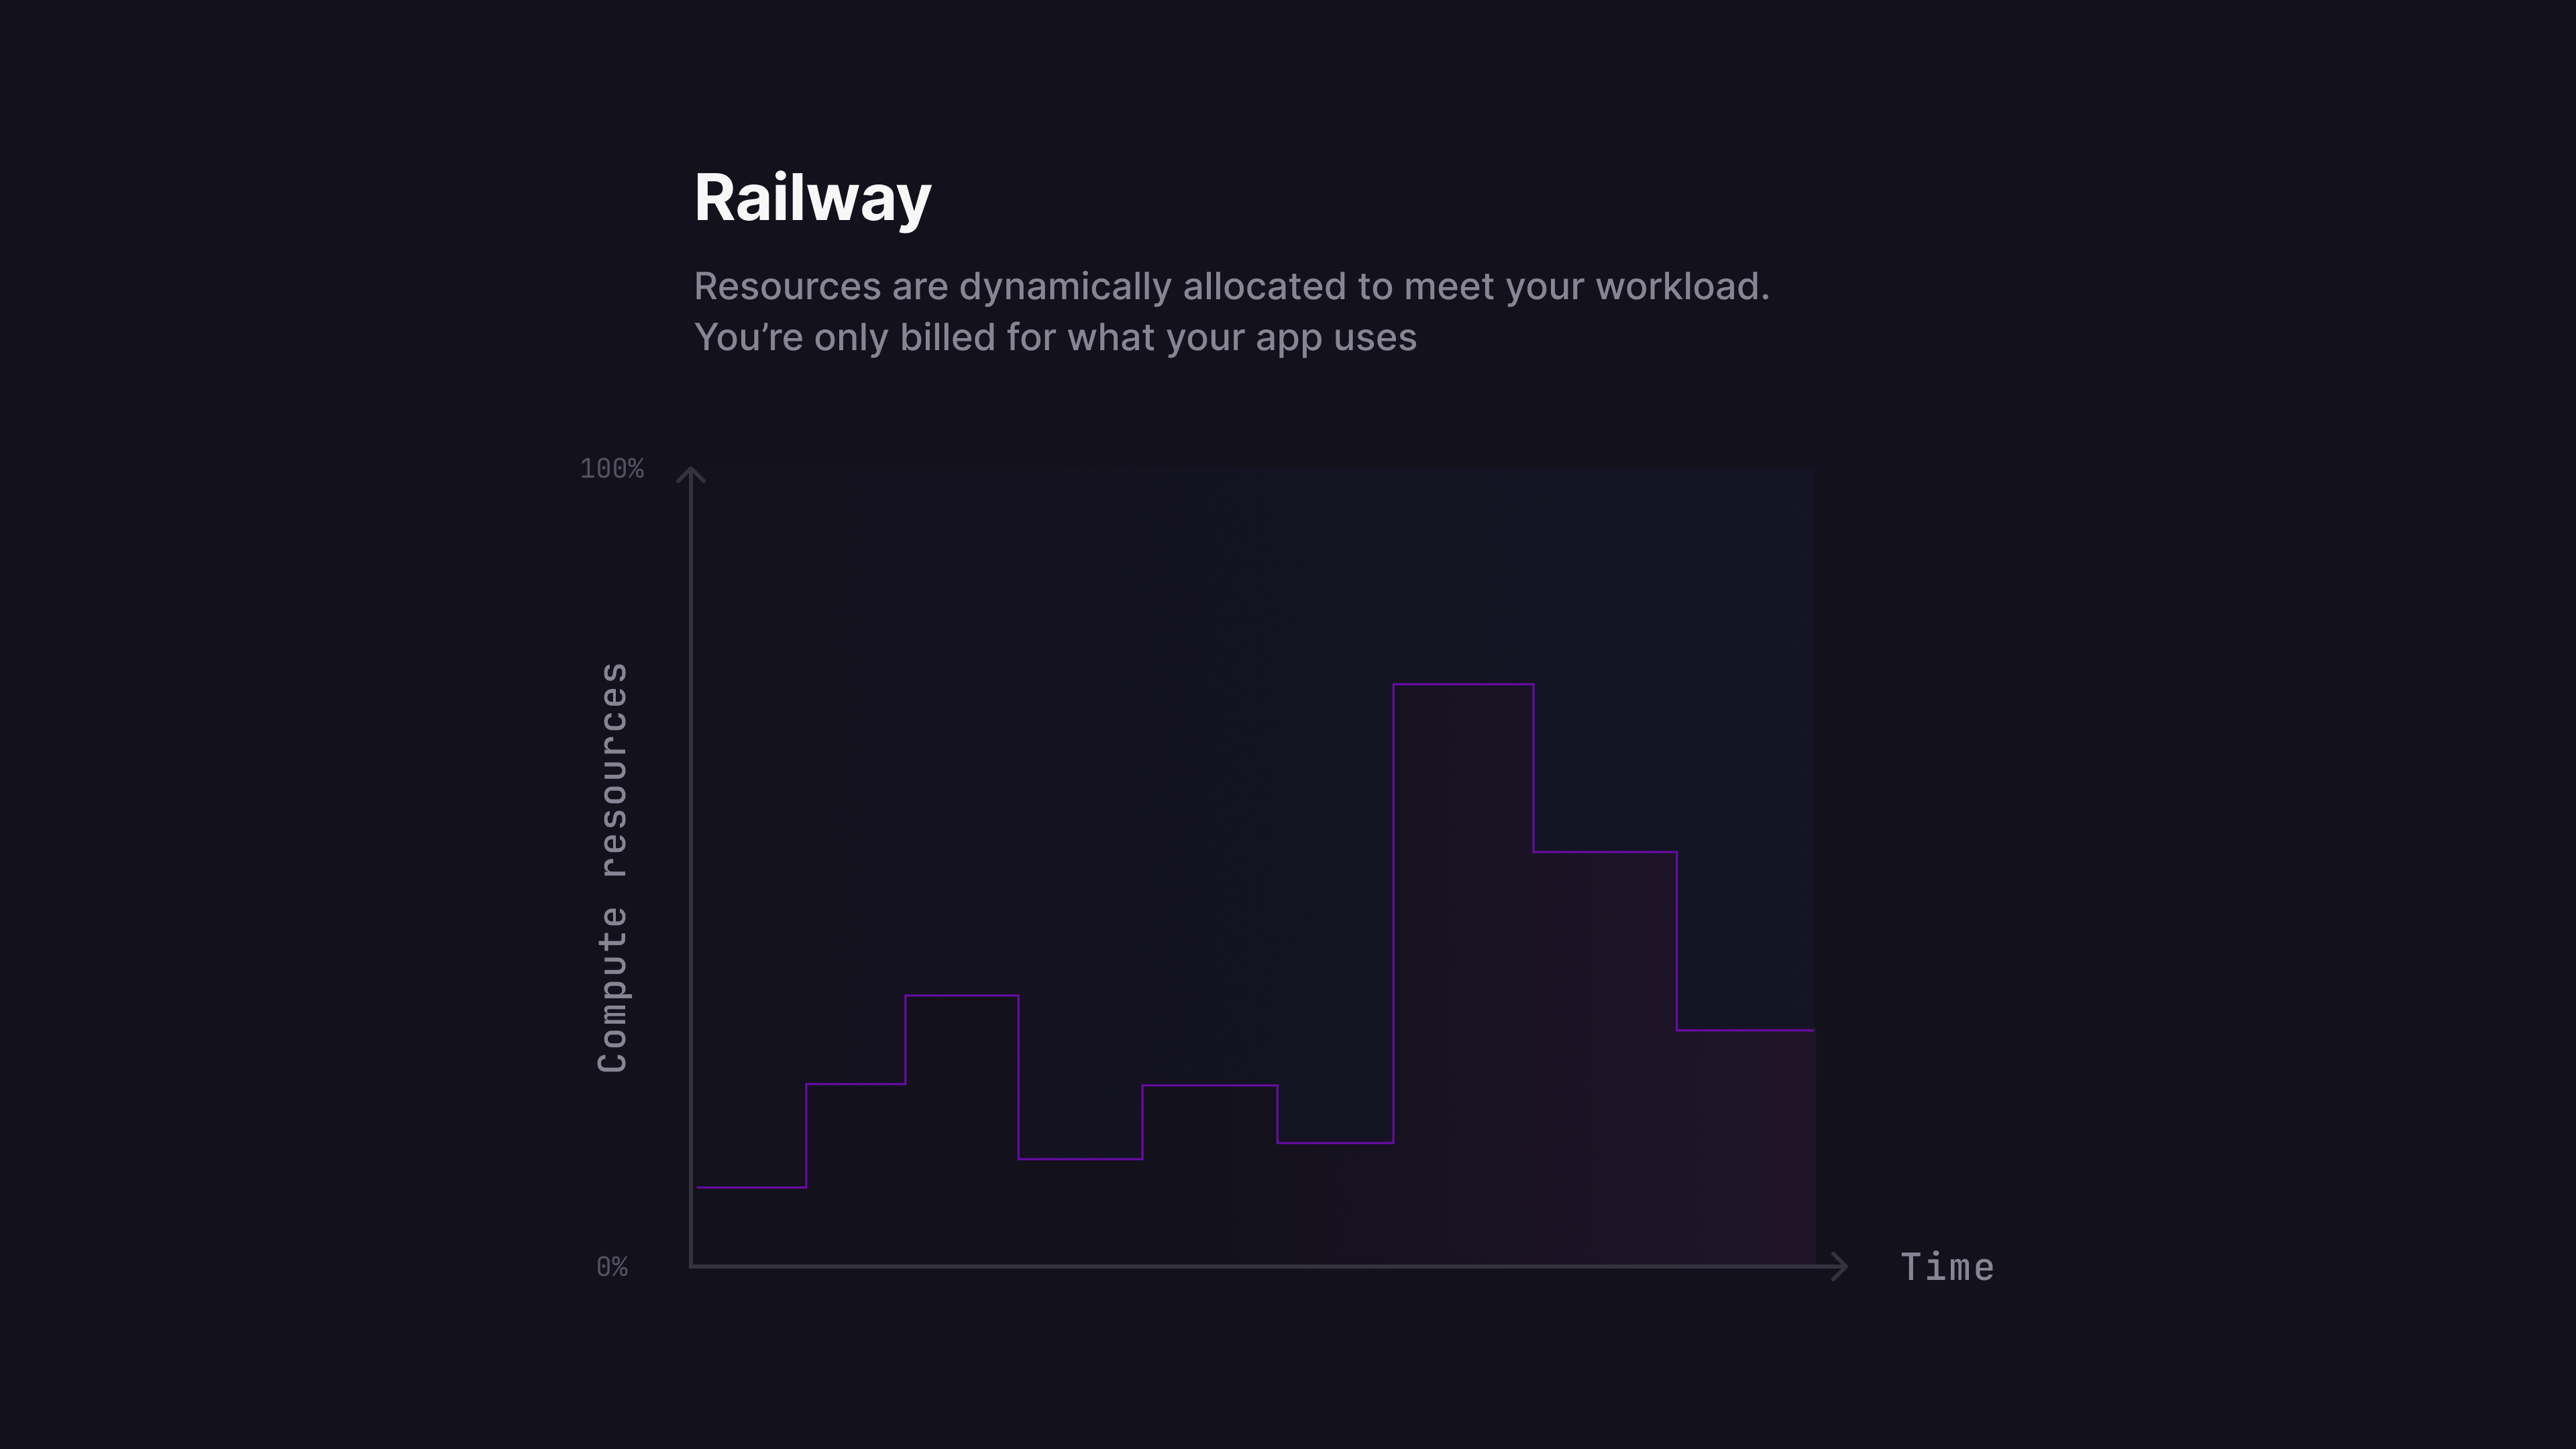
Pricing plans start at $5/month. You can check out the pricing page for more details.
Add healthcheck for zero-downtime deployments
To ensure zero-downtime deployments, you'll need to add a healthcheck endpoint that Railway can use to verify your application is running properly. Learn more about health check patterns and zero-downtime deployment strategies.
Add the healthcheck endpoint
Update your src/app.ts file to include a healthcheck endpoint:
Your complete src/app.ts should now look like this:
Deploy the healthcheck
Push your changes to GitHub:
Configure healthcheck in Railway
-
Go to your service settings:
- In your Railway project, click on your deployed service
- Navigate to the "Settings" tab
-
Configure the healthcheck:
- Scroll down to the "Healthcheck" section
- Set the Healthcheck Path to
/health
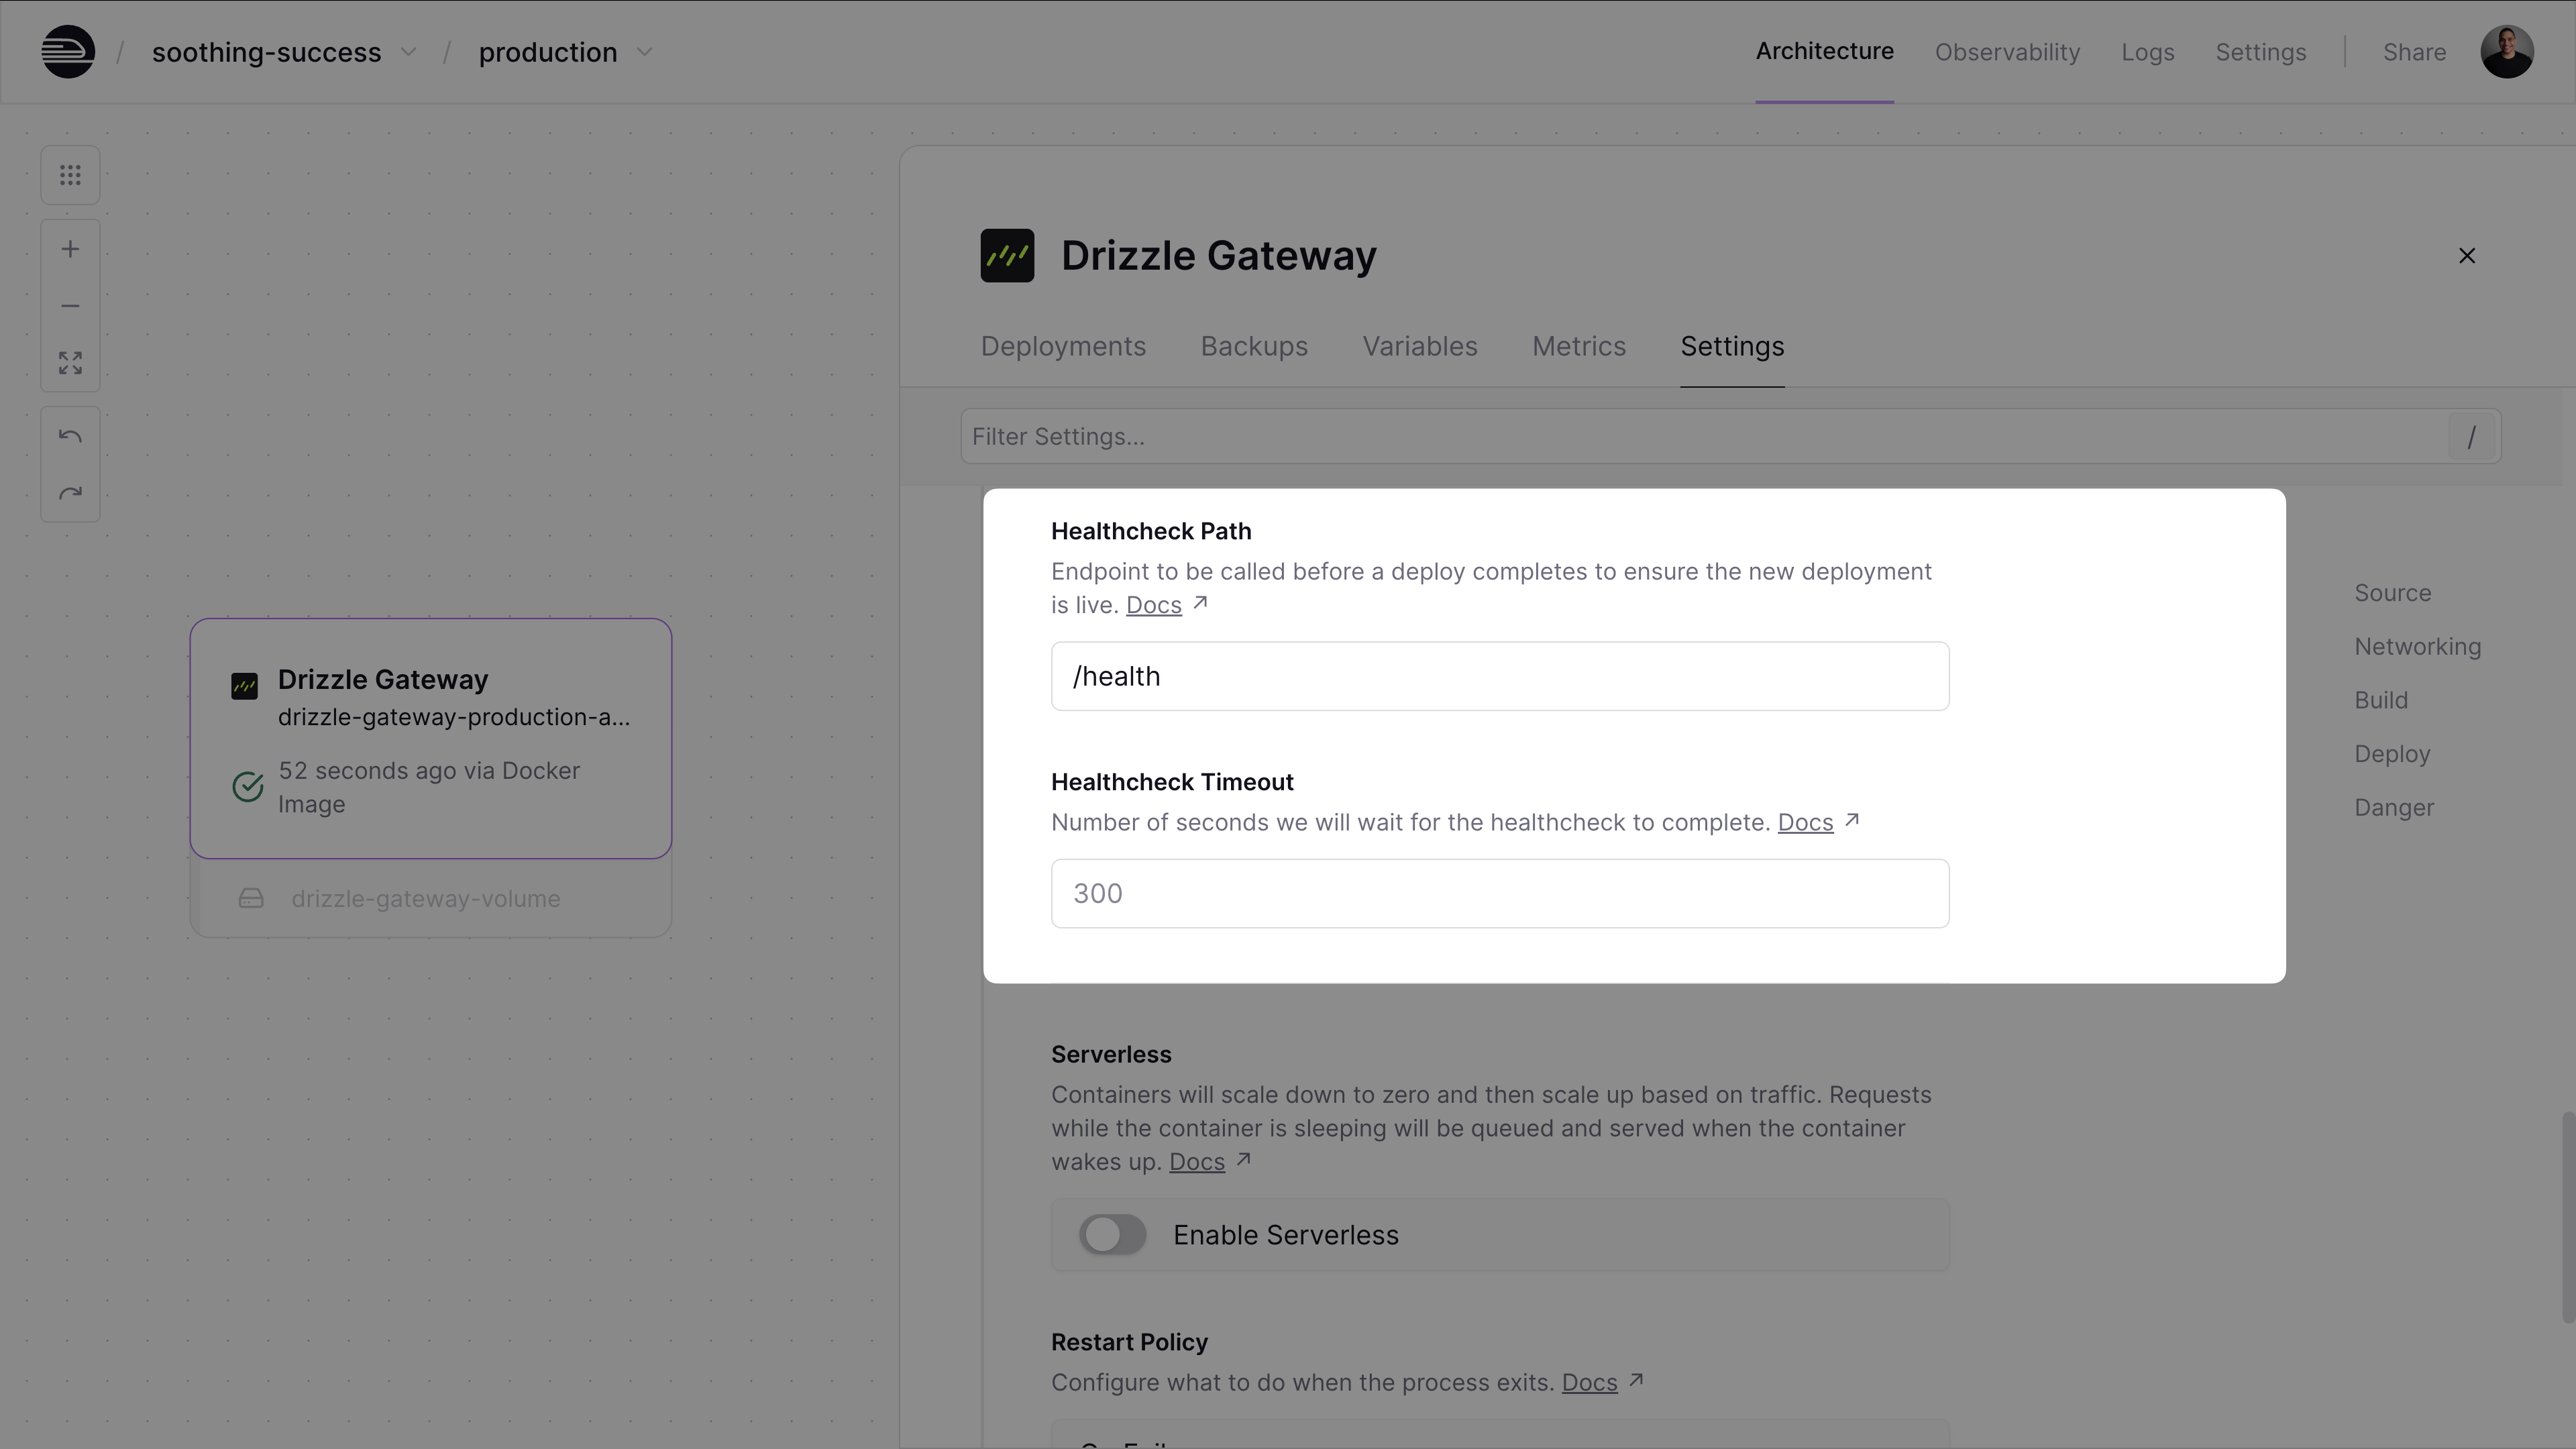
With the healthcheck configured, Railway will:
- Check your application's health before routing traffic to new deployments
- Automatically rollback if the healthcheck fails
- Ensure zero-downtime deployments by only switching traffic when the new version is healthy
Learn more about configuring healthchecks in Railway.
Set up preview environments
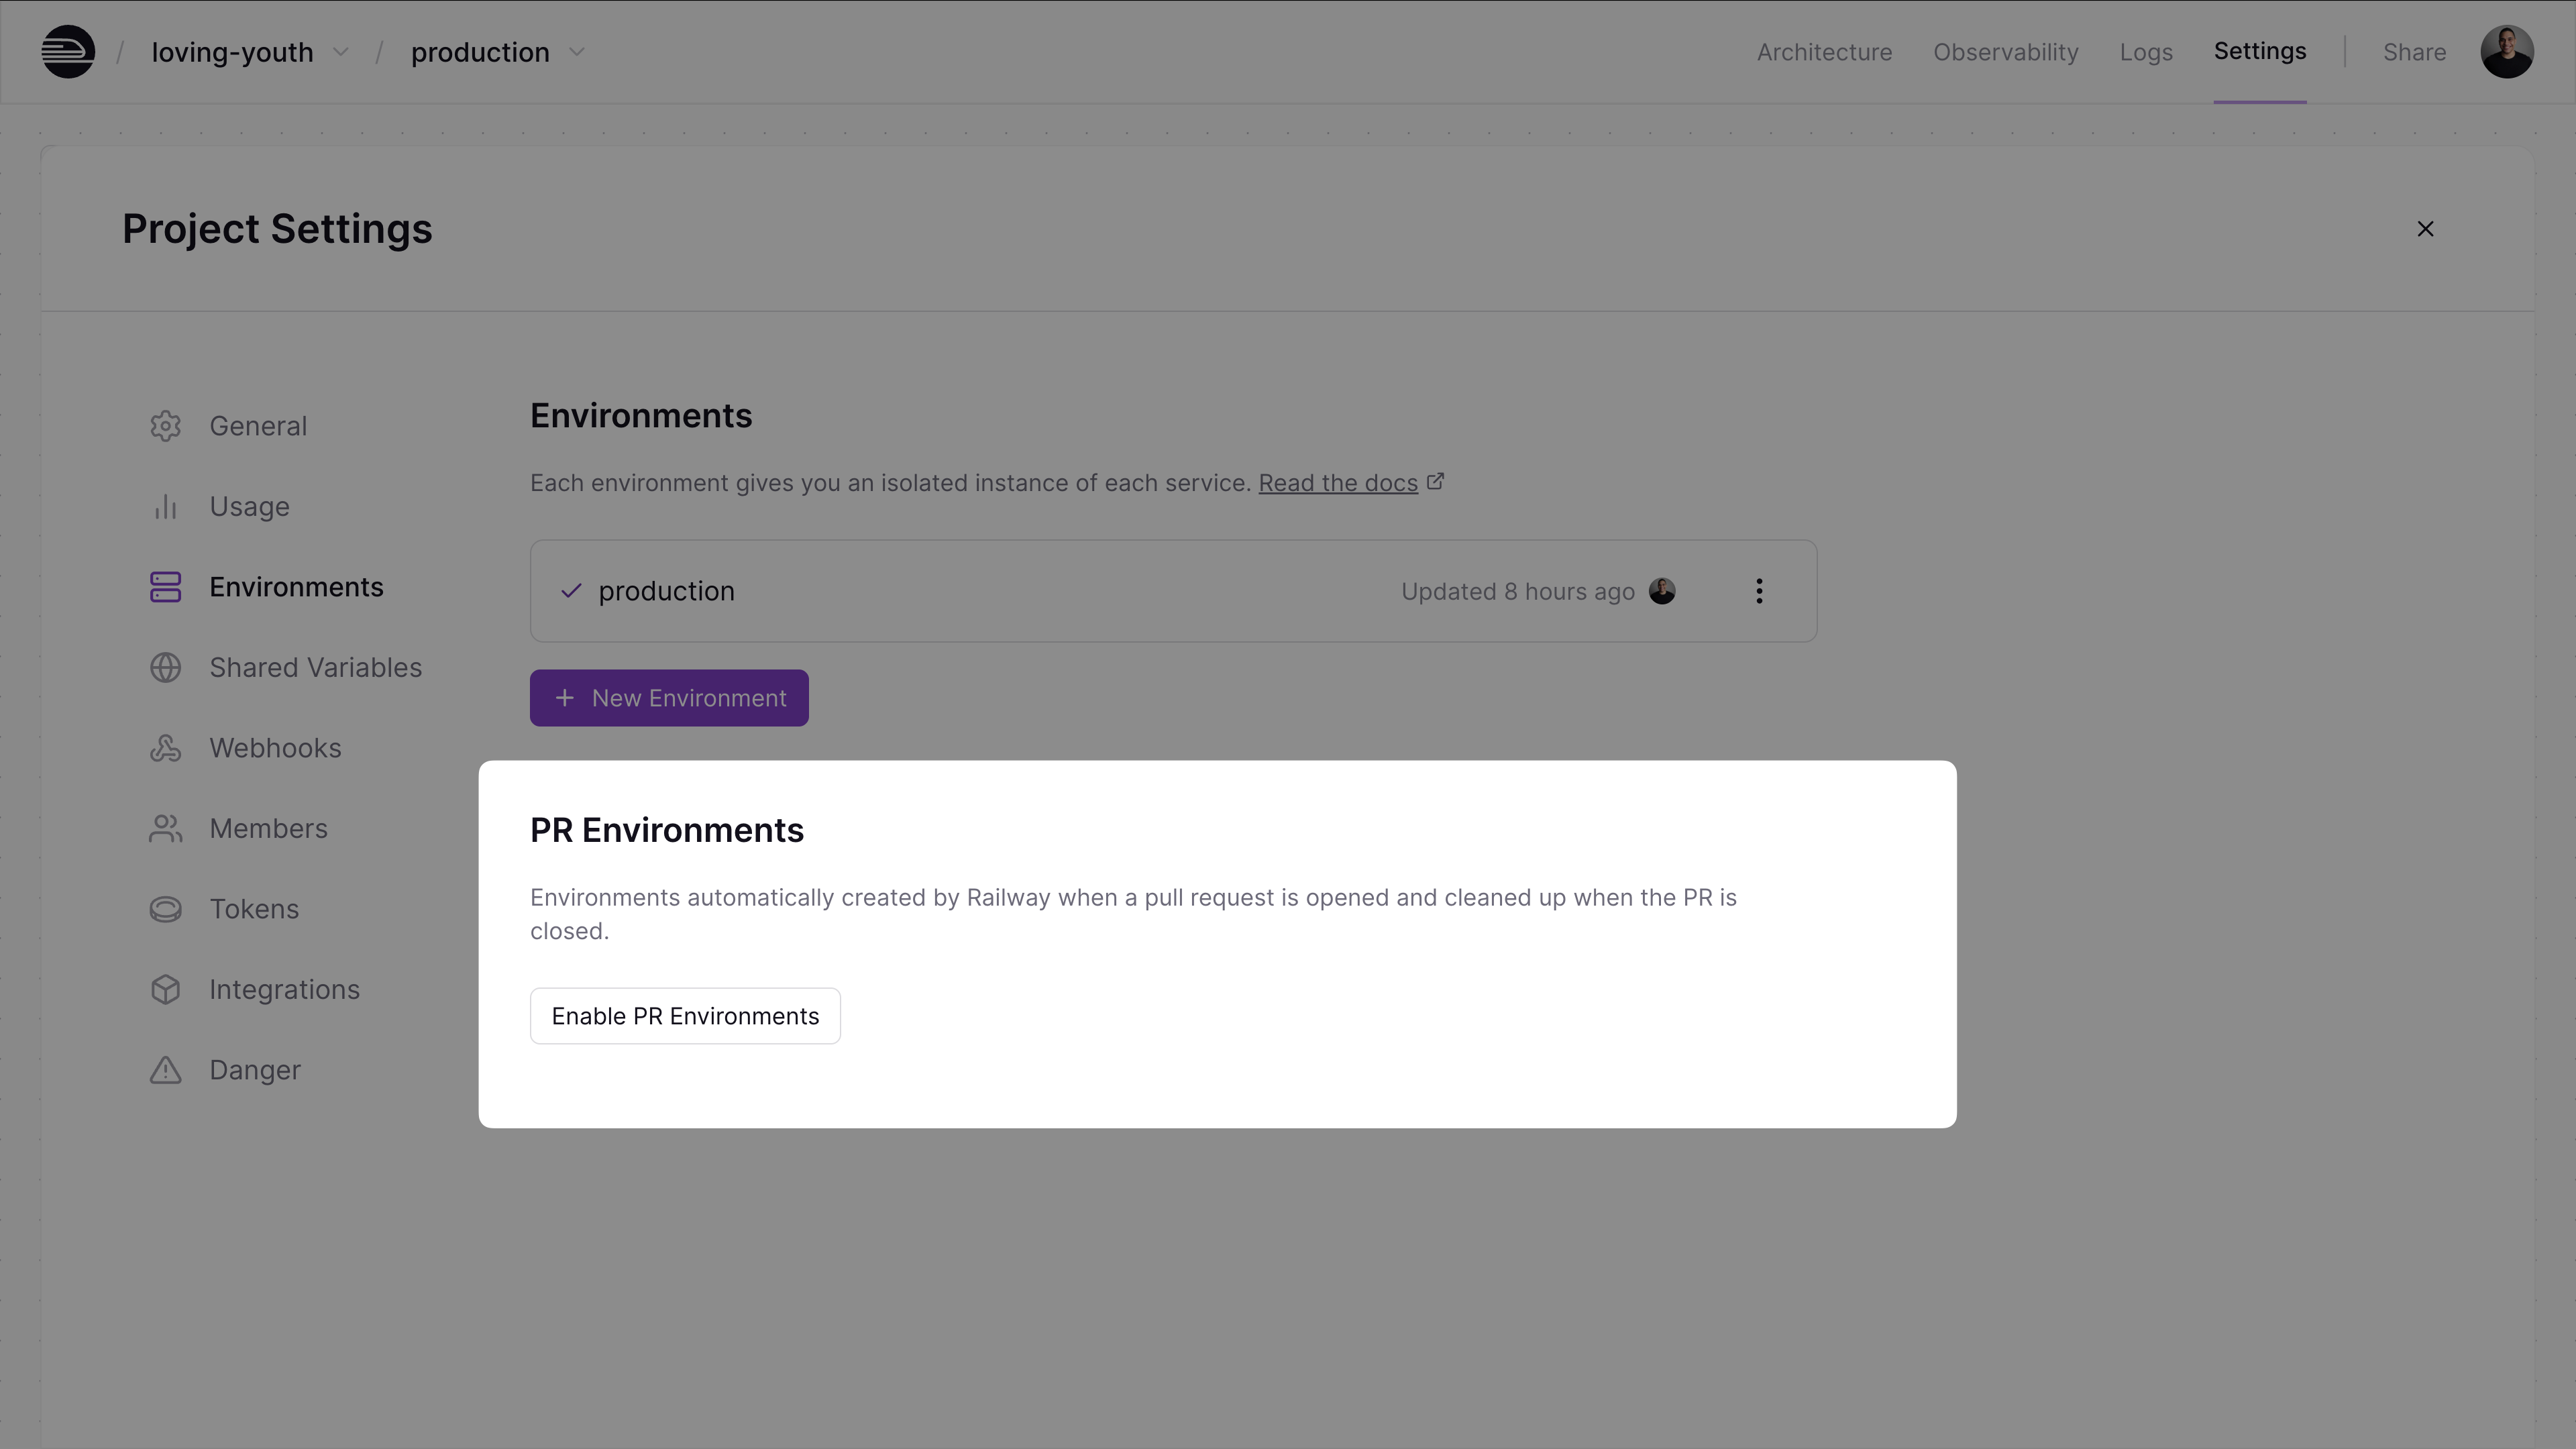
Railway can spin up temporary environments for every pull request. First, you need to enable PR environments. Learn more about GitHub Pull Requests:
- Go to your Project Settings → Environments tab
- Enable "PR Environments"
- Optionally enable "Bot PR Environments" for automated PRs from Dependabot or Renovatebot
Once enabled, create a feature branch to test this:
Add a new endpoint to your TypeScript application by updating src/app.ts:
Push the changes and create a pull request:
Railway will automatically create a temporary environment for your pull request, giving you a unique URL to test your changes. The environment is automatically deleted when the PR is merged or closed.
Note: Railway will only deploy PR branches from team members or users invited to your project. For automatic domain provisioning, ensure your base environment services use Railway-provided domains.
Learn more about using environments and PR environments in the Railway documentation.
Deploy multiple services
Railway makes it easy to deploy multiple lightweight Node.js microservices without learning Kubernetes or Docker orchestration. You can deploy several services within a single project to achieve a microservice architecture.
To add more microservices to your project:
- In your Railway project, click the "+" button
- Choose "Deploy from GitHub repo"
- Select another repository containing a different Node.js service
- Railway automatically detects and deploys each service independently
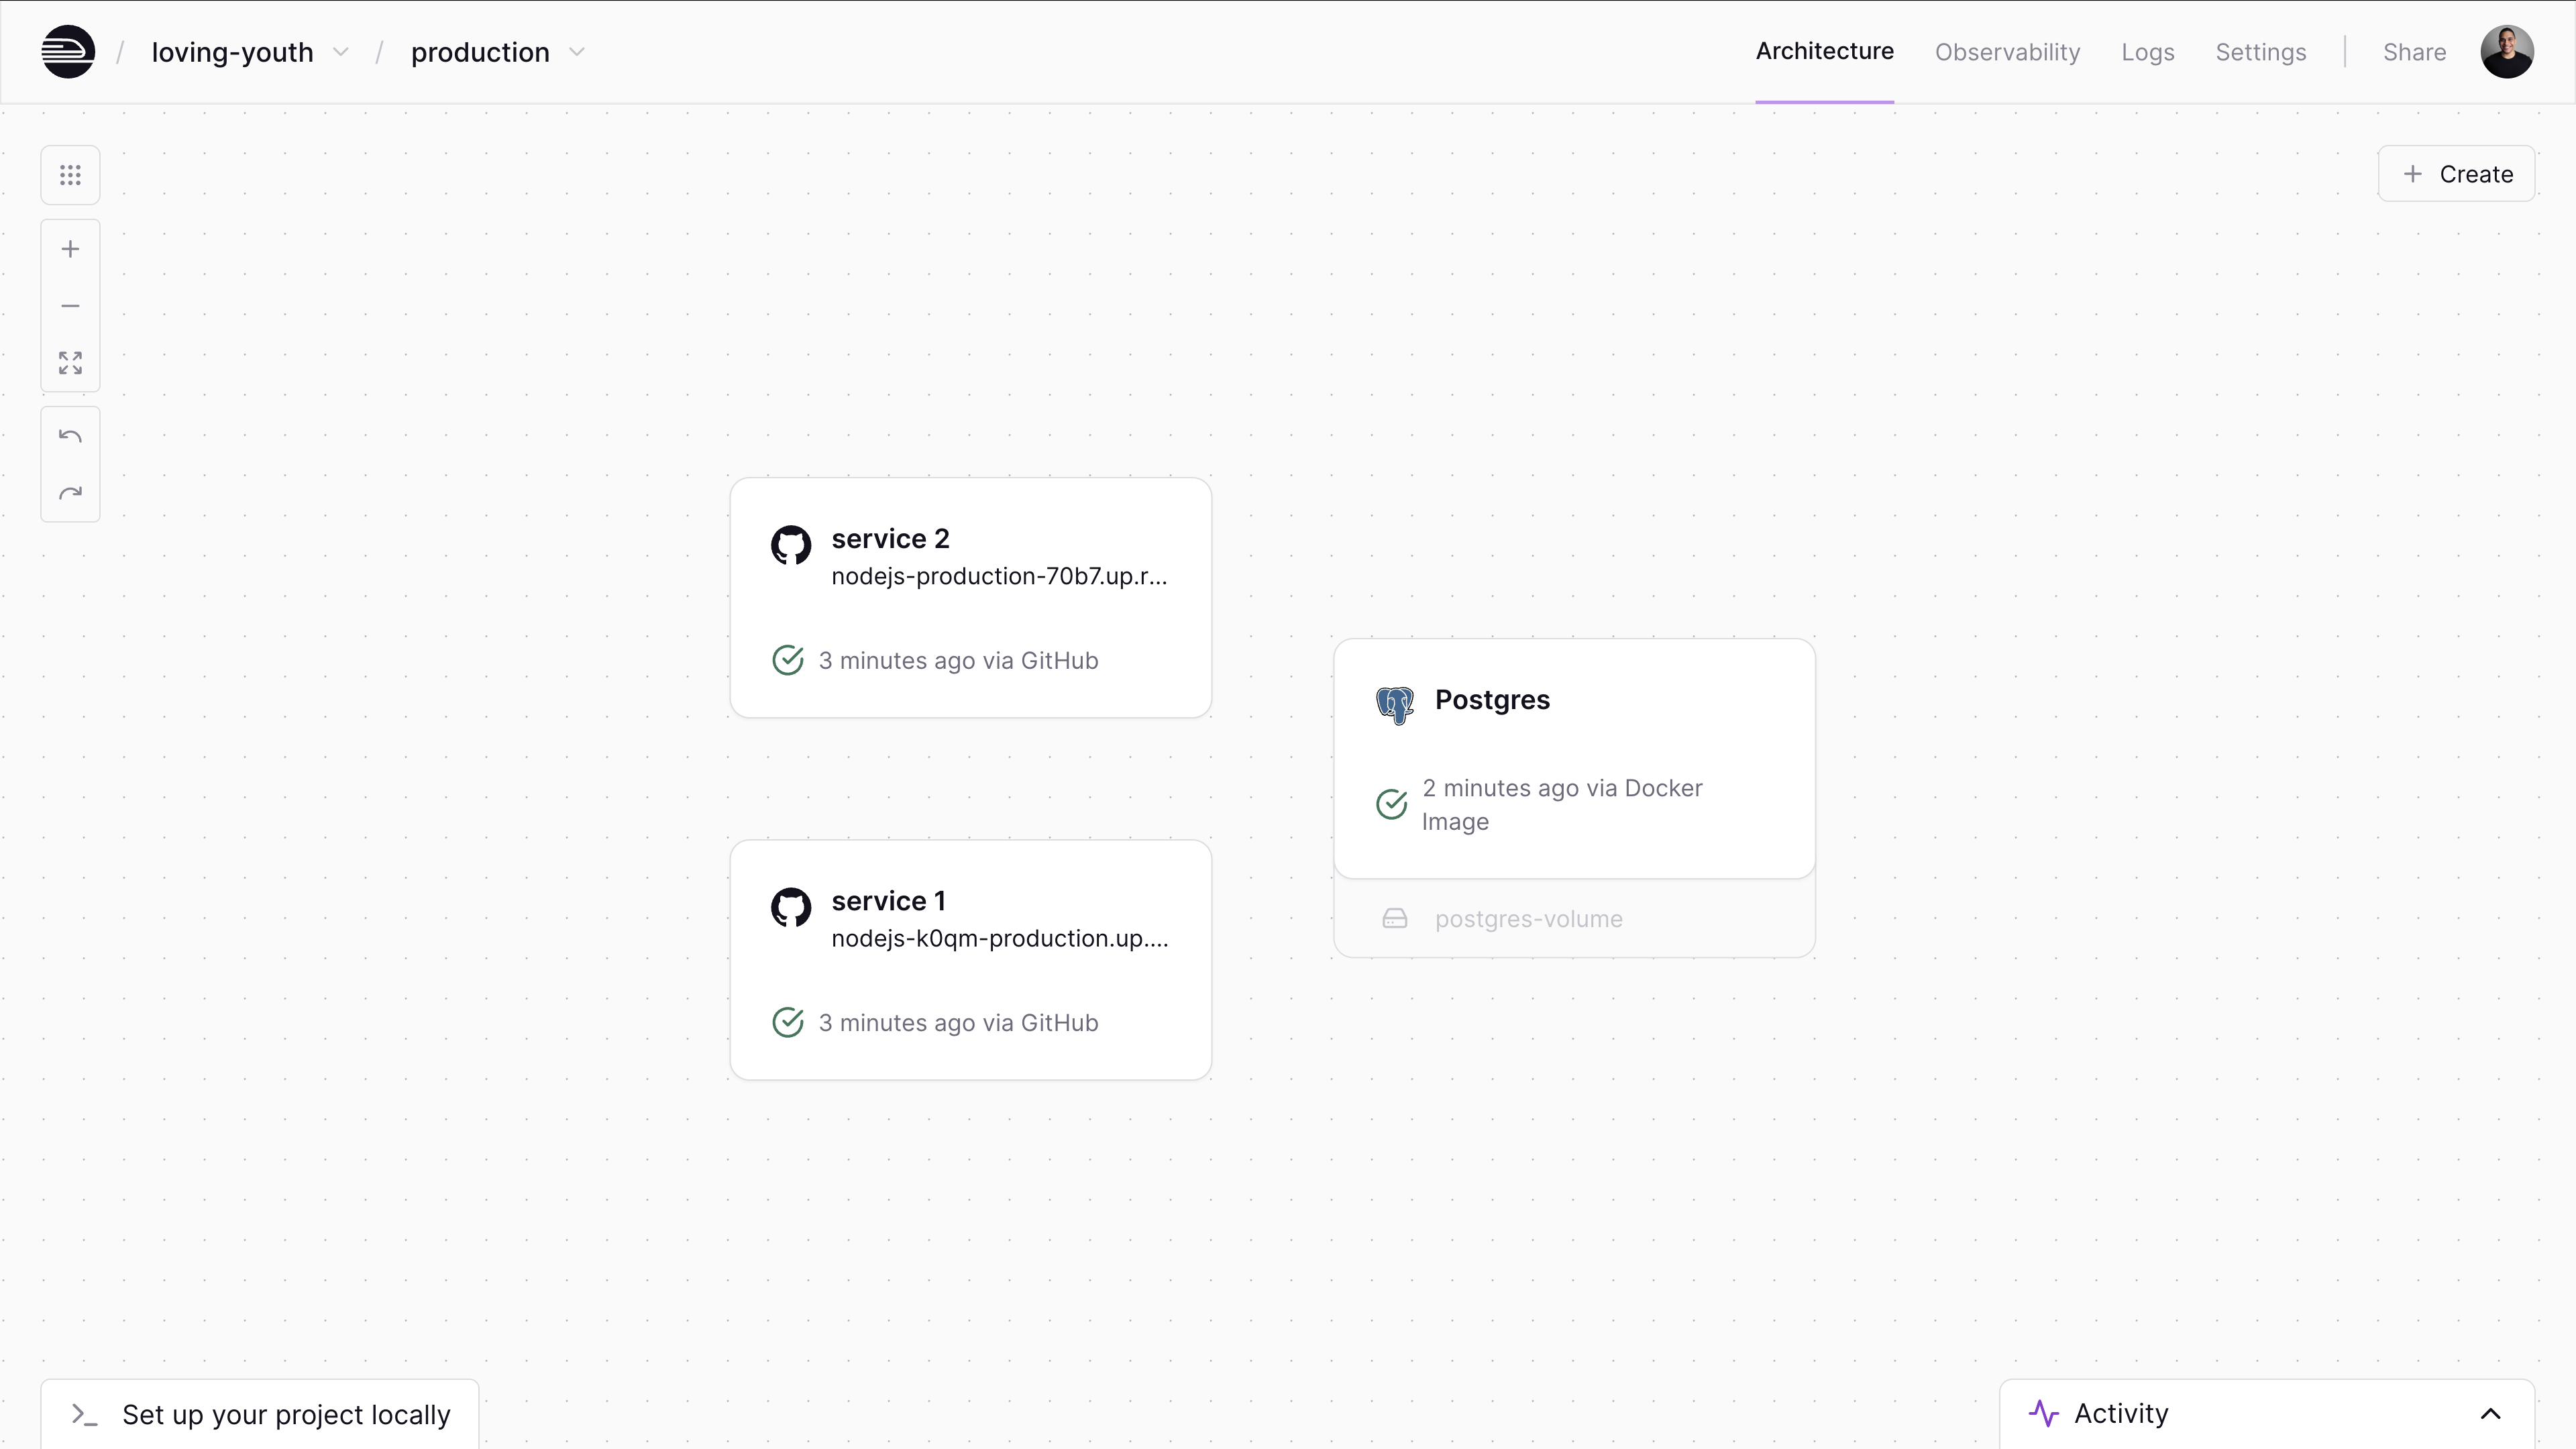
Each service runs in its own container with its own resources, but they can communicate with each other through Railway's private networking.
Shared variables between services
Railway supports shared variables across all services in a project, making it easy to share configuration like database URLs, API keys, and other common settings. Learn more about configuration management patterns:
- Go to your project's "Settings" → "Shared Variables"
- Add variables that all services need (e.g.,
DATABASE_URL,API_KEY) - Each service can reference these shared variables using Railway's template syntax
For example, if you have a shared DATABASE_URL variable, any service can reference it with:
This eliminates duplication and makes it easy to manage configuration across your entire microservice architecture.
Learn more about managing services, shared variables, and service communication in the Railway documentation.
Conclusion
In this guide, you learned how to deploy Node.js and Express applications to production using Railway's zero-configuration deployment platform. You built:
- A production-ready Express REST API with automatic scaling
- A TypeScript application with automated builds
- Preview environments for every pull request
Railway makes Node.js deployment simple by providing:
- Zero configuration: Deploy from GitHub without Dockerfiles or complex setup
- Automatic scaling: Handle traffic spikes without manual intervention
- Built-in CI/CD: Preview environments and zero-downtime deployments
- Usage-based pricing: Pay only for what you use. Check out the Railway pricing page for more details.
Next steps
Now that you've deployed your Node.js applications, explore these resources:
- Add a Database Service
- Monitor your application
- View logs and metrics and metrics
- Set up custom domains
- Configure environment variables
- Deploy with Docker
- Customize builds
- Manage deployments
Need help?
If you have any questions or run into issues, you can reach out in the Railway Discord community or on Central Station.